

Alright, let me tell you about my 15-inch beverage fridge project. It was a fun one, a little challenging, but totally worth it in the end.
So, it all started when I decided my sad little dorm fridge just wasn’t cutting it anymore. I needed more space for my drinks, and I wanted something that looked a bit more…grown-up. I started by measuring the space I had available. I knew I was limited, so the 15-inch width was crucial. That’s what led me to the beverage fridge in the first place.

Next up, I scoured the internet for options. There are a ton of different brands and models out there, and the prices range like crazy. I read a bunch of reviews, compared features, and finally settled on a model that seemed to strike the right balance between size, features, and price. I wasn’t trying to break the bank, ya know?
Once the fridge arrived, the real fun began. The first thing I did was unpack it and let it sit upright for a few hours. Apparently, this is important to let the coolant settle after being shipped on its side. I definitely didn’t want to mess that up.
Then I cleaned out the space where the old fridge had been. This involved some serious scrubbing and a bit of rearranging. You wouldn’t believe the gunk that accumulates behind a fridge over time!
Sliding the new beverage fridge into place was a bit of a tight fit, but I managed. I had to adjust the leveling feet a bit to make sure it was stable and not rocking back and forth. Nobody wants a vibrating fridge.
After that, it was time to plug it in and set the temperature. I started with the recommended setting and then tweaked it a bit over the next few days until I got it exactly where I wanted it. You know, the perfect temperature for a crisp, cold drink.
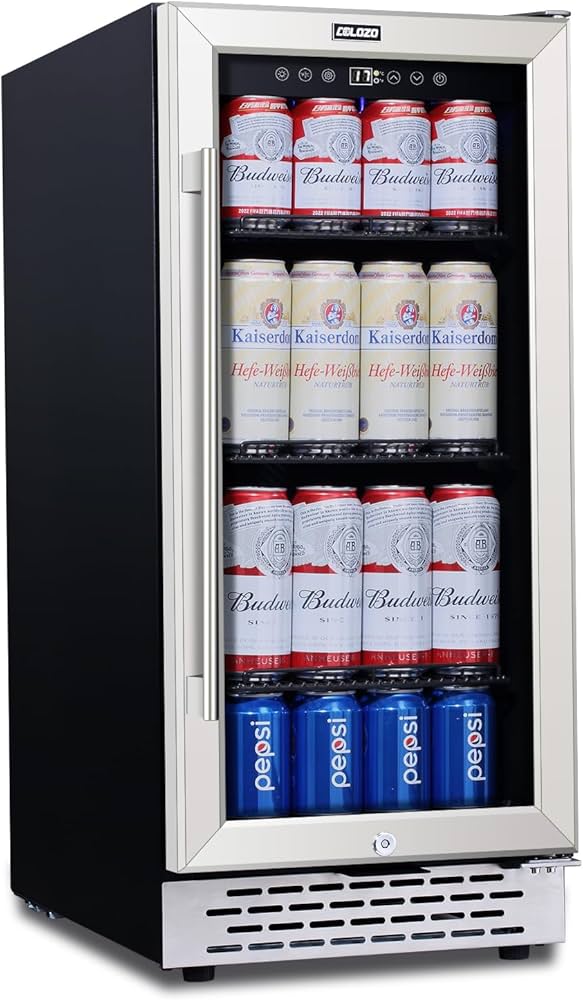
The final step, and probably the most important, was to fill it up with my favorite beverages! I carefully arranged everything so that I could maximize the space and easily see what I had available. Organization is key, people.
Now, I’m absolutely loving my 15-inch beverage fridge. It keeps my drinks perfectly chilled, it looks great in my space, and it’s so much more convenient than my old setup. It was a simple upgrade, but it made a huge difference in my daily life. Definitely a project I’m glad I tackled.
- Measured the space
- Researched and chose a fridge
- Unpacked and waited for the coolant to settle
- Cleaned the space
- Installed the fridge and leveled it
- Set the temperature
- Filled it with beverages!
Things I Learned
One thing I learned is that you really need to pay attention to the dimensions listed online. Sometimes they can be a little off, so it’s worth double-checking before you buy. Also, don’t underestimate the importance of leveling the fridge properly. It can make a big difference in terms of noise and performance.


