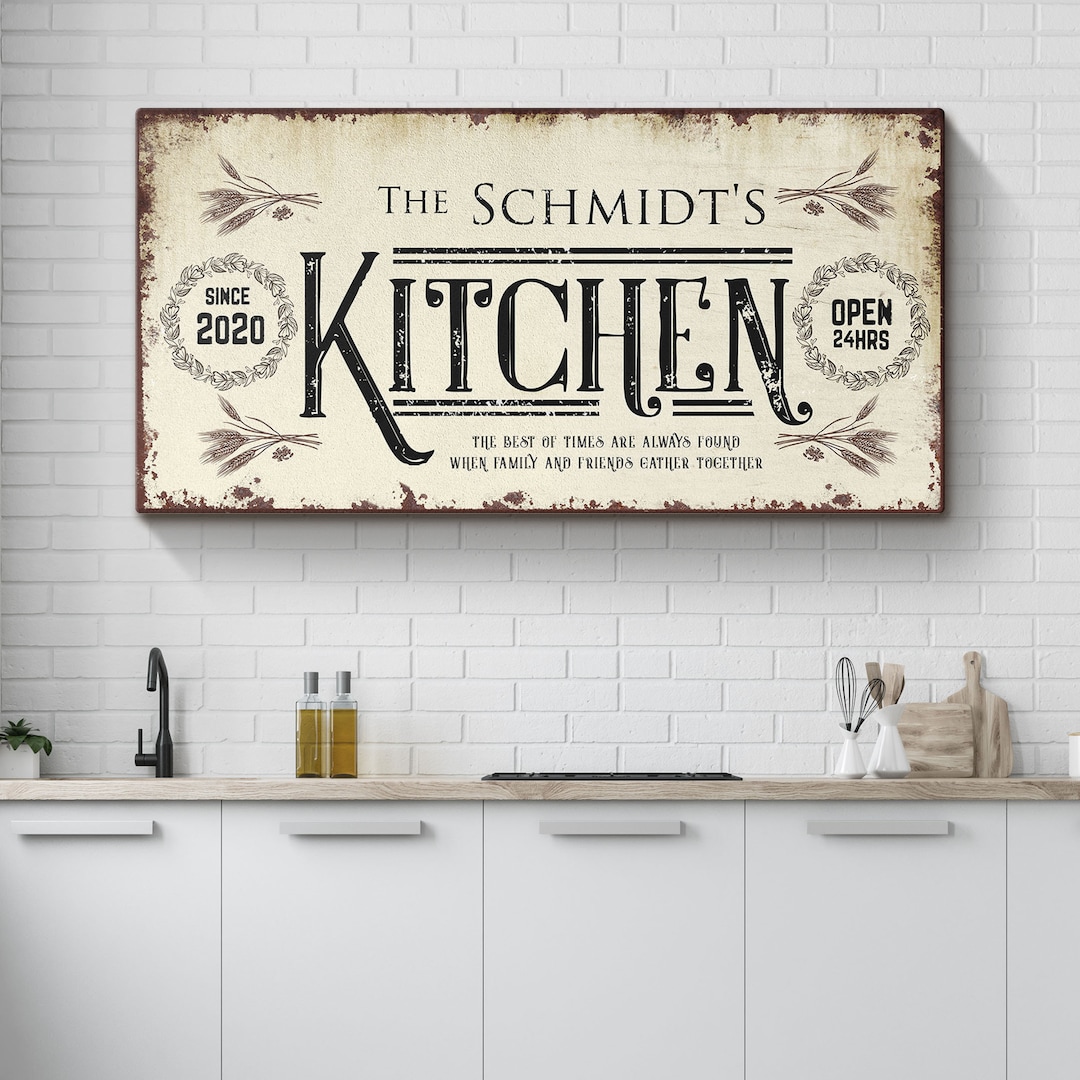
Okay, so I’ve been wanting to spruce up my kitchen for a while, and I thought some custom signs would be a fun way to add some personality. I started by brainstorming some ideas of what I wanted. I knew I wanted something rustic and a little bit funny, so I jotted down some phrases and ideas that came to mind.
Next, I gathered my materials. I already had some scrap wood lying around from a previous project, so that was perfect! I also grabbed:

- Sandpaper (various grits)
- Wood stain (a dark walnut color)
- Paint (white and a light teal)
- Paintbrushes (various sizes)
- Stencils (I found some cute letter and design stencils at the craft store)
- Pencil
- Ruler or measuring tape
- Clear sealant (to protect the finished product)
Getting Down to Business
First things first, I had to prep the wood. I cut the scrap wood down to the sizes I wanted for my signs. Then, I sanded all the pieces until they were nice and smooth. I started with a coarser grit sandpaper and worked my way down to a finer grit to get a really smooth finish. This part took a little while, but it’s super important for making sure the stain and paint go on evenly.
After sanding, I applied the wood stain. I used an old rag to rub the stain into the wood, following the grain. I let it sit for about 15 minutes, then wiped off any excess stain. The wood looked instantly richer and more aged, which was exactly the look I was going for.
Once the stain was completely dry (I waited overnight, just to be sure), it was time to paint! I used my stencils and a pencil to lightly trace the letters and designs onto the wood. Then, I carefully filled them in with paint. For one sign, I used white paint for the letters and added a little teal border. For another, I did teal letters on the natural stained wood. I did a couple of coats to make sure the colors were nice and vibrant.
It took me a little bit. I got to do some freehand, with my poor drawing skills, but I tried my best.
After the paint was dry, I went over everything with a clear sealant. This will help protect the signs from moisture and make them easier to clean. I did two coats of sealant, letting it dry completely between each coat.
And that’s it! My custom kitchen signs were finished. They’re not perfect, but I love how they turned out. They add a nice personal touch to my kitchen, and I had a lot of fun making them. It’s a pretty easy project, even if you’re not super crafty. Give it a try!


