
Alright, so I finally got around to trying my hand at making a Damascus kitchen knife. Been wanting to do this for a while, seemed like a cool project. It’s definitely a process, let me tell ya.
Getting Started – The Steel
First thing was getting the right steel. You need at least two types that show contrast when you etch them later. I grabbed some 1095 high carbon steel and some 15N20, which has nickel in it. Got a few flat bars of each.
The Forge Work – Making the Billet
Cleaned up the steel bars real good, gotta get any rust or scale off. Then I stacked them up, alternating layers. Think I started with about 7 layers.
Fired up the forge. You gotta get that stack hot, like bright yellow-orange hot. Slapped on some borax flux, helps everything stick together and keeps oxygen out. Then, took it over to the anvil.
First few hammer hits are gentle, just trying to set the weld. Once it felt solid, I started hammering it out, drawing the billet longer and thinner. The goal is to weld those layers into one solid piece.
Then the real work starts:
- Heat it up again.
- Cut it partly through.
- Fold it over onto itself.
- Add more flux.
- Heat it back to welding temperature.
- Hammer it out again to weld the new layers.
Did this whole cut, fold, weld thing several times. You keep doubling the layers. It’s sweaty work, lots of hammering and trips back to the forge. Watched the layer count grow. Gotta keep things lined up and make sure the welds are good.
Shaping the Knife
Once I had a decent layer count in my billet, it was time to make it look like a knife. Back into the forge, heating and hammering. Carefully started shaping the blade profile – drawing out the pointy end, defining where the handle (tang) would be, and starting to hammer in the bevels (the slopes down to the edge). Took my time here, trying to get a basic kitchen knife shape.
After the rough shape was done, I let it cool down real slow in some insulating stuff (annealing). This makes the steel soft enough to work with files or a grinder.
Grinding and Refining
With the annealed blade, I moved over to the belt grinder. Spent a lot of time carefully grinding the blade profile to the exact shape I wanted. Cleaned up the surfaces, refined the bevels, making them even and bringing them closer to a final edge (but not sharp yet!). Also drilled the holes in the tang for the handle pins.
Heat Treating – The Scary Part
This is make or break. Heated the blade evenly again in the forge until it got to that critical temperature – checked it with a magnet, it stops being magnetic. Then, quickly plunged it edge-first into a container of warm oil. Lots of smoke and sizzle! This hardens the steel like crazy.
Hardened steel is brittle, though. So next was tempering. Cleaned the blade up a bit so I could see the steel color change. Popped it in the kitchen oven at a low temperature (around 400°F) for a couple of hours. Watched for the steel to turn a nice straw or light bronze color. This makes it less brittle, tougher.
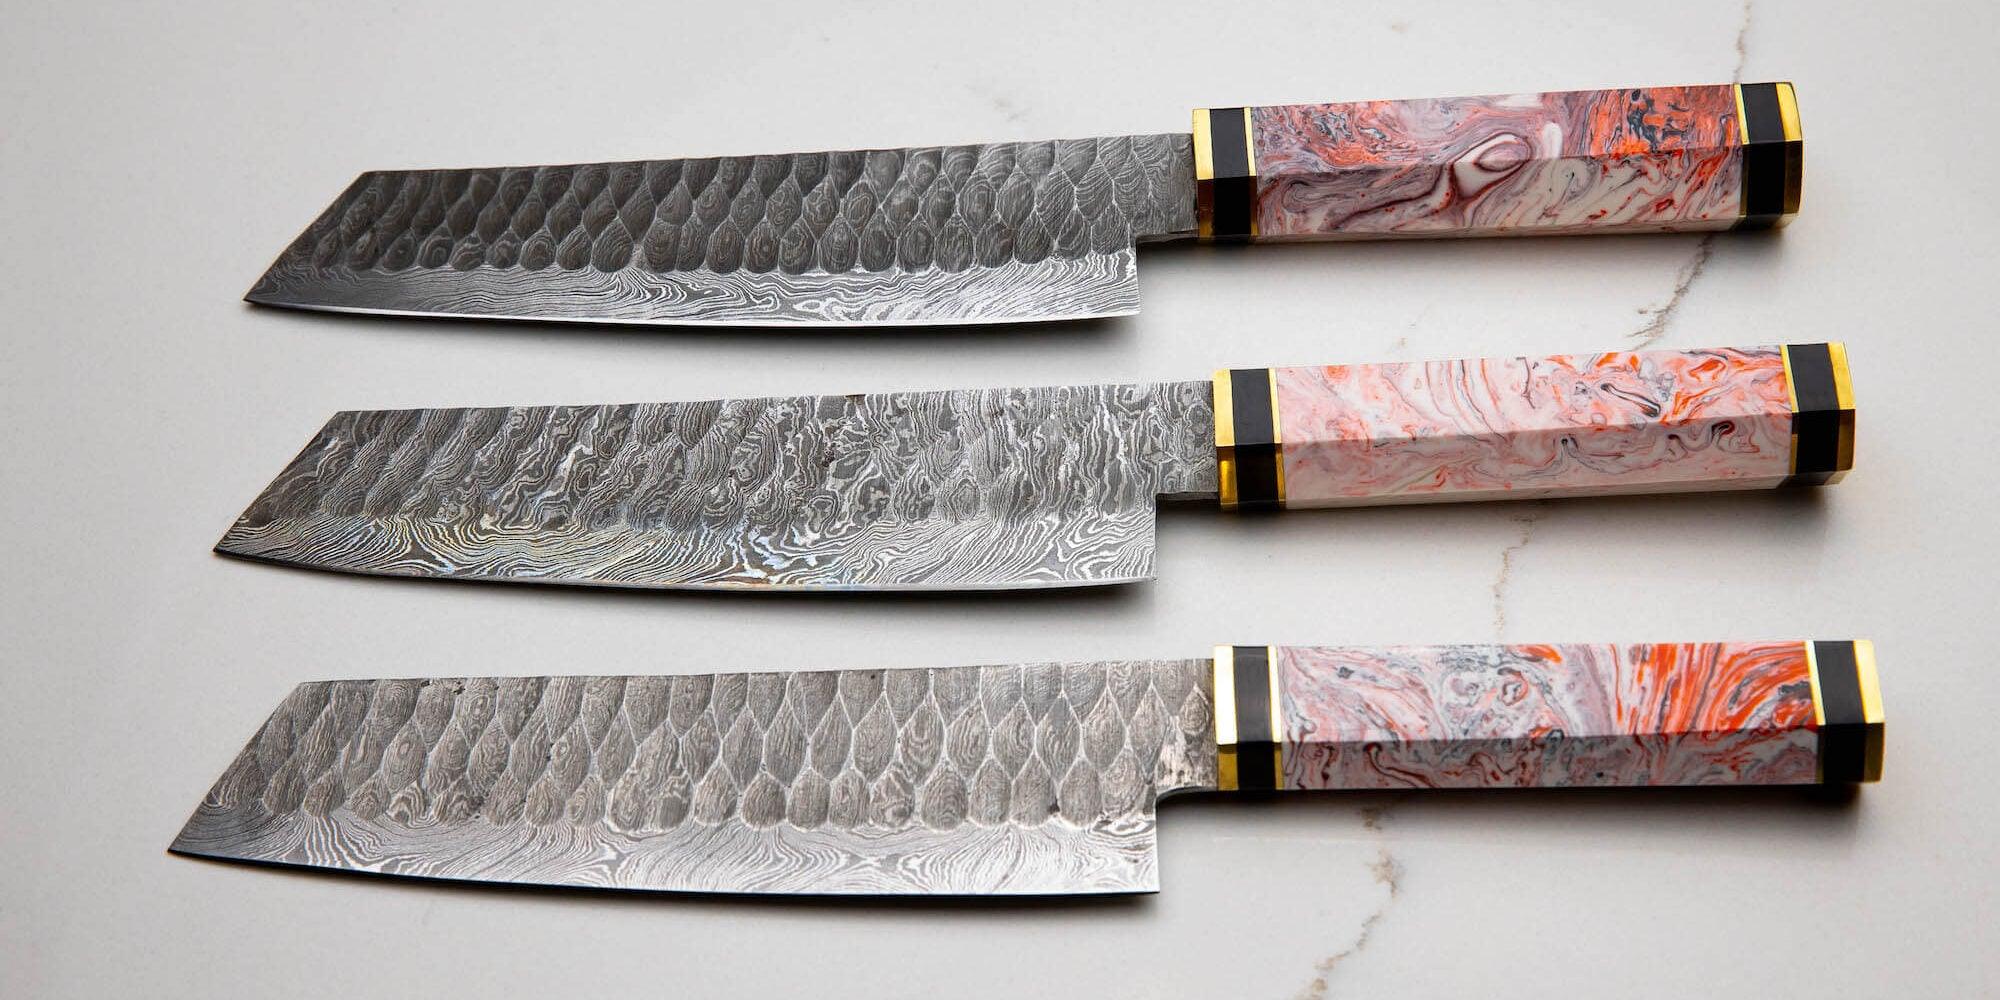
Revealing the Pattern – Etching
This is the magic moment. Cleaned the blade really well. Then dipped it into some ferric chloride solution I mixed up (careful with that stuff). The acid eats away the two types of steel at different rates. After a few minutes, pulled it out, neutralized the acid with some baking soda water, and cleaned it again. Boom! The wavy, watery Damascus pattern showed up. Looked pretty cool.
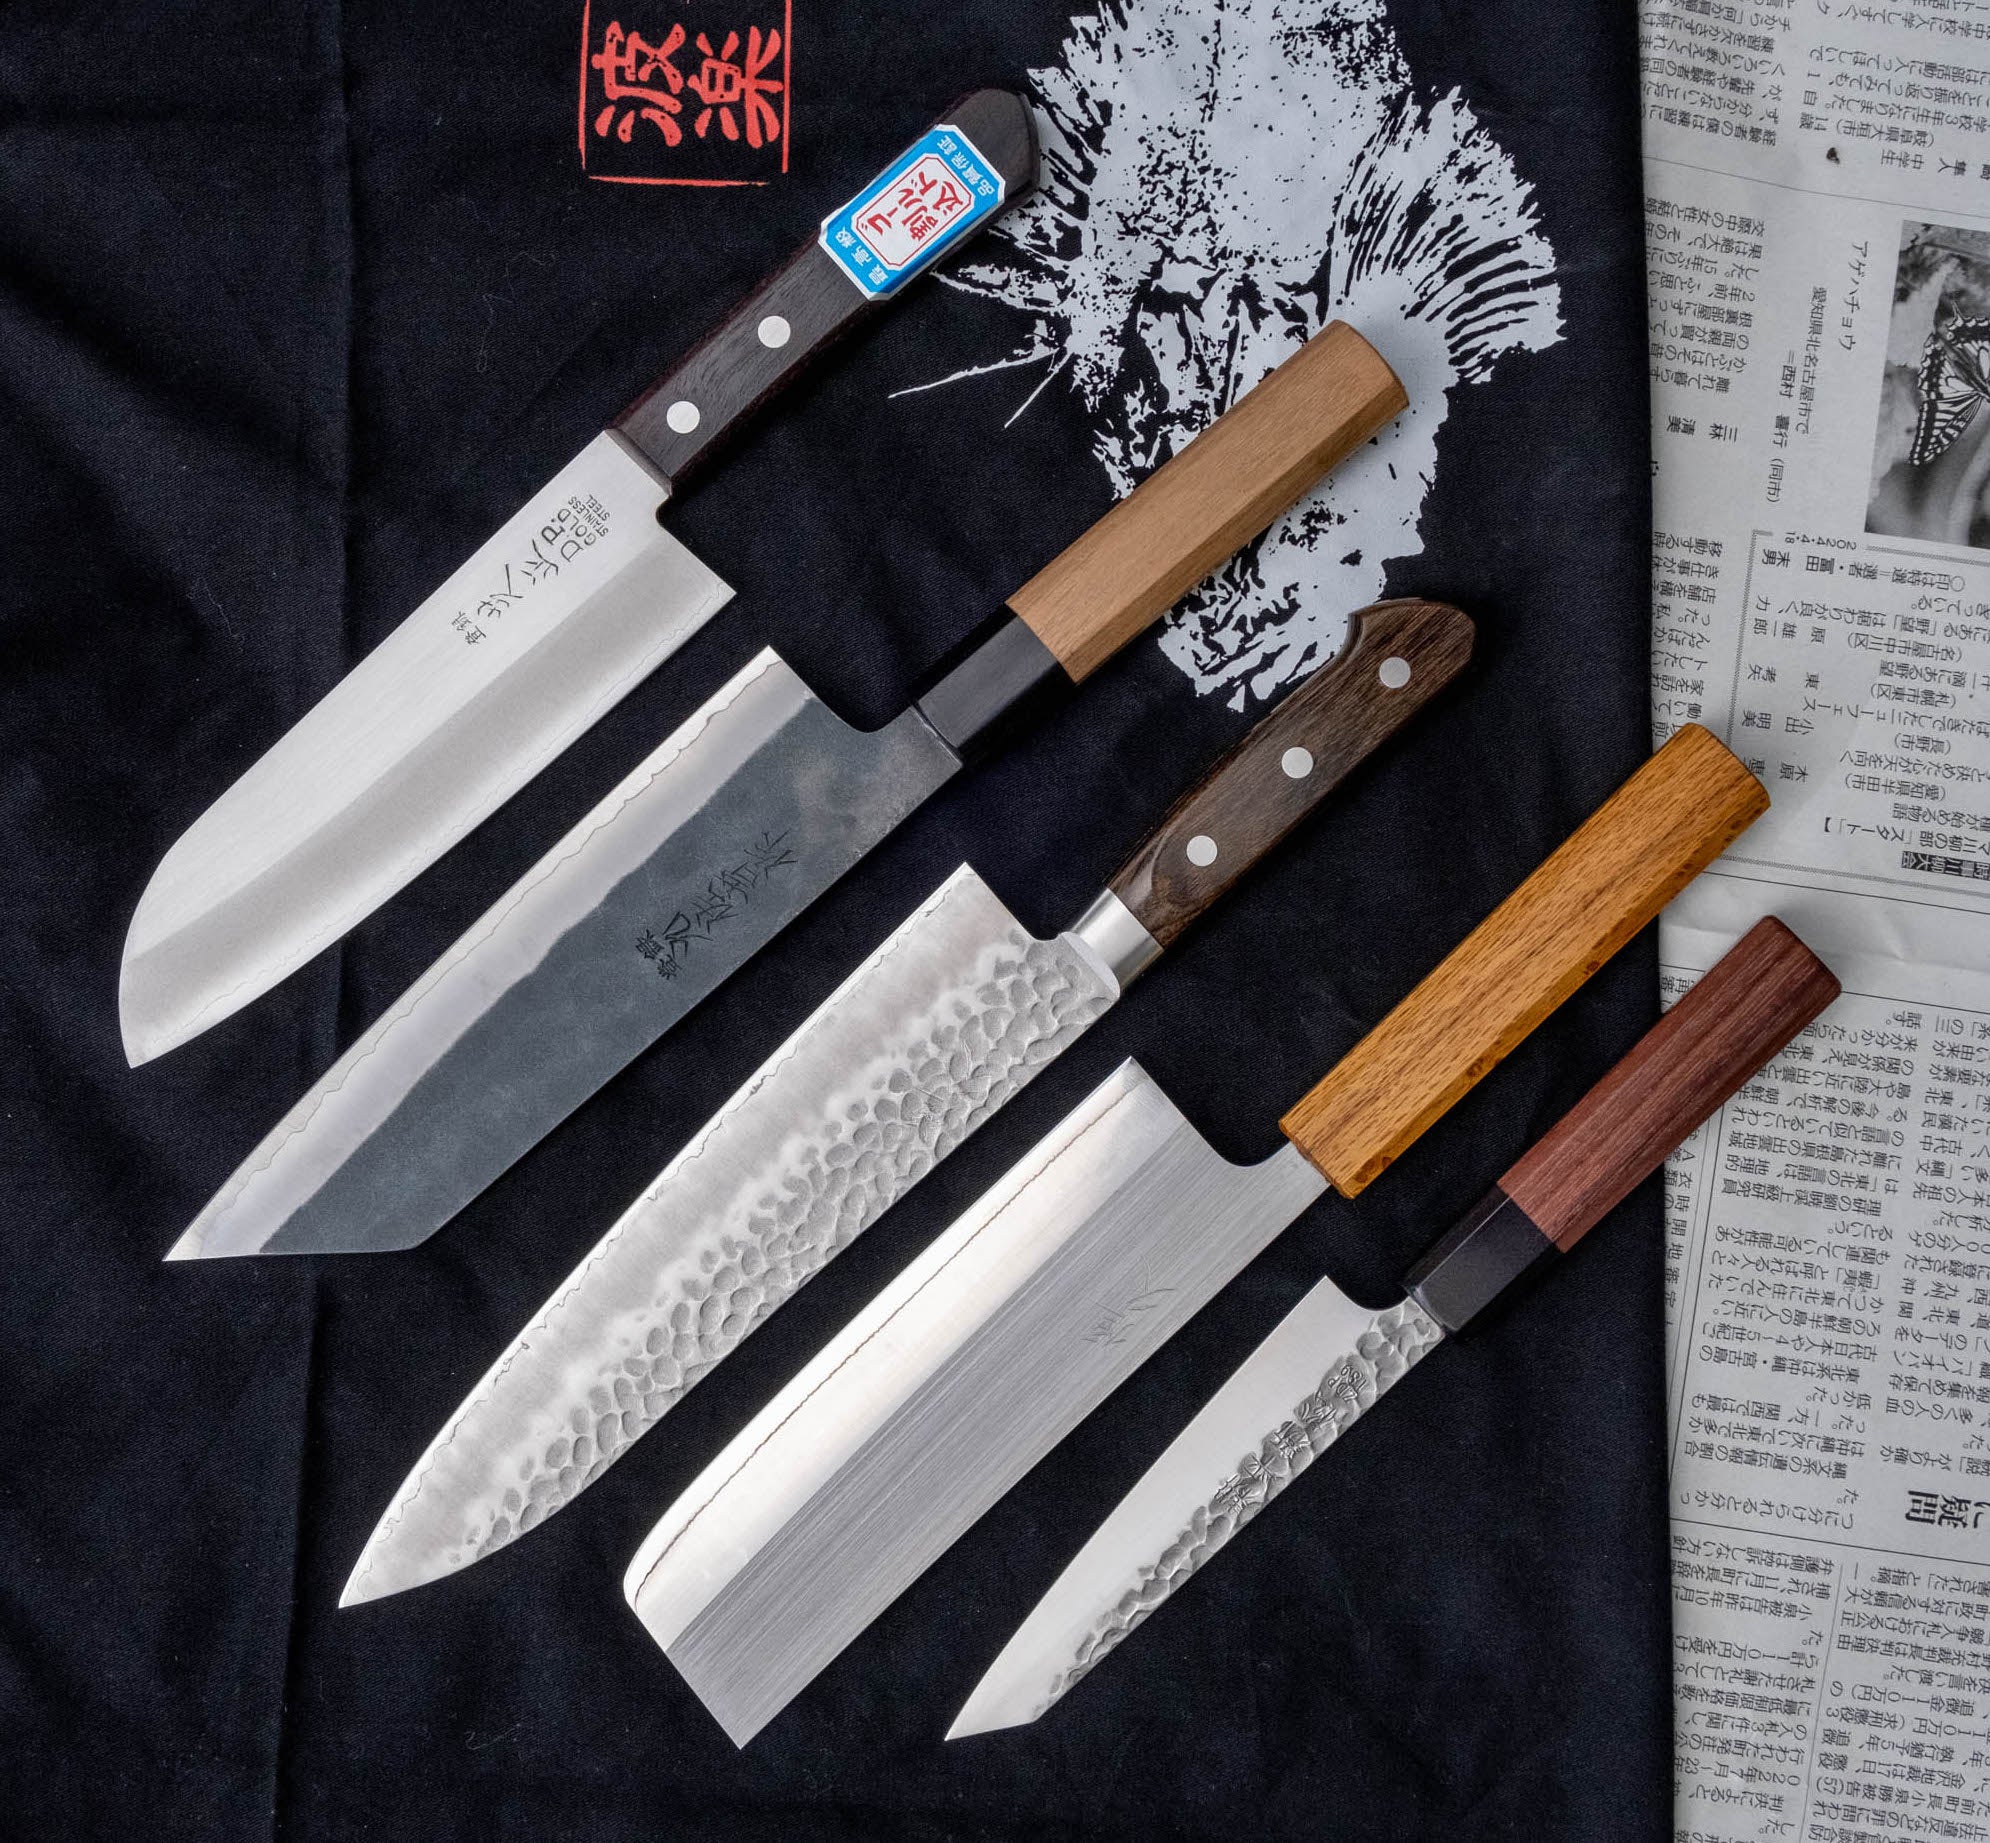
Making the Handle
Picked out some decent looking wood block for the handle scales (the side pieces). Cut out two pieces roughly matching the tang shape. Mixed up some strong epoxy, coated the tang and the inside of the wood scales. Clamped them onto the tang, making sure to line up the pin holes. Put the pins (just some brass rod) through the holes with more epoxy.
Let the epoxy cure fully. Then started shaping the handle. Used rasps, files, and lots and lots of sandpaper. Worked it down until it felt comfortable and smooth in the hand. Put some oil finish on the wood to protect it and bring out the grain.
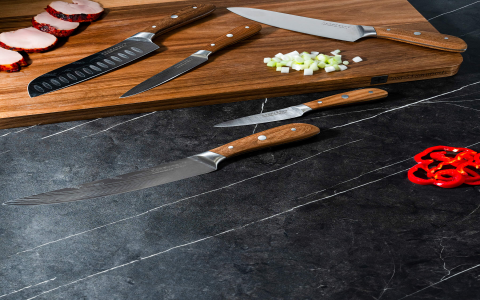
Final Sharpening
Last step! Got out my sharpening stones. Carefully worked on the edge, starting with coarser stones and moving to finer ones. Built up a nice sharp edge. Tested it on some paper – sliced clean through. Pretty satisfying.
So yeah, that was the whole adventure. Took a good bit of time and effort, hammering away, grinding, getting dirty. It’s not perfect, few mistakes here and there, but it’s a functional kitchen knife with that cool Damascus pattern that I made myself. Pretty proud of how it turned out.


