
Alright, let’s talk about those beverage bottle labels I’ve been messing around with. It was a bit of a journey, lemme tell ya.
The Start: Brainstorming and Inspiration
So, it all kicked off when I needed some snazzy labels for a batch of homemade soda I was brewing up. I figured slapping on any old sticker wouldn’t do. First thing I did was hit the internet, looking at tons of beverage labels. I wanted something that screamed “craft” but also looked professional. Think rustic fonts, clean layouts, and maybe a touch of vintage flair.
Design Time: Tools and Tribulations
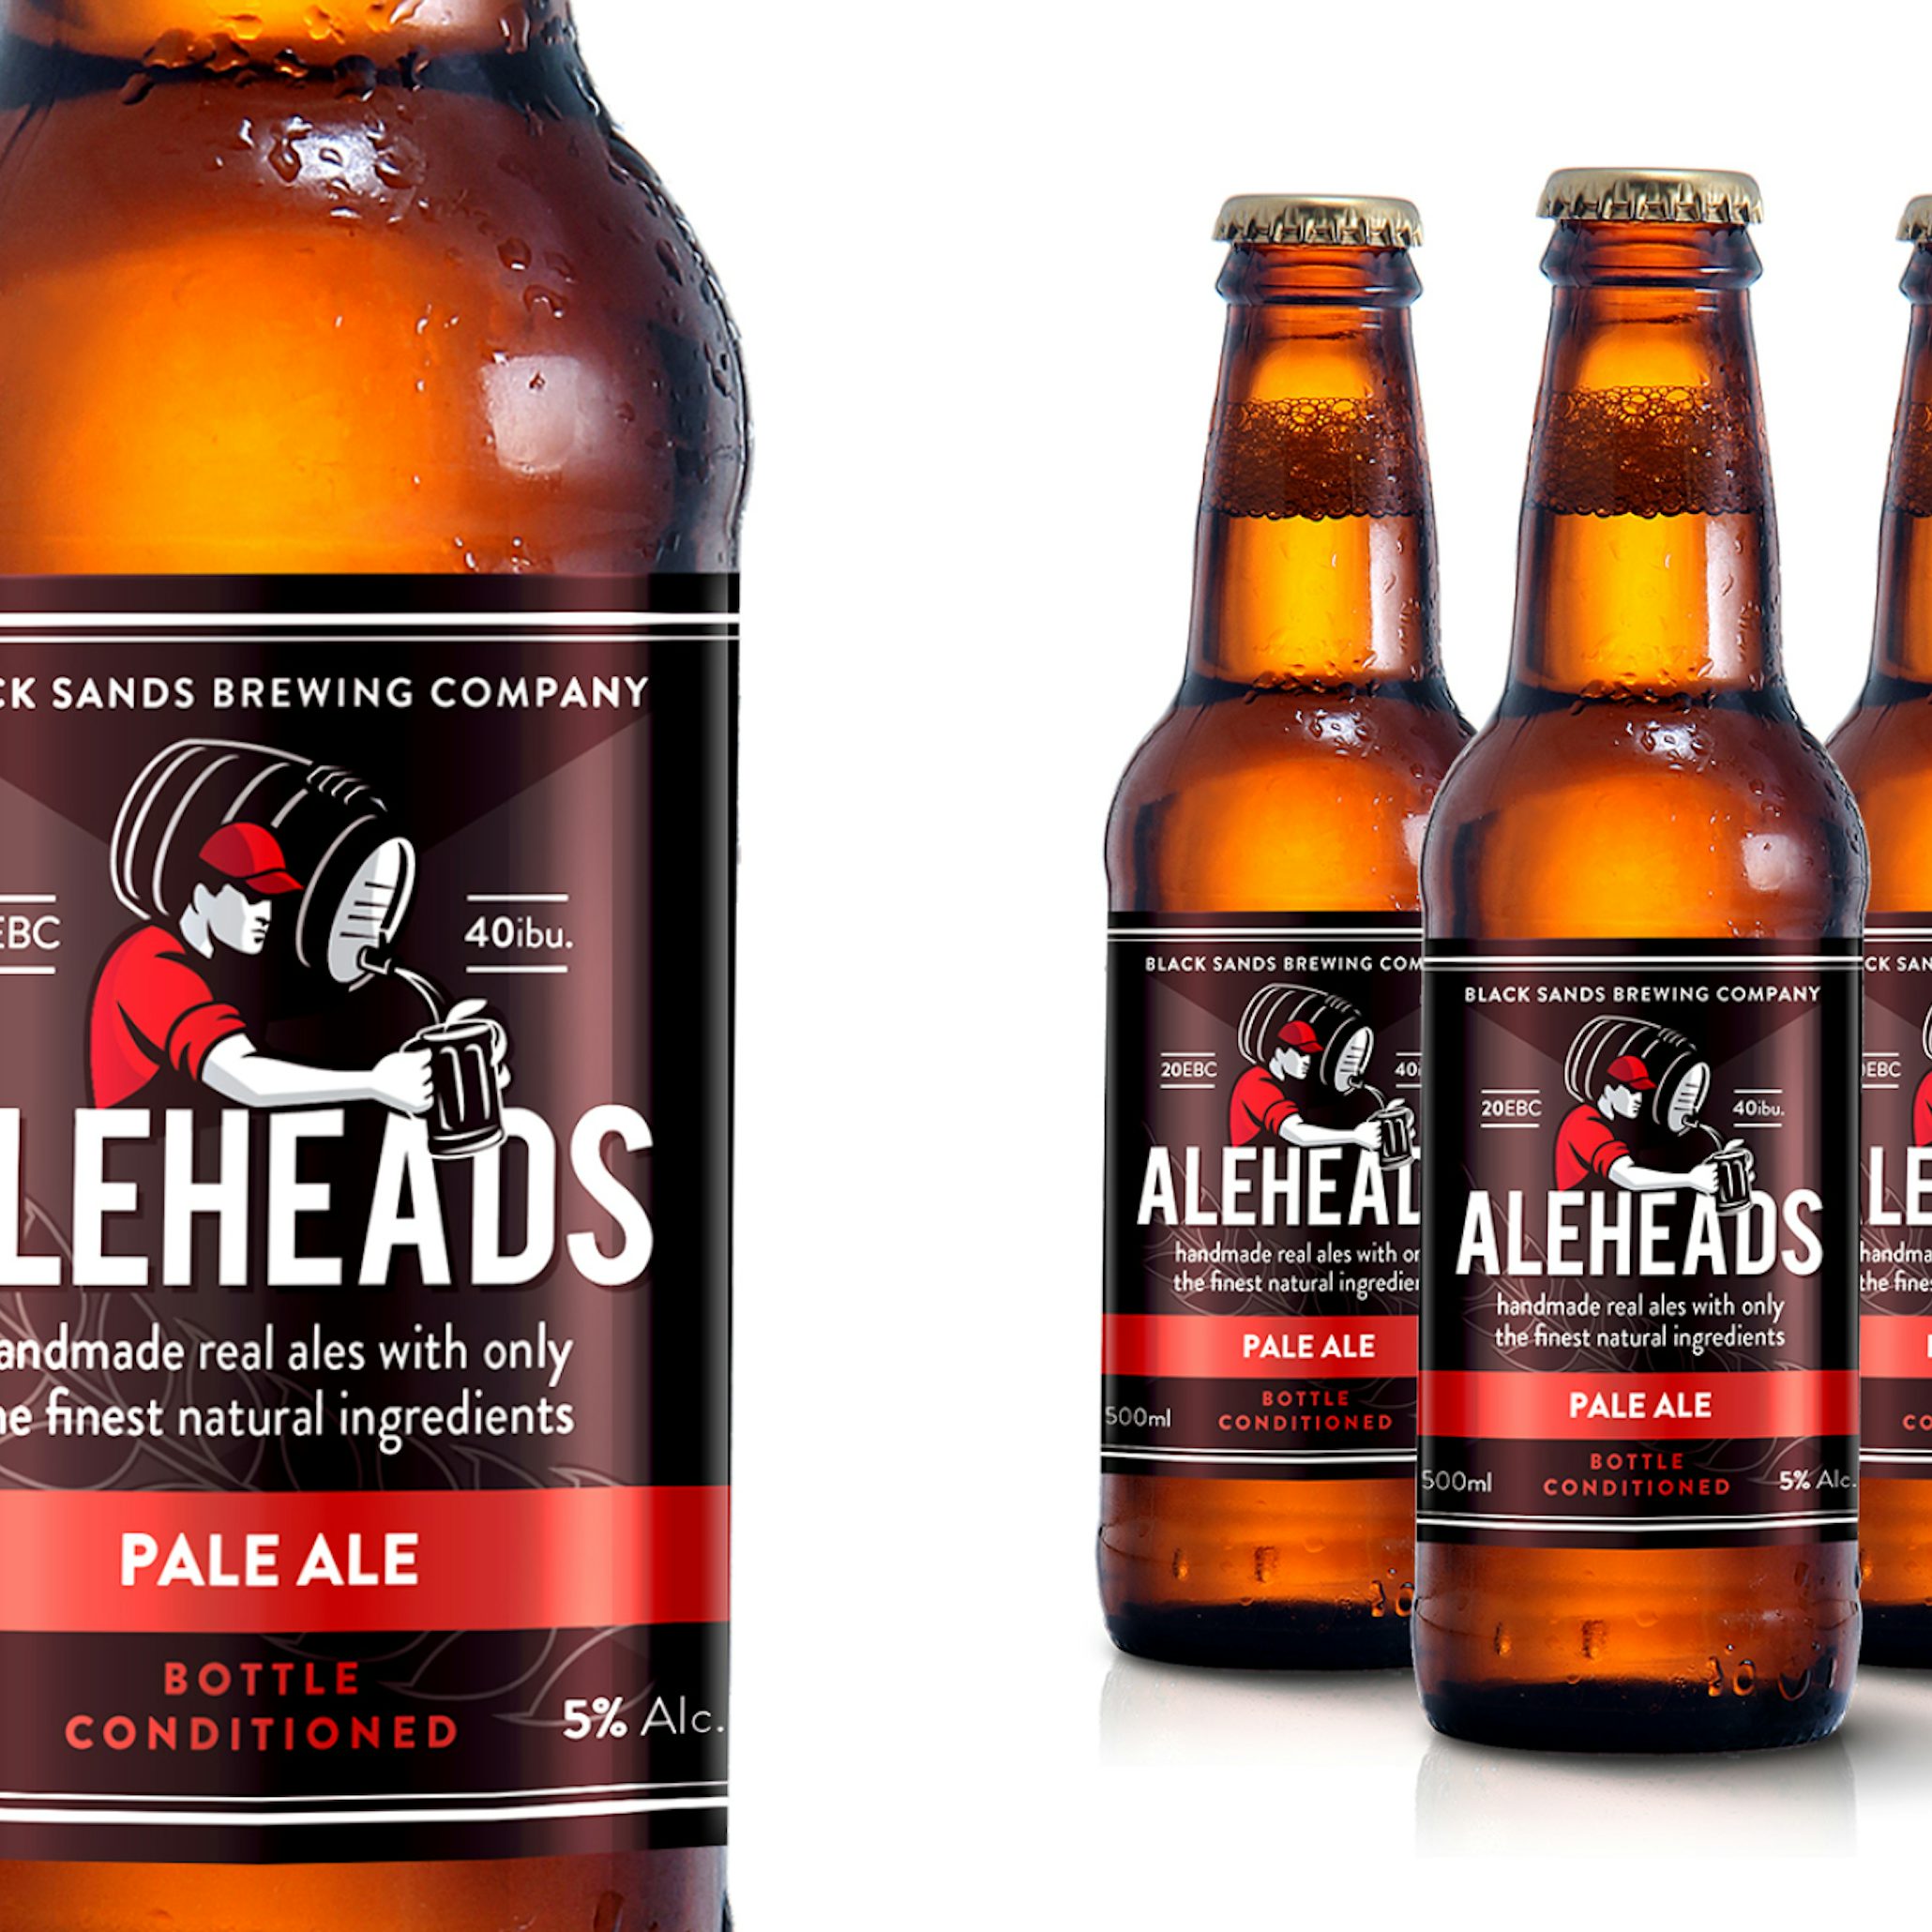
I decided to use Inkscape, ’cause it’s free and I’m kinda familiar with it. I started by sketching out a few ideas on paper. Got a rough idea of the layout, where the logo would go, the name of the soda, ingredients, all that jazz. Transferring that to Inkscape was the next step. I spent a good chunk of time fiddling with fonts. Finding the right one can make or break the whole design, ya know? Then came the colors. I wanted something that reflected the flavor of the soda – a vibrant orange for the blood orange soda, a deep red for the cherry cola, and so on.
Printing Problems: Paper and Positioning
Okay, so the design looked great on screen. But printing? That was a whole different beast. I tried printing on regular paper at first. Disaster! The ink bled, the paper was too flimsy. I ended up buying some sticker paper specifically designed for labels. That helped a lot, but I still had issues with alignment. My printer kept shifting the image slightly, so the labels weren’t centered on the bottles. After a lot of trial and error, I finally got the printer settings dialed in. Turns out, you gotta measure everything precisely and tweak the margins in your printing software. Who knew?
Cutting and Applying: Precision and Patience
Cutting out the labels was another challenge. I tried using scissors at first, but the edges were all wonky. I invested in a paper cutter, and that made things much cleaner. Peeling the backing off the sticker paper and applying the labels to the bottles…well, that required patience. Air bubbles are the enemy! I found that if I started at one edge and slowly smoothed the label down, I could avoid most of them. A credit card helped for stubborn bubbles.
The Final Result: Worth the Effort
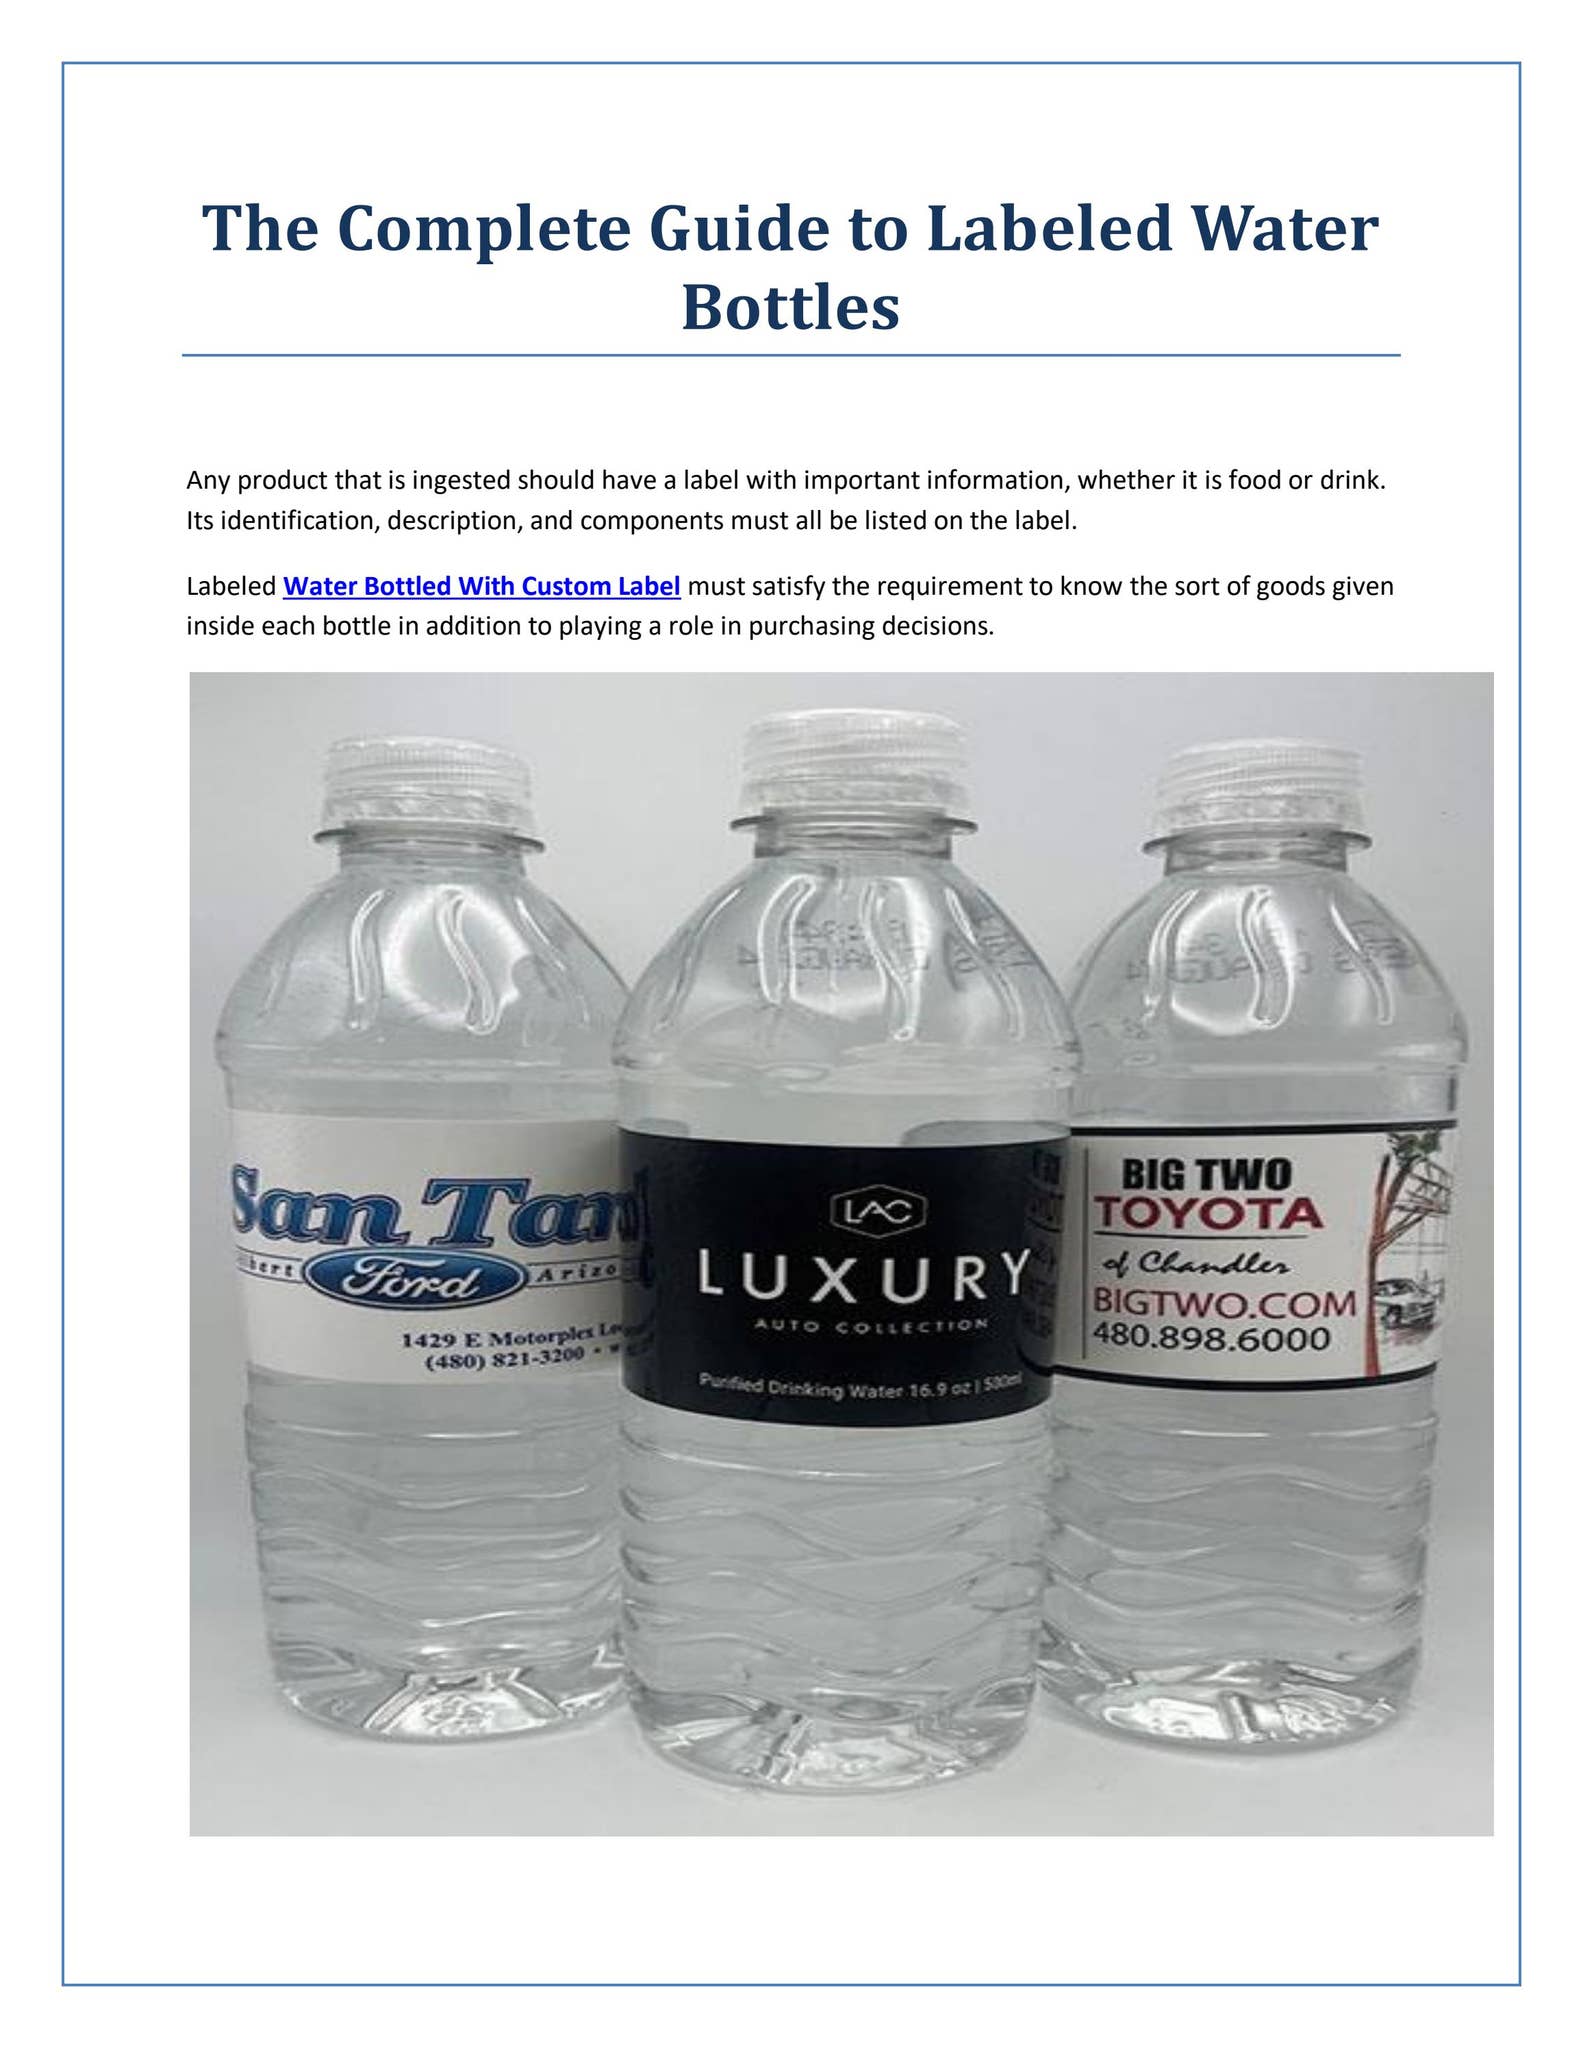
After all that, I finally had a bunch of bottles with beautiful, custom labels. They looked amazing! It was a lot more work than I expected, but totally worth it. My homemade soda looked like it came straight from a fancy boutique. Plus, I learned a ton about design, printing, and the importance of good tools.
Key Takeaways: Things I Learned
- Don’t underestimate the power of a good font.
- Invest in decent sticker paper. It makes a huge difference.
- Printer settings are your friend. Learn to tweak them.
- Patience is key when applying labels.
So, yeah, that’s my beverage bottle label adventure. Hope it helps if you’re thinking of tackling something similar!


