Getting the Idea
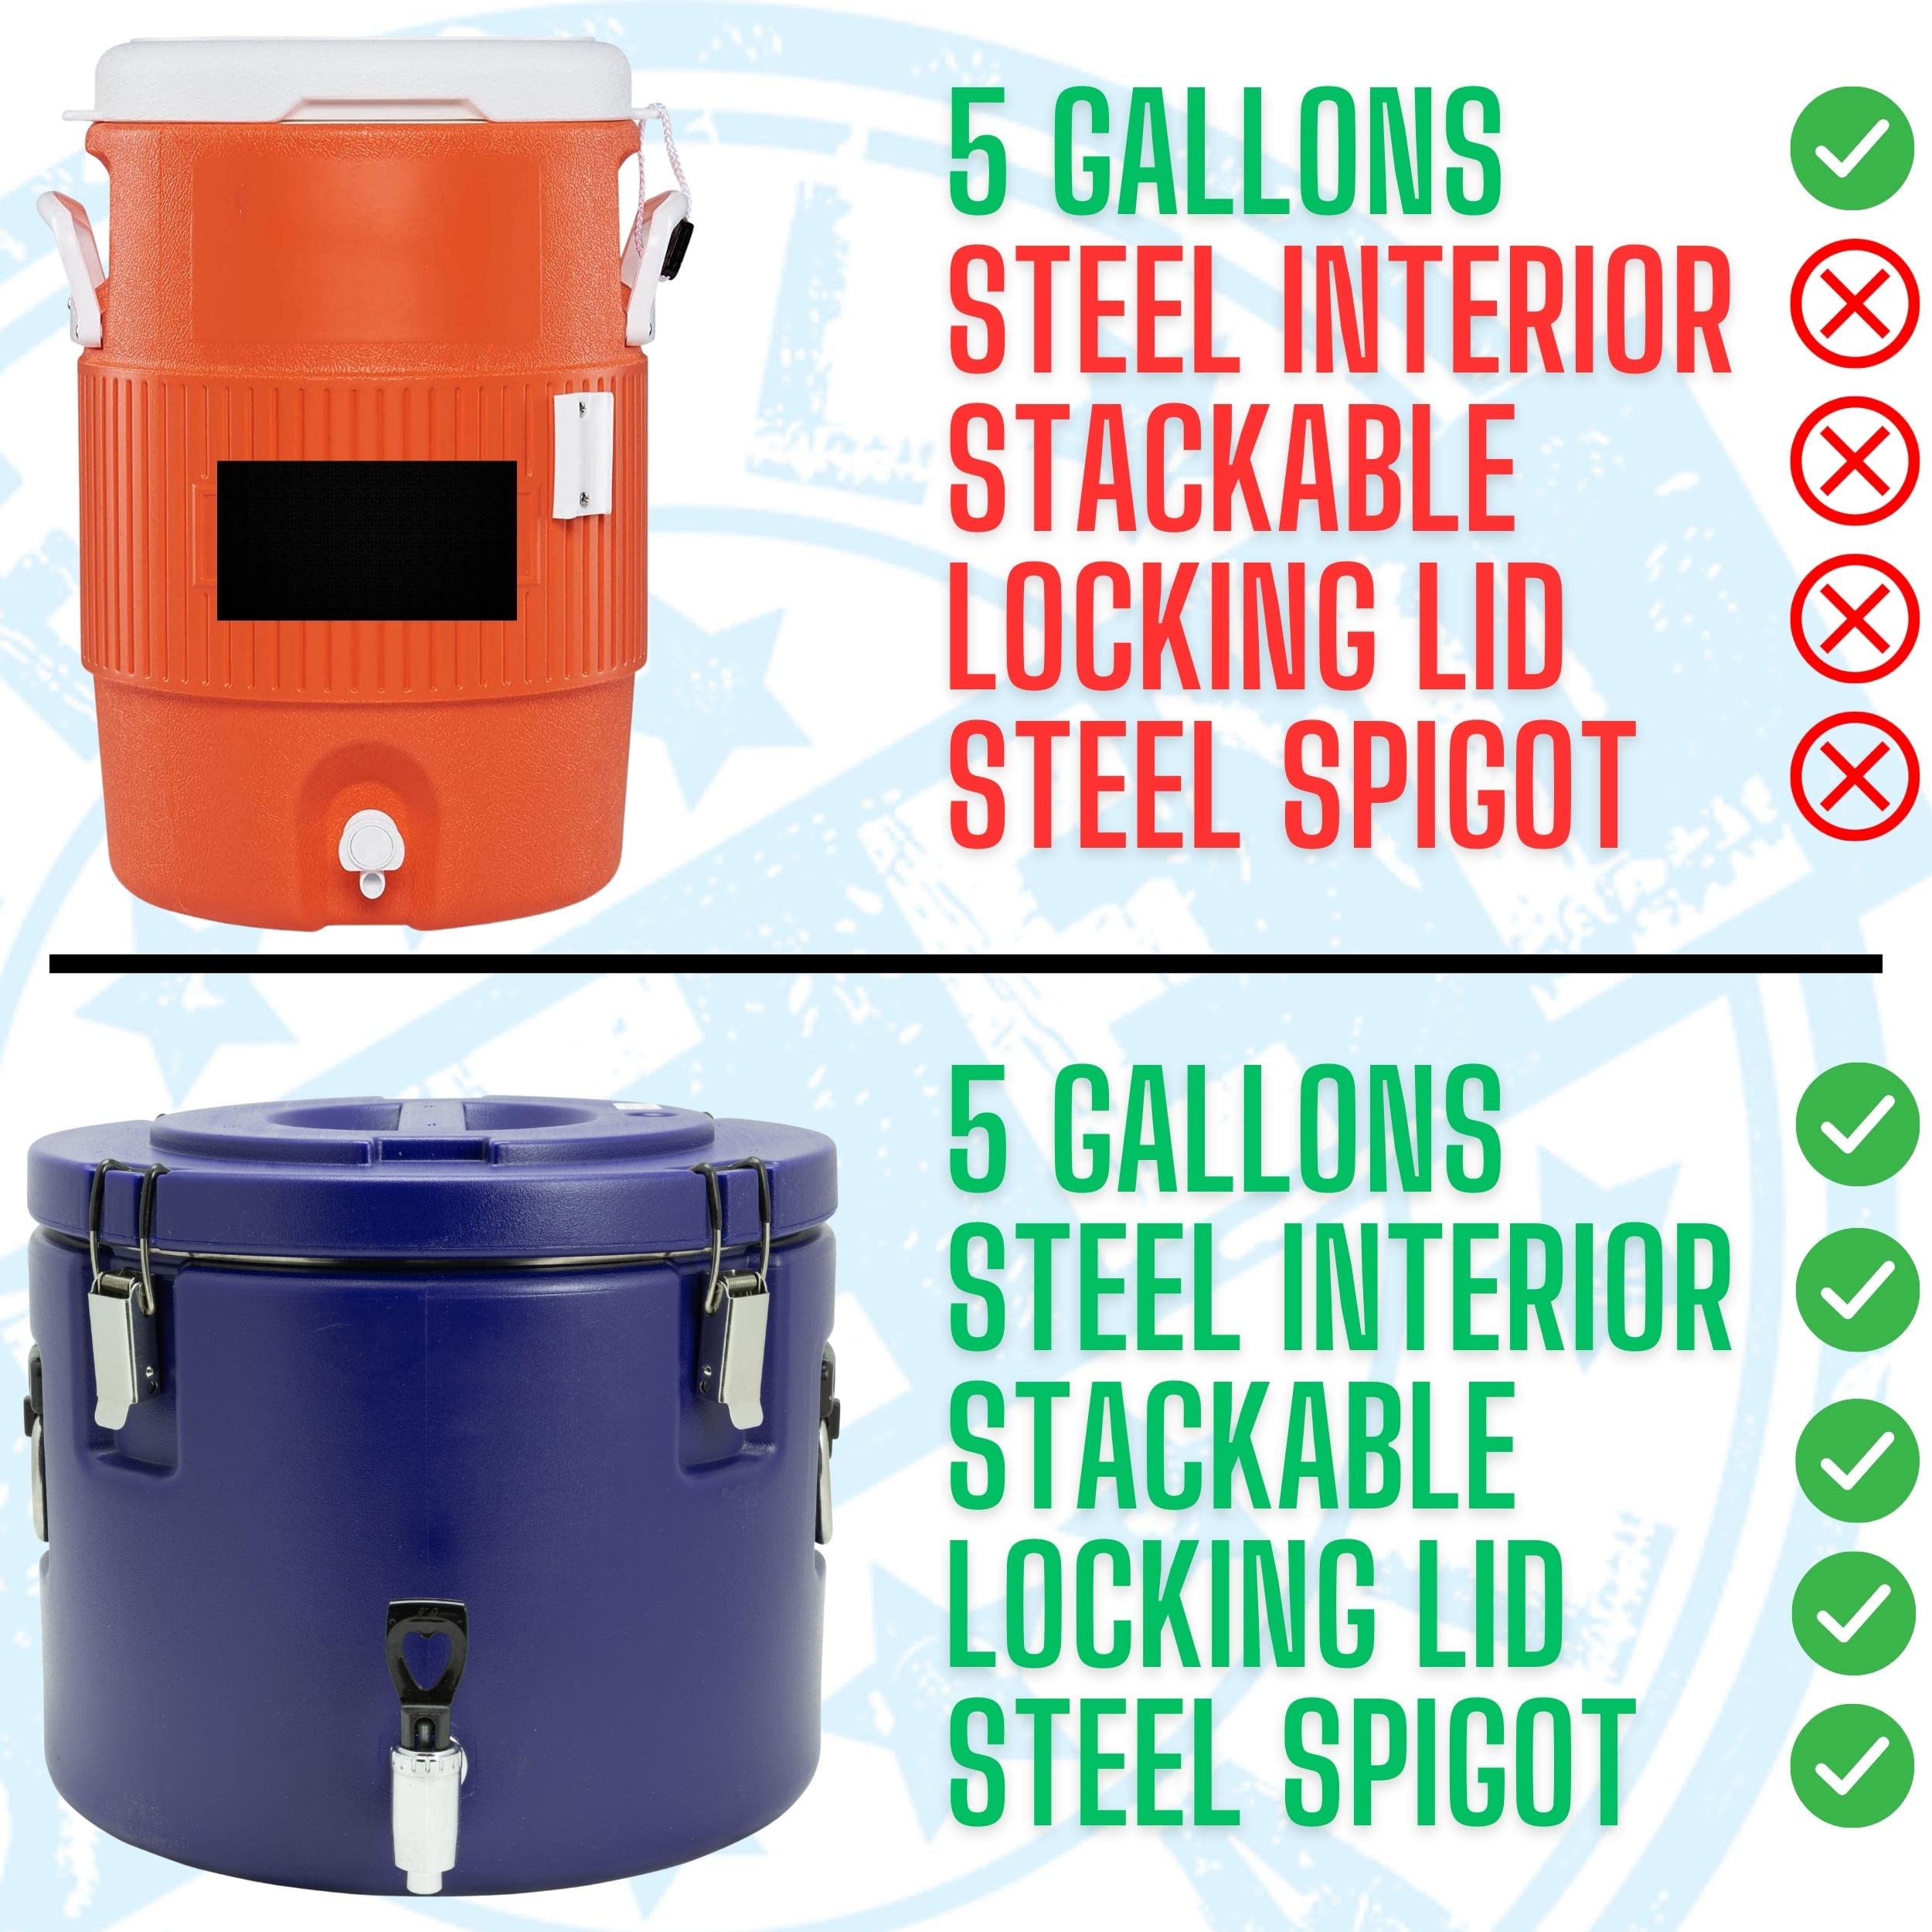
So, the other day, I was thinking about our get-togethers. Always got folks wanting drinks, right? I was tired of dealing with big jugs and bottles tipping over, or people sticking their hands into the ice chest. I remembered seeing those fancy drink dispensers, but then I looked at my trusty old cooler sitting in the garage. Lightbulb moment! Why not just add a tap, you know, a spigot, directly to the cooler? Seemed practical.
Gathering the Bits and Pieces
First things first, I needed the main part: the spigot itself. Made sure to find one that was food-grade. Didn’t want any weird tastes. Found a simple stainless steel one that looked sturdy enough. Then, I checked my toolbox. Needed my drill, definitely. Found a step drill bit, which I thought would be better than a regular bit for making a clean hole in plastic. Also grabbed some rubber washers (super important for sealing) and some metal washers, plus the nut that came with the spigot. Oh, and some food-safe silicone sealant, just in case.

Doing the Work: Drilling and Fitting
Alright, time to actually do it. I picked a spot on the cooler. Had to think about it – low enough to drain most of the liquid, but high enough so the spout wouldn’t drag on the ground when I set the cooler down. Marked it with a Sharpie.
Took a deep breath and started drilling. Went slow at first with a small pilot hole, then switched to the step bit. Opened the hole up bit by bit until it was just the right size for the spigot’s threaded part. Lots of plastic shavings went flying, so I made sure to clean the area inside and out really well afterwards. Didn’t want plastic bits in our lemonade!
Now for the slightly tricky part: fitting the spigot. I put the spigot through the hole from the outside. On the inside, I slid on a rubber washer first – this is key for preventing leaks. Then I put on a metal washer, and finally threaded the nut on. Tightened it up by hand first, then gave it a gentle turn with a wrench. You don’t want to crank it down too hard and crack the cooler wall or strip the plastic threads on the spigot if it has them. Just snug and secure.
Just to be extra sure, I wiped the area around the spigot on the outside clean and applied a thin bead of the food-safe silicone sealant. Probably wasn’t strictly necessary if the washer sealed well, but hey, better safe than sorry. Let that sit and cure for the time recommended on the tube, usually about 24 hours.
The Test Run and Final Result
The next day, it was time for the moment of truth. I closed the spigot, filled the cooler up with water, and set it on some paper towels on the counter. Left it there for a good few hours, checking periodically. No drips! The paper towels stayed bone dry. Success!
We used it at our picnic last weekend. Filled it with a huge batch of iced tea. It worked like a charm. People could just walk up, put their cup under the spigot, and pour. No more mess, no more reaching into the ice. Super convenient. Honestly, it’s a simple modification but makes a big difference. Glad I took the time to do it.


