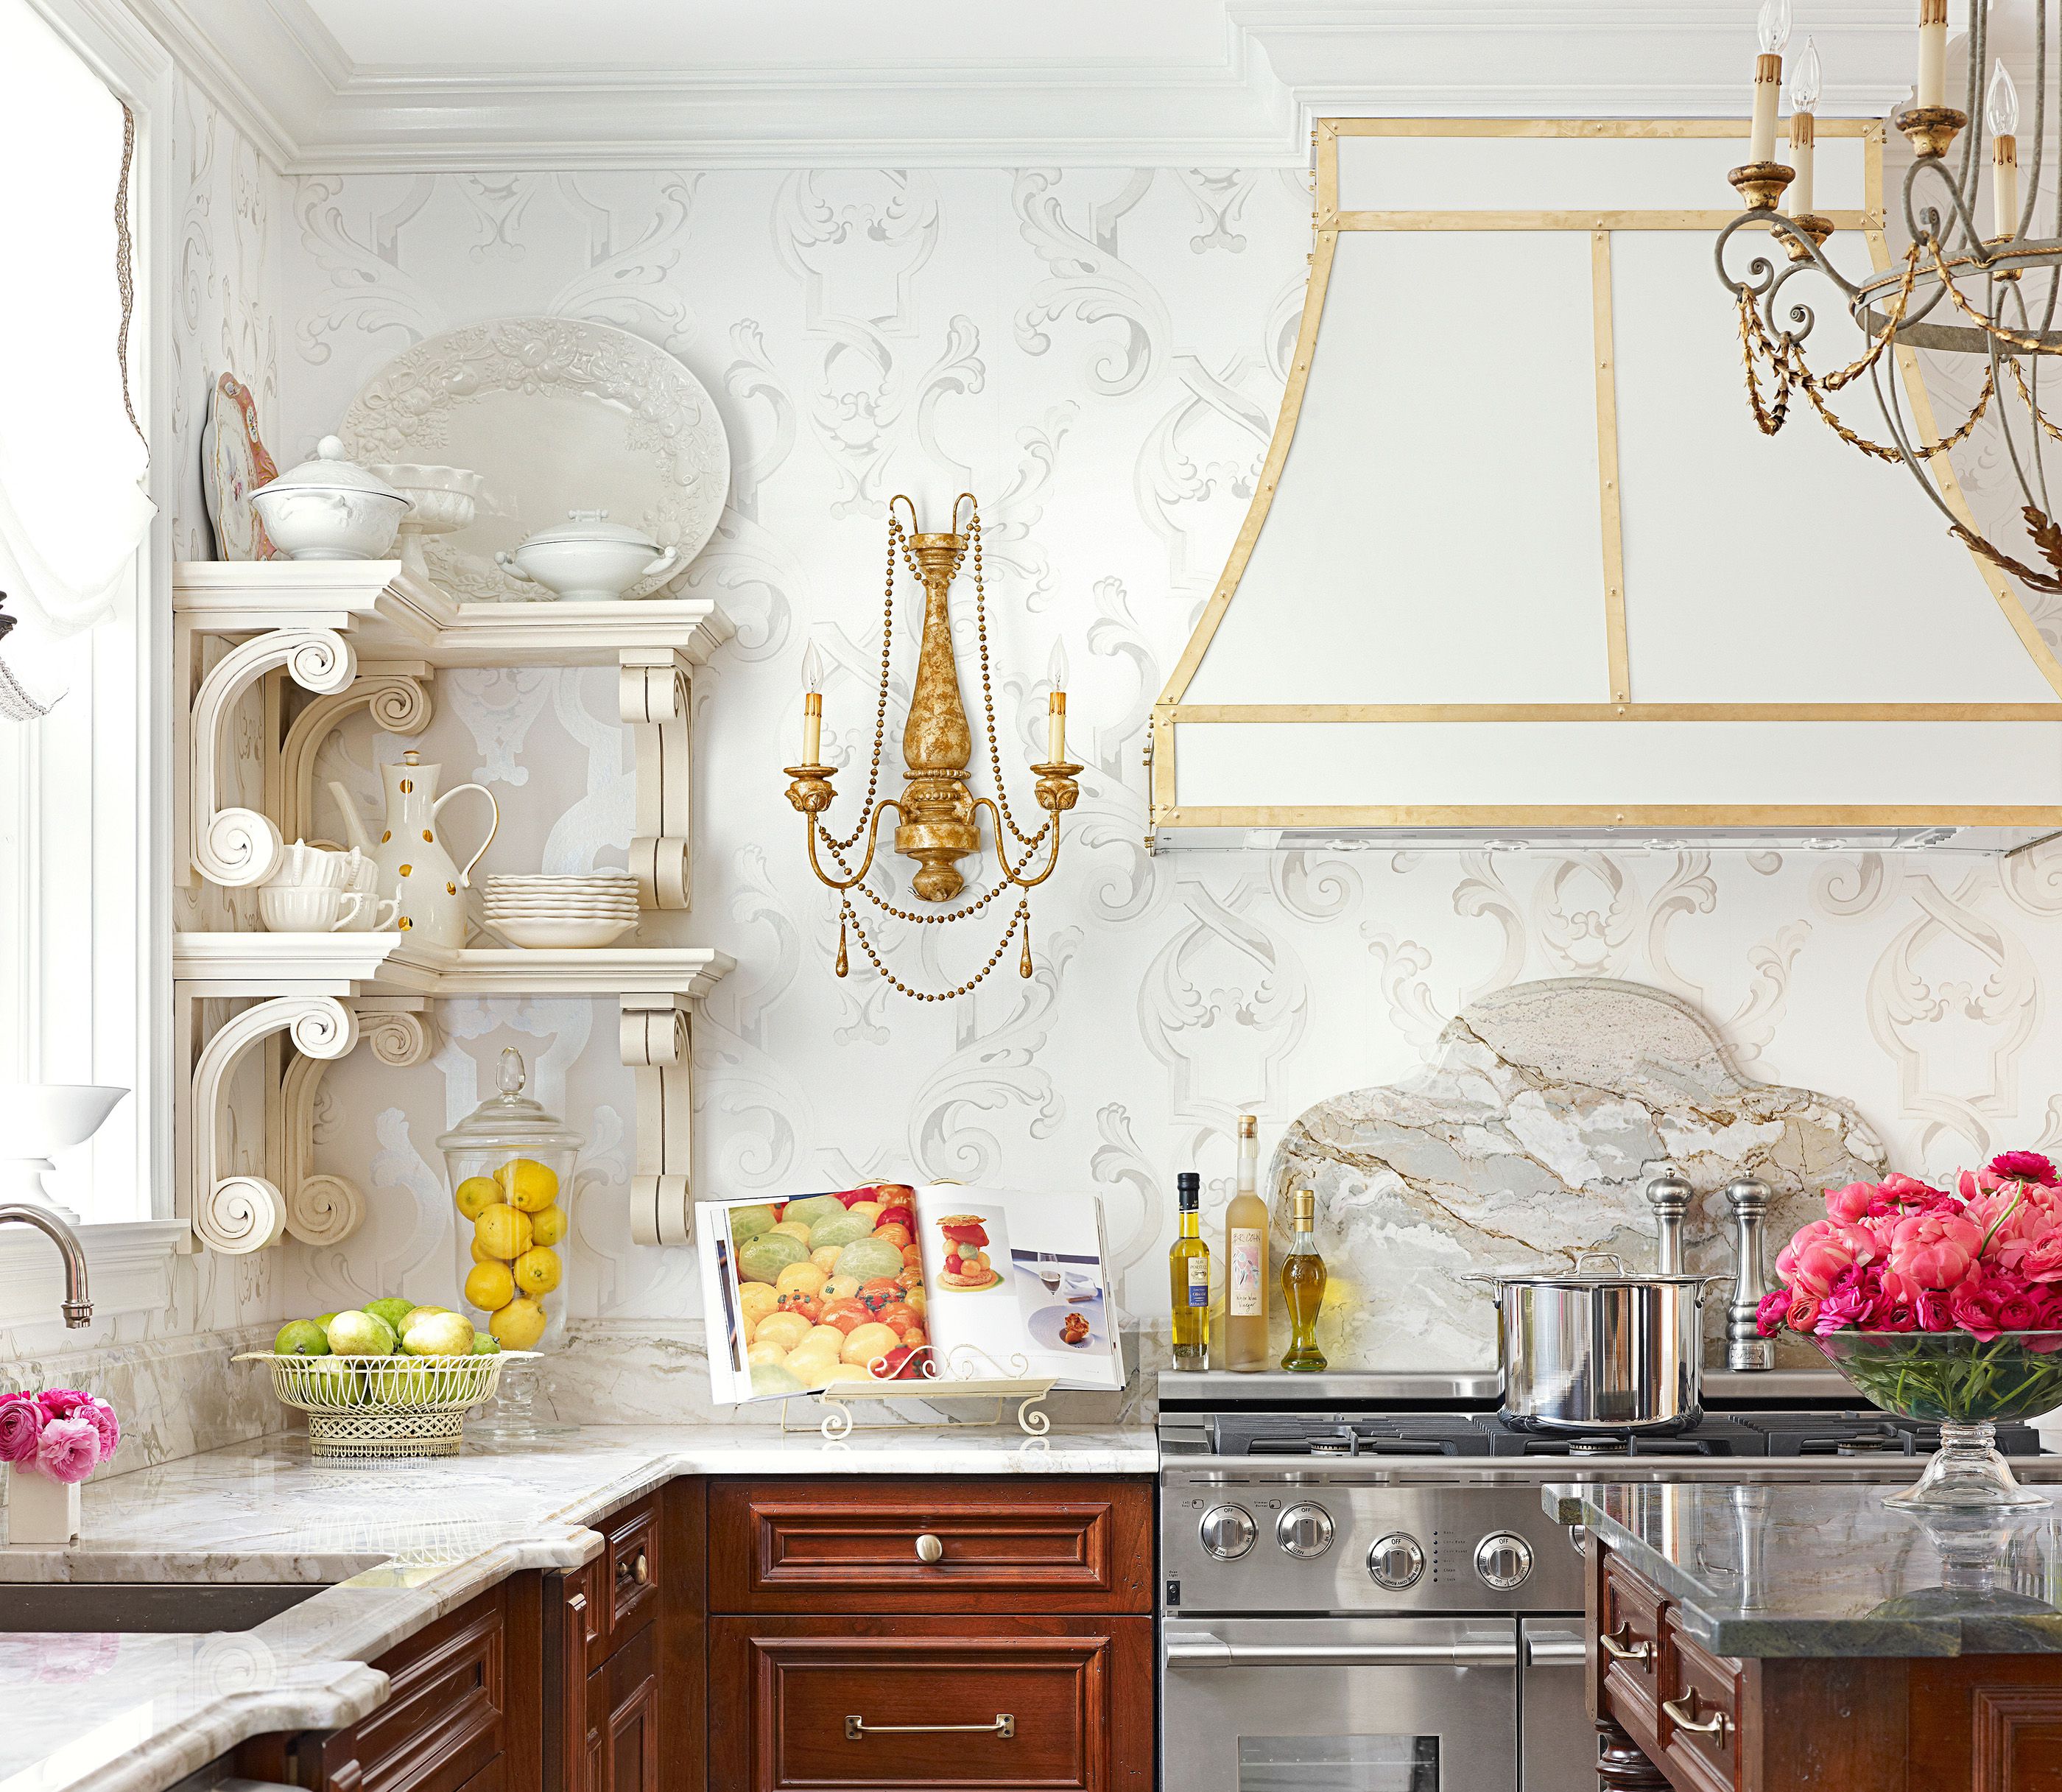
Okay, so, kitchen wallpaper, huh? Never thought I’d be the kinda guy messing with wallpaper, but here we are. My wife, bless her heart, she gets these ideas, and I’m usually the one who ends up making them happen. This time it was the kitchen. She wanted a new vibe, said the paint was boring. Wallpaper it is.
First thing’s first: ripping down the old stuff. That was a pain. Seriously, whoever put that stuff up originally must’ve used industrial-strength adhesive. I swear, I was scraping and steaming for hours. My arms were killing me. Pro tip: get a good scraper. The cheap plastic ones are useless. You need something with a metal blade and a decent handle. Also, be prepared to make a mess. Bits of wallpaper and glue everywhere.

Once the walls were (mostly) clean, I had to patch up a few spots. You know, nail holes, little dents, that kinda thing. Used some spackle, let it dry, then sanded it smooth. Gotta get that wall as even as possible, otherwise the wallpaper will show every imperfection. Trust me, you don’t want that.
Next up: priming. Now, I almost skipped this step, thinking it wasn’t a big deal. But my wife insisted, and thank goodness she did. Priming helps the wallpaper stick better and prevents the old paint color from bleeding through. We used a special wallpaper primer, just brushed it on, let it dry overnight.
Then came the fun part: actually hanging the wallpaper. We went with a peel-and-stick type. Seemed easier than the traditional paste-the-wall stuff. And it mostly was. I measured the wall, cut the first strip of wallpaper a little longer than needed, and then carefully peeled off the backing. This is where you need to be patient. Lining up the edges perfectly is crucial. If you mess up, you can usually peel it back off and try again, but the more you do that, the less sticky it gets.
I used a smoothing tool – basically a plastic squeegee – to get rid of any air bubbles. Start from the center and work your way out. And don’t be afraid to press hard. You want that wallpaper to really adhere to the wall.
The corners were tricky. I ended up having to cut the wallpaper at an angle and overlap it a bit. It’s not perfect, but you can’t really see it unless you’re looking for it. And then, the light switches and electrical outlets? Ugh. Had to carefully cut around those with a utility knife. Make sure to turn off the power first! Don’t want to get electrocuted.
Repeat for all the strips of wallpaper. Matching the pattern was a bit of a challenge, but we managed. There were a few times where I had to redo a strip because I messed up the alignment, but hey, that’s part of the process.
Finally, once all the wallpaper was up, I trimmed off the excess at the top and bottom with the utility knife. And that was it! Done!

Lessons Learned:
- Prep work is key. Don’t skimp on cleaning, patching, and priming. It’ll make a huge difference in the final result.
- Peel-and-stick is easier, but not foolproof. Still requires patience and attention to detail.
- Don’t be afraid to ask for help. My wife was a lifesaver when it came to holding the wallpaper and offering moral support.
- It’s gonna take longer than you think. Set aside a weekend, at least.
Overall, I’m pretty happy with how it turned out. The kitchen looks a lot brighter and more modern. And my wife loves it, which is the most important thing. Would I do it again? Maybe. But next time, I’m hiring someone. My back can’t take another wallpapering marathon.


