
Alright, so I had this box of phyllo dough in the freezer, you know, just sitting there. And a couple of jars of jam – strawberry, apricot, the usual suspects. I thought, why not try and make something sweet? Been a while since I messed around with phyllo, and honestly, I was craving something a bit flaky and fruity.
Getting Started – The Prep Work
First things first, I had to thaw that phyllo. That’s always the tricky part, isn’t it? You gotta plan ahead. I took it out of the freezer the night before and let it sit in the fridge. Then, about an hour before I was ready to roll, I put it on the counter. Patience is key, otherwise, it just cracks and breaks on you. While that was coming to room temp, I got my other stuff ready.

- Melted some butter. Quite a bit, actually. Phyllo loves butter.
- Got my jams out, gave them a good stir.
- Pulled out a baking sheet and lined it with parchment paper. Less cleanup later, always a win.
- Oh, and a pastry brush. Definitely need that.
The Actual Making Of The Things
So, phyllo finally ready. I unrolled it super carefully. That stuff is like paper, I swear. I kept a damp (not wet!) tea towel handy to cover the sheets I wasn’t working with immediately, so they wouldn’t dry out. This is a game-changer, trust me.
I decided to make little triangles, kinda like mini strudels or turnovers. Here’s what I did:
Step 1: Laid out one sheet of phyllo. Brushed it all over with melted butter. You don’t need to drown it, just a nice even coat.
Step 2: Topped it with another sheet. Buttered that one too. I did about three layers of phyllo per dessert. Some folks do more, some less, but three felt right for me today. Not too thick, not too flimsy.
Step 3: Then I cut the layered sheets into long strips. Maybe about 3 inches wide? I wasn’t super precise, just eyeballed it.
Step 4: At one end of each strip, I plopped a small spoonful of jam. Not too much, or it’ll ooze out everywhere during baking. Learned that the hard way before!
Step 5: Folding time! I folded one corner over the jam to make a triangle, then kept folding it over itself, like you’re folding a flag, until I got to the end of the strip. It’s easier than it sounds once you get the hang of it.
I repeated this until I ran out of phyllo or patience, whichever came first. Today, it was the phyllo. I made a good batch with both strawberry and apricot jam.
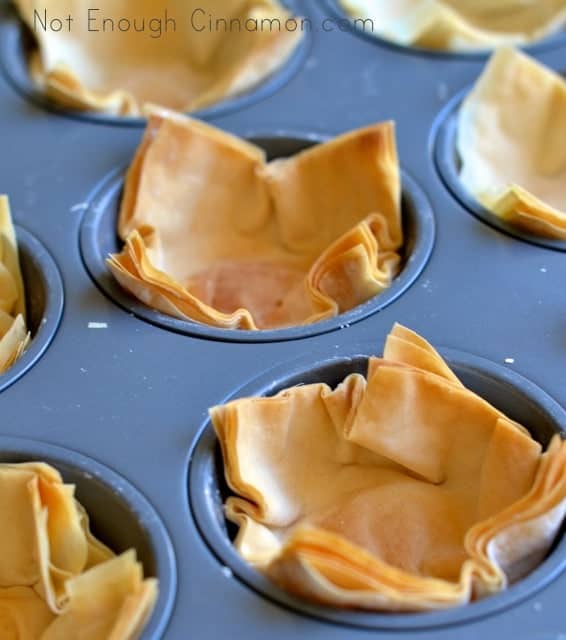
Once they were all folded, I arranged them on my parchment-lined baking sheet. Gave them one last little brush of butter on top for good measure. Helps them get all golden and crispy.
Baking and The Best Part – Eating!
I preheated my oven to about 375°F (that’s around 190°C). Popped them in. I didn’t set a timer initially, just kept an eye on them. They bake pretty fast.
After about 15-20 minutes, they were looking gorgeous. Golden brown, puffed up a bit, and the kitchen smelled amazing. That buttery, fruity smell is just the best.
I let them cool on the baking sheet for a few minutes because that jam filling is like molten lava when it first comes out. Then, I transferred them to a wire rack to cool a bit more.
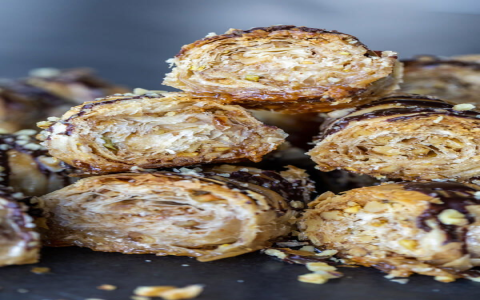
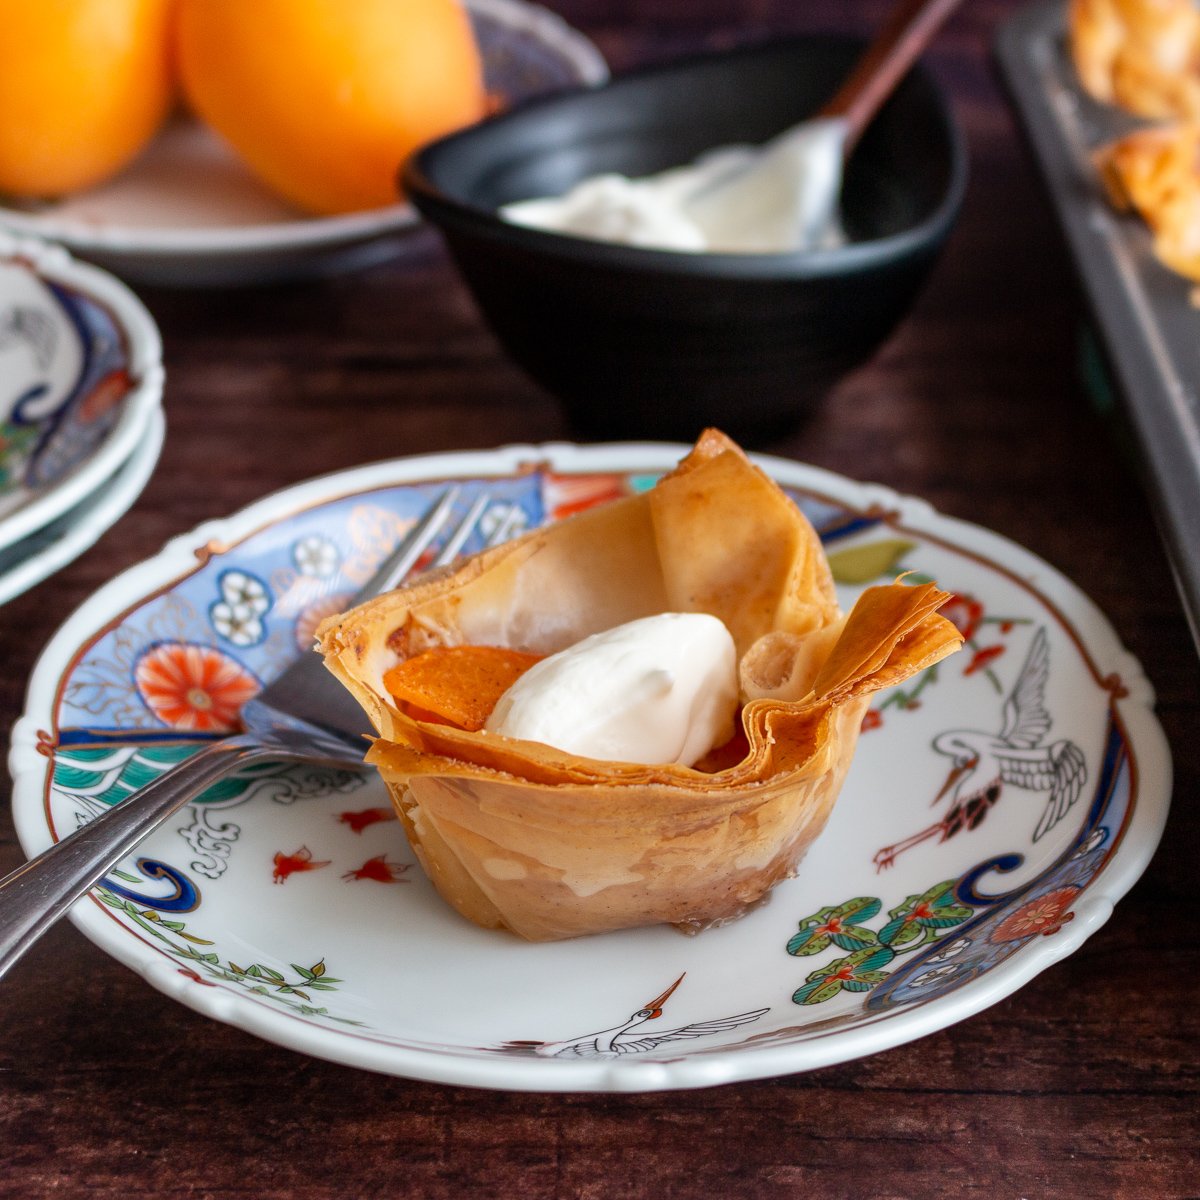
The verdict? So good! Crispy, flaky, with that sweet, warm jam inside. The strawberry ones were my favorite, but the apricot had a nice tang too. They weren’t all perfectly uniform, some were a bit rustic looking, but who cares? They tasted homemade and delicious, and that’s what matters.
It was a fun little baking project. A bit fiddly with the phyllo, sure, but totally worth it. Now I’ve got a nice little treat to go with my afternoon tea for the next couple of days. If they last that long!


