
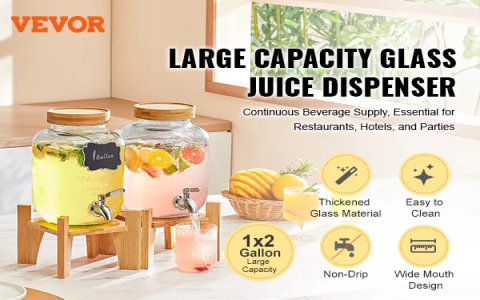
Okay folks, gather ’round. So I finally caved and got one of those cute little countertop beverage dispensers – you know, the ones you see at fancy brunches? Figured it’d be fun for summer drinks. Let me tell you, opening the box was way less glamorous than those Pinterest pics made it look!
Step 1: The Great Unboxing & First WTF Moment

Ripped open the box like a kid at Christmas. Pulled out the main jar, the metal frame, the little tap nozzle, a bunch of plastic tubes and connectors… and a tiny instruction leaflet that looked like it was translated through ten different languages. Seriously, the diagrams were squiggles. Felt like the stupidest person alive trying to figure which tube went where. Ended up staring at a stock photo online for five minutes just to match the parts.
Step 2: Assembly (aka My Battle With Plastic)
Alright, time to put Humpty Dumpty together.
- I screwed the metal frame onto the glass jar. That part was thankfully easy-peasy. No leaks… yet.
- Now, the dreaded tap nozzle. It came with a little rubber washer and a nut. Slid the nozzle through the hole in the frame, shoved the washer against the jar, and tried tightening the nut from the inside. Dropped the nut into the jar twice. Swore twice.
- Finally got it finger-tight. Okay, looking vaguely like the picture now.
- Then the tubing! One tube connects the pump unit (which sits over the jar) to the nozzle underneath. Poked, prodded, felt like it wouldn’t reach. Forced it gently? CLICK. Oh! It sort of snapped in place. Hallelujah!
Step 3: The Wet Test (& First Mini-Leak)
Filled the jar with plain water – best to test before sugary stuff, right? Plugged in the pump, flipped the switch… Silence. Oh god. Did I break it? Where’s the power butt-… oh THERE it is, a tiny button on the base! BZZZZZZZ. Scared me half to death! Water started flowing beautifully… then I saw it. A tiny trickle running down from where the nozzle connected to the jar. Panicked! Turned it off. Remembered the “finger-tight” nut? Gave it another full turn with actual force. Dry as a bone next try. Note to self: Over-tighten the nozzle nut!
Step 4: Putting It To Work – Lemonade Time!
Dumped the water, made a simple lemonade.
- First Mistake: Poured it straight in, pulp, seeds, and all. Bad idea! Little bits immediately clogged the nozzle spout on the first pour. Glug… glug… stop. Duh. Filtered the lemonade through a cheesecloth into the jar. Much better! Lesson: Strain your drinks like crazy.
- Played with the little knob on the nozzle. Turned it right – slower flow. Turned it left – faster flow. Like magic! Adjusted it for a steady stream.
Step 5: The “Oh Crap, Cleaning” Revelation
After proudly dispensing lemonade all afternoon (it worked!), I stared at the contraption. How on earth do you clean inside those tubes?! Filled the jar with hot soapy water, turned the pump on, and let it cycle the water through for like two minutes. Then flushed it with clean water. Seemed… okay? But then I read a tiny note online: Run vinegar and water through it monthly to kill gunk! Added that to my mental list. Feeling slightly less clueless.
Final Verdict:
Is it stupidly simple? Eh, not at first glance. Was I frustrated? You betcha. But once you wrestle it together ONCE and learn the rules (Strain everything! Tighten well! Clean immediately!), it’s actually pretty darn cool. My iced tea next weekend? Already planned. Don’t be scared like I was! Just expect a slightly chaotic setup the very first time. You got this, beginners!


