
Okay, so I’ve been wanting to spruce up my kitchen for a while now. It’s the heart of the home, right? And I figured, what better way to add a personal touch than with a cool sign? I had this idea in my head for something rustic, maybe with a bit of a farmhouse vibe. So, I decided to just go for it and make one myself.
Brainstorming and Gathering Supplies
First things first, I needed a plan. I spent a good chunk of time just scrolling through pictures online, trying to get some inspiration. I knew I wanted something with the word “Kitchen” on it, but the rest was up in the air. I finally settled on a simple design, something that wouldn’t be too complicated since I’m not exactly a DIY expert. After that, it was time to raid my garage for supplies.
Luckily, I found an old piece of wood that was just the right size. Score! It was a bit rough around the edges, but I figured that would just add to the charm. I also grabbed some sandpaper, some paint I had leftover from another project, and some brushes. Oh, and I almost forgot – I needed something to make the letters with. I ended up deciding to use stencils because my handwriting is, well, let’s just say it’s not the best.
Prepping the Wood
Now for the fun part – getting my hands dirty! I started by sanding down the wood. This took a while, and let me tell you, my arms were definitely feeling it afterward. But it was worth it because the wood became so smooth. I wanted to make sure the paint would go on evenly. After I was satisfied with the sanding, I wiped it down with a damp cloth to get rid of any dust.
Painting and Stenciling
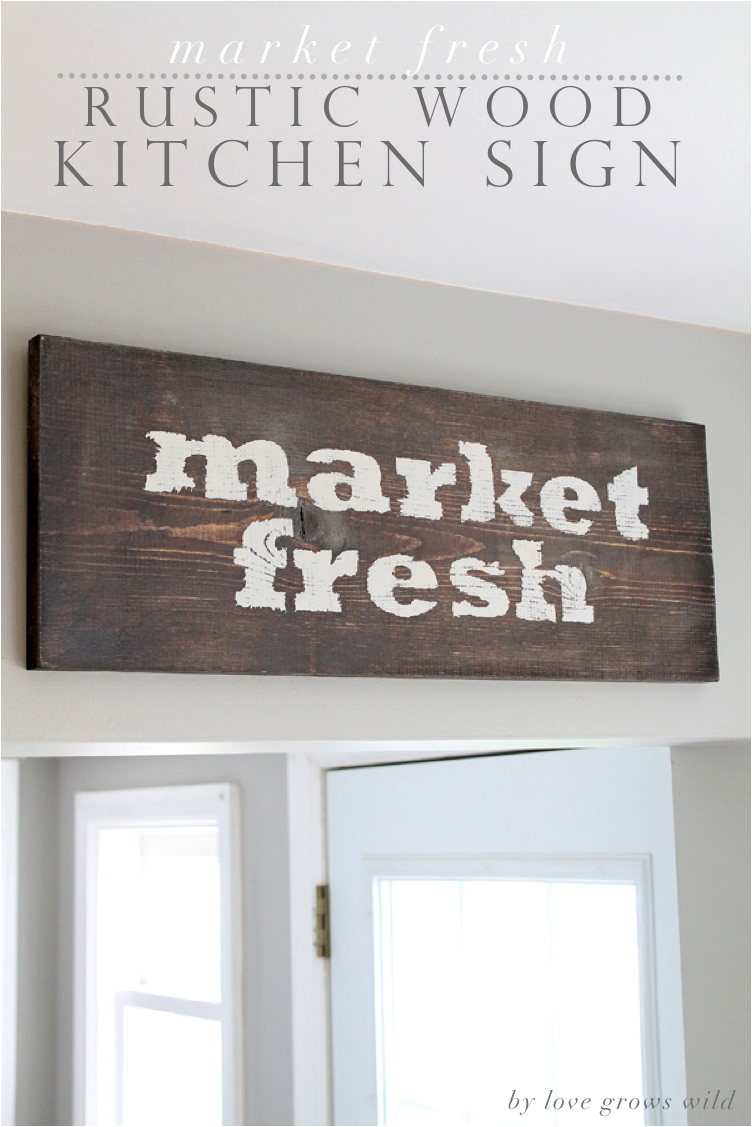
Next, I painted the wood. I went with a creamy off-white color, which I thought would look nice and bright in my kitchen. I did a couple of coats, letting each one dry completely before applying the next. This part was pretty easy, just a bit time-consuming waiting for the paint to dry. Once the base coat was dry, it was time for the stencils. I carefully positioned them on the wood, making sure they were centered and straight. Then, using a dark gray paint, I carefully dabbed the paint over the stencils. This was the most nerve-wracking part because I didn’t want to mess it up!
The Finishing Touches
After letting the stenciled letters dry, I peeled off the stencils, and… I was actually pretty impressed with myself! It looked really good! To give it a more finished look, I decided to add a little distressing around the edges. I just lightly sanded some areas to make it look a bit worn and aged. Finally, I added a couple of hooks to the back so I could hang it up. And that’s it!
- Sanding: Made the wood smooth for painting.
- Painting: Gave the sign a nice, clean background.
- Stenciling: Added the “Kitchen” lettering.
- Distressing: Made the sign look rustic and aged.
- Adding Hooks: Made it easy to hang on the wall.
It took a bit of time and effort, but I’m so happy with how my kitchen sign turned out. It really adds a personal touch to my kitchen, and it’s a great conversation starter. Plus, it’s a reminder that I can actually make things with my own two hands! Maybe I’ll tackle another DIY project soon. Who knows?


