Okay, so I had this big party coming up, and I knew I wanted to do something special for dessert. But the thought of baking a giant cake or a ton of cookies just sounded like way too much work. Then it hit me – individual desserts! That way, everyone gets their own little treat, and I wouldn’t be stuck in the kitchen all day. Plus, they just look so darn cute.
First, I started brainstorming ideas. I wanted something that was easy to make ahead of time, wouldn’t require a ton of fancy ingredients, and would still be a crowd-pleaser. After flipping through some cookbooks and scrolling online, I decided to make a few different options: mini cheesecakes, chocolate mousse cups, and fruit tarts. Variety is the spice of life, right?

Next up, I went shopping. I grabbed a bunch of cream cheese, some good quality chocolate, heavy cream, and a whole rainbow of fresh fruit. Oh, and of course, some cute little disposable cups and mini tart shells. Gotta make them look presentable, you know?
Then came the fun part – actually making the desserts! I started with the mini cheesecakes. I whipped up a simple cheesecake batter. I used a basic recipe:
- Mix together softened cream cheese, sugar, eggs, and a little bit of vanilla extract until it’s all smooth and creamy.
- Pour the batter into the mini cups, leaving a little room at the top.
- Bake at 325°F for about 20 minutes.
They baked up perfectly, and I let them cool completely before popping them in the fridge to chill.
While the cheesecakes were chilling, I started on the chocolate mousse. I melted some chocolate, whipped up some heavy cream, and gently folded them together. Super easy, and it tasted so rich and decadent. I spooned the mousse into little cups and stuck those in the fridge too.
Last but not least, the fruit tarts. I used store-bought mini tart shells (no shame in that game!), filled them with a bit of pastry cream, and then arranged a colorful assortment of fresh fruit on top. I used sliced strawberries, blueberries, kiwi, and raspberries. They looked so vibrant and pretty.
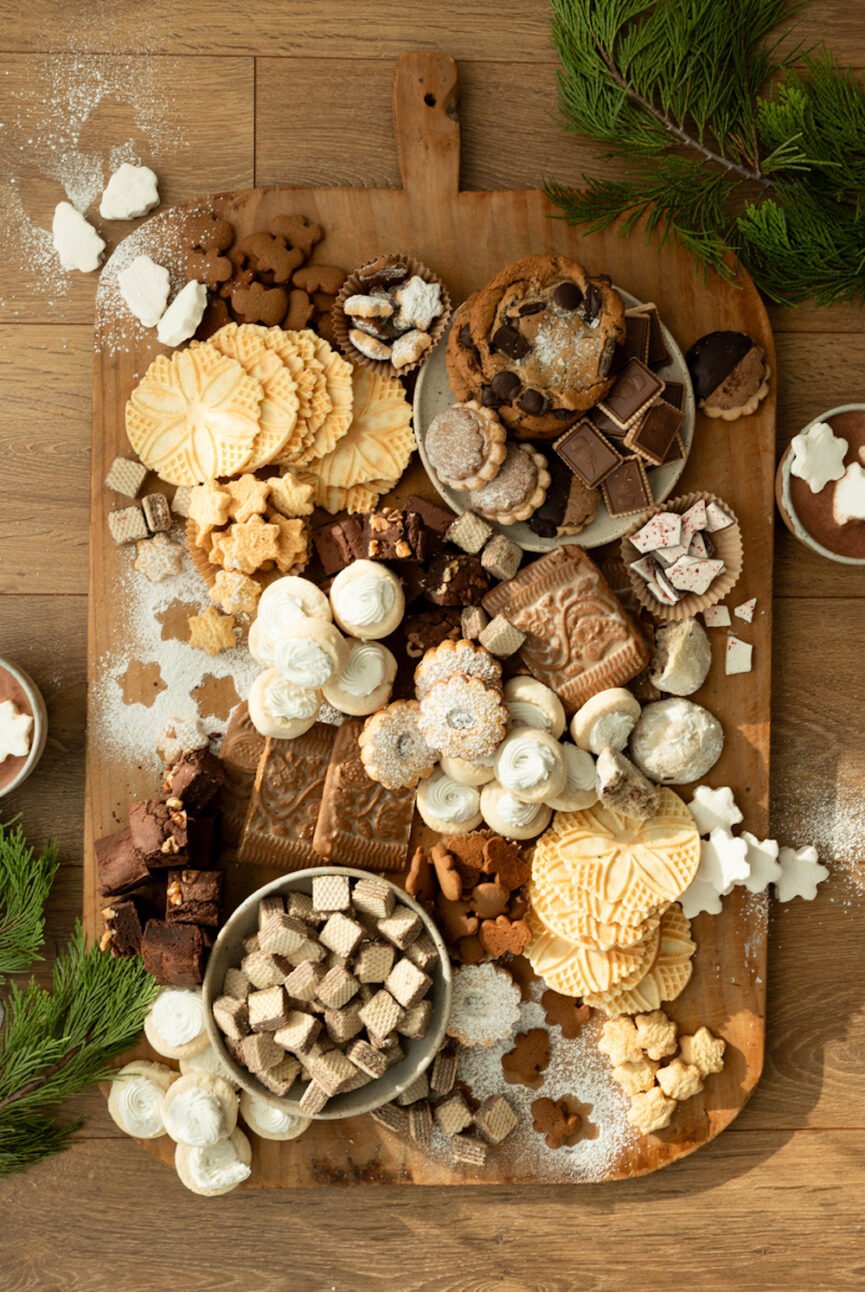
The day of the party, I arranged all the desserts on a big platter.
When it was time for dessert, everyone’s eyes lit up. They loved having their own individual treats, and I got so many compliments on how cute and delicious everything was.

The best part? It was way less stressful than making one big dessert. I could make everything ahead of time, so I got to enjoy the party instead of being stuck in the kitchen.
Tips for Individual Desserts
If you’re planning a party, here are my top tips for making individual desserts:
- Keep it simple: Choose recipes that are easy to make and don’t require a ton of ingredients.
- Make ahead: Most individual desserts can be made a day or two in advance, which saves you a ton of time on the day of the party.
- Presentation is key: Use cute cups, mini tart shells, or other fun serving vessels to make your desserts look extra special.
- Offer variety: Make a few different types of desserts so there’s something for everyone.
- Have fun: Don’t stress too much about making everything perfect. Just enjoy the process and your guests will too!
So yeah, that’s my story of how I conquered the dessert table with individual treats. It was a total success, and I’ll definitely be doing it again for my next party. Trust me, your guests will thank you for it!


