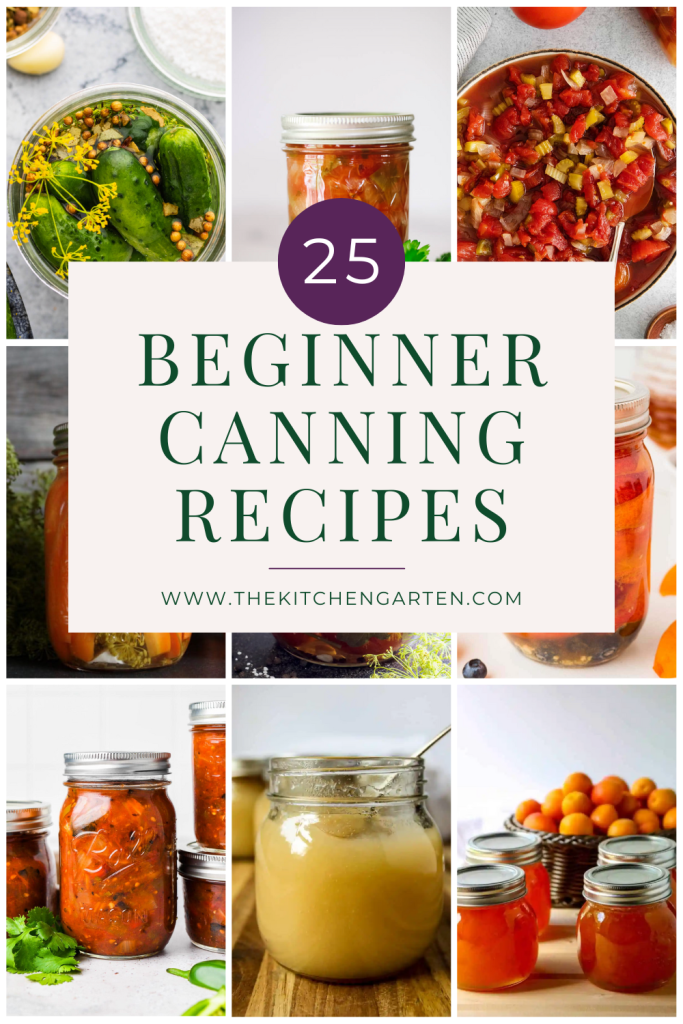
Okay, so today I’m diving into something that’s near and dear to my heart – old fashioned canning. I’ve always loved the idea of preserving food just like my grandma used to do. There’s something so satisfying about turning fresh produce into delicious, long-lasting goodies. I finally decided to give it a go myself, and let me tell you, it was quite the adventure!
Getting Started
First things first, I gathered all my supplies. I dusted off my grandma’s old canning jars and made sure they were all clean and sterilized. I picked up some new lids and rings since you can’t reuse those. I also got a big canning pot with a rack, a jar lifter, a ladle, and a few other basic kitchen tools. I felt like a pioneer woman preparing for a long winter, haha!

Picking the Recipe
Next, I needed to decide what to can. I flipped through a bunch of old cookbooks and finally settled on a classic: dill pickles. They’re a family favorite, and I figured they’d be a good starting point. The recipe seemed straightforward enough: cucumbers, vinegar, water, salt, dill, garlic, and some spices. Easy peasy, right? Well, sort of.
The Chopping and Brining
I started by washing and trimming a whole bunch of pickling cucumbers. Then came the fun part – chopping! I sliced some into spears and left others whole, just for variety. I made a brine with the vinegar, water, and salt, and let the cucumbers soak in it for a few hours. This helps them stay crisp during the canning process.
Packing the Jars
Once the cucumbers were good and brined, it was time to pack the jars. I stuffed them full of cucumbers, along with fresh dill, garlic cloves, and a mix of peppercorns and mustard seeds. It was a bit like playing Tetris, trying to fit everything in just right. Then, I carefully poured the hot brine over the cucumbers, leaving a little bit of headspace at the top.
The Big Moment
Now for the most nerve-wracking part: the actual canning. I carefully placed the filled jars into my canning pot, making sure they were covered with water. I brought the water to a rolling boil and let the jars process for the recommended time. I could feel the anticipation building as I watched the clock, hoping I wouldn’t mess anything up.
Cooling Down
After the processing time was up, I carefully lifted the jars out of the hot water using my trusty jar lifter. I set them on a towel-lined counter to cool, and then came the magic moment – the “ping!” That beautiful sound of the lids sealing is like music to a canner’s ears. It means everything worked, and the pickles are safely preserved.
The Result
I let the jars cool completely overnight. The next day, I checked the seals to make sure they were all good. They were! I was so proud of myself. I had actually done it! I made my own old-fashioned canned dill pickles. They looked and smelled amazing. Of course, I had to try one (or a few) right away. They were delicious! Crunchy, tangy, and full of flavor. I couldn’t wait to share them with my family and friends.
- Lessons Learned
Canning is definitely a labor of love, but it’s so worth it.

Make sure you follow the recipe exactly, especially when it comes to processing times.
Don’t be afraid to ask for help or advice from experienced canners.
Overall, my first canning experience was a success. It was a bit challenging at times, but it was also incredibly rewarding. I can’t wait to try my hand at canning other things, like jams, jellies, and maybe even some fruits and vegetables. If you’re thinking about giving canning a try, I say go for it! It’s a wonderful way to preserve the flavors of the season and enjoy homemade goodness all year round.


