
Okay, guys, let’s talk about cooking a turkey. I’ve done this a bunch of times, and I wanna share how I usually go about it. It’s not rocket science, but a few tips can make a big difference. Here is what I did today.
Get the Bird Ready
First off, I got a turkey from the grocery store. This one was about 14 pounds. Once I got home, I unwrapped it and took out all the giblets from inside. I saved those for gravy later. Then, I gave the turkey a good rinse under cold water and patted it dry with some paper towels. It’s super important to dry it well because that helps the skin get crispy.
Seasoning is Key
Next up, seasoning. I made a simple mix of salt, pepper, and some herbs I like—usually thyme, rosemary, and a bit of sage. I rubbed this mix all over the turkey, under the skin too where I could. To do that, I gently loosened the skin with my fingers without tearing it. This time, I also stuffed some onion, garlic, and a few lemon slices inside the turkey for extra flavor.
Roasting Time
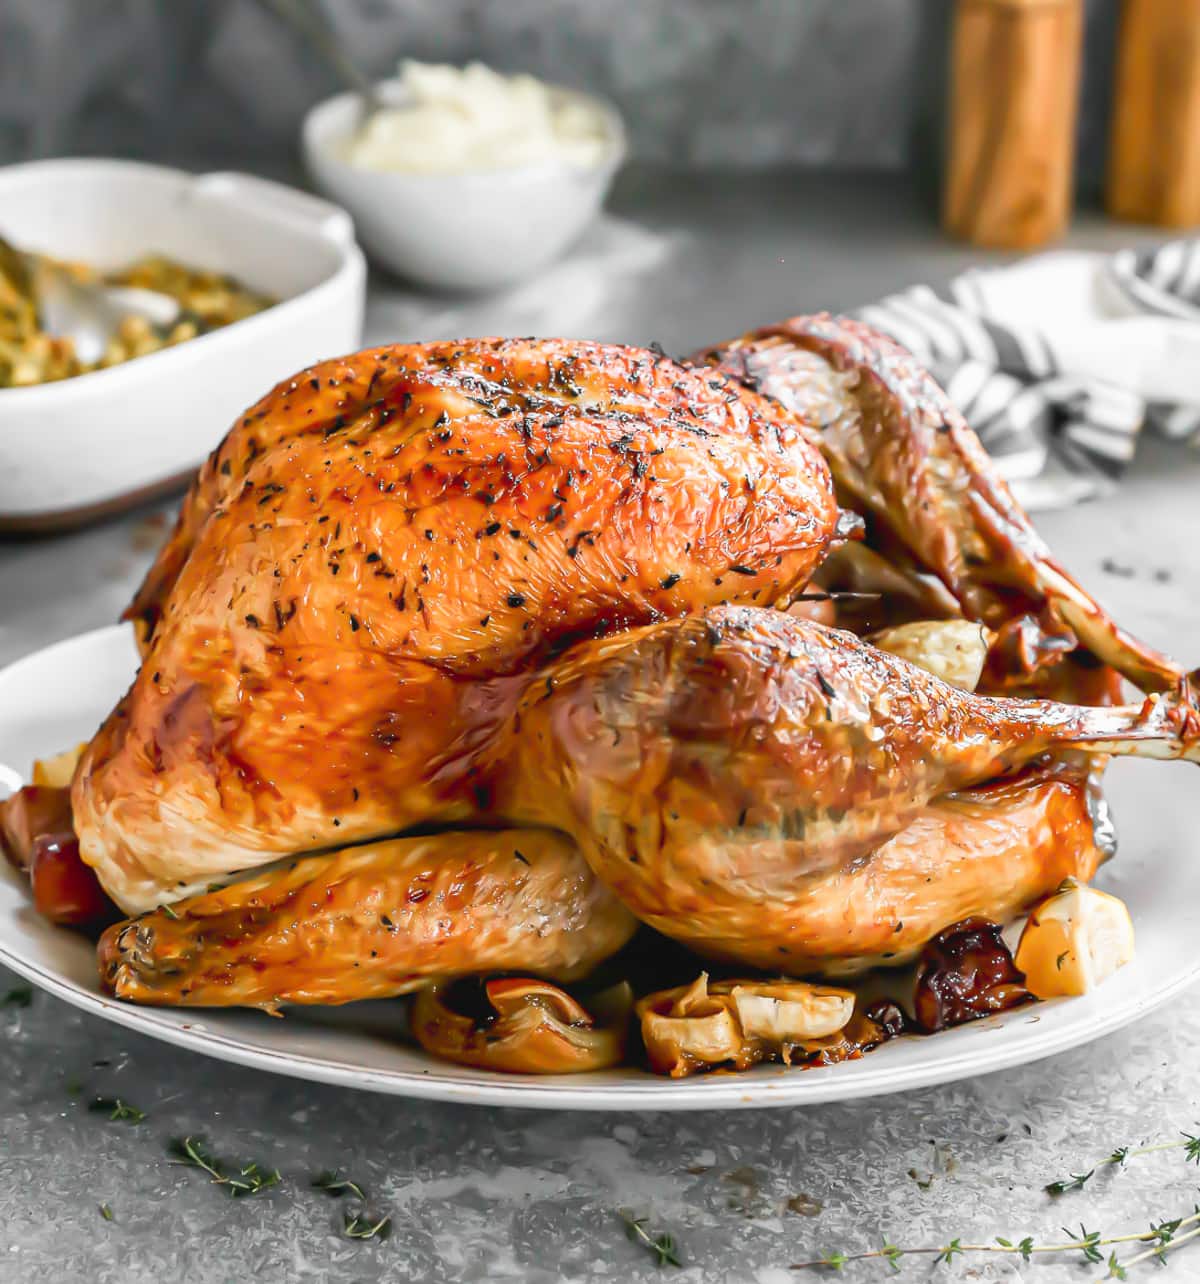
I preheated my oven to 325°F. While that was heating up, I placed the turkey in a big roasting pan. I poured about a cup of chicken broth into the bottom of the pan—this helps keep the turkey moist and makes for a tasty gravy base. Then, I covered the turkey loosely with foil. I know some folks don’t cover it, but I find it prevents the turkey from drying out too much.
In the Oven It Goes
Into the oven it went. For a 14-pound turkey, it usually takes around 3.5 to 4 hours. I checked the turkey every hour or so, and I basted it with the juices from the bottom of the pan. This helps keep it moist and adds flavor.
- About 2.5 hours in, I removed the foil so the skin could get nice and crispy.
- Around the 3.5-hour mark, I started checking the turkey’s temperature with a meat thermometer. You want it to be 165°F in the thickest part of the thigh.
Let It Rest
Once the turkey hit 165°F, I took it out of the oven. It is really important to let it rest for at least 20 minutes. This allows the juices to redistribute, making the meat more tender. I loosely tented it with foil to keep it warm while it rested.
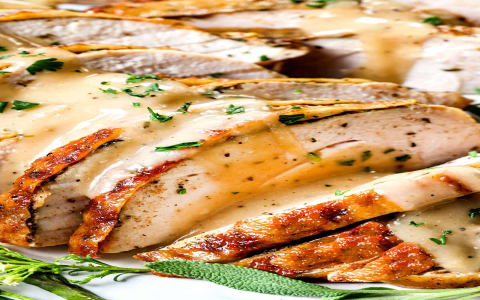
Carving and Serving
After resting, it was time to carve. I used a sharp knife and carefully sliced the turkey, starting with the breast. Then I removed the legs and wings. I arranged the slices on a platter. I also made gravy from the pan drippings—just whisked in some flour to thicken it up and added the cooked giblets I had set aside earlier.
Finally, we sat down and enjoyed the turkey with all the usual sides. It turned out great—juicy, flavorful, and with that perfect crispy skin. Cooking a turkey takes a bit of time, but it’s really not that hard. Give it a try, and don’t be afraid to experiment a bit with the seasonings and flavors!


