

Okay, so I’ve been dreaming about having a proper outdoor kitchen for, like, forever. Finally took the plunge and decided to install a natural gas grill. Here’s how the whole thing went down, bumps and all.
Planning and Prepping
First things first, I spent a good chunk of time just figuring out where the grill was even going to go. Needed to be close enough to the house for the gas line, but not so close that it would melt the siding off. Also, I wanted it to be convenient to the patio area where everyone hangs out.
Once I picked the spot, I measured everything out, like, three times. You know, measure twice, cut once – or in this case, measure three times, dig once. I also called 811 to get the utilities marked. Don’t want to hit a gas line or anything. That would be bad news.
Getting the Gas Line In
This part, I’m not gonna lie, I hired a professional. Messing with gas lines is not something I wanted to DIY. The plumber came out, ran the new line from the main, and installed a shut-off valve right where the grill would be. He checked it was free of leaking gas, and made me sign a paper. It cost a pretty penny, but worth it for peace of mind.
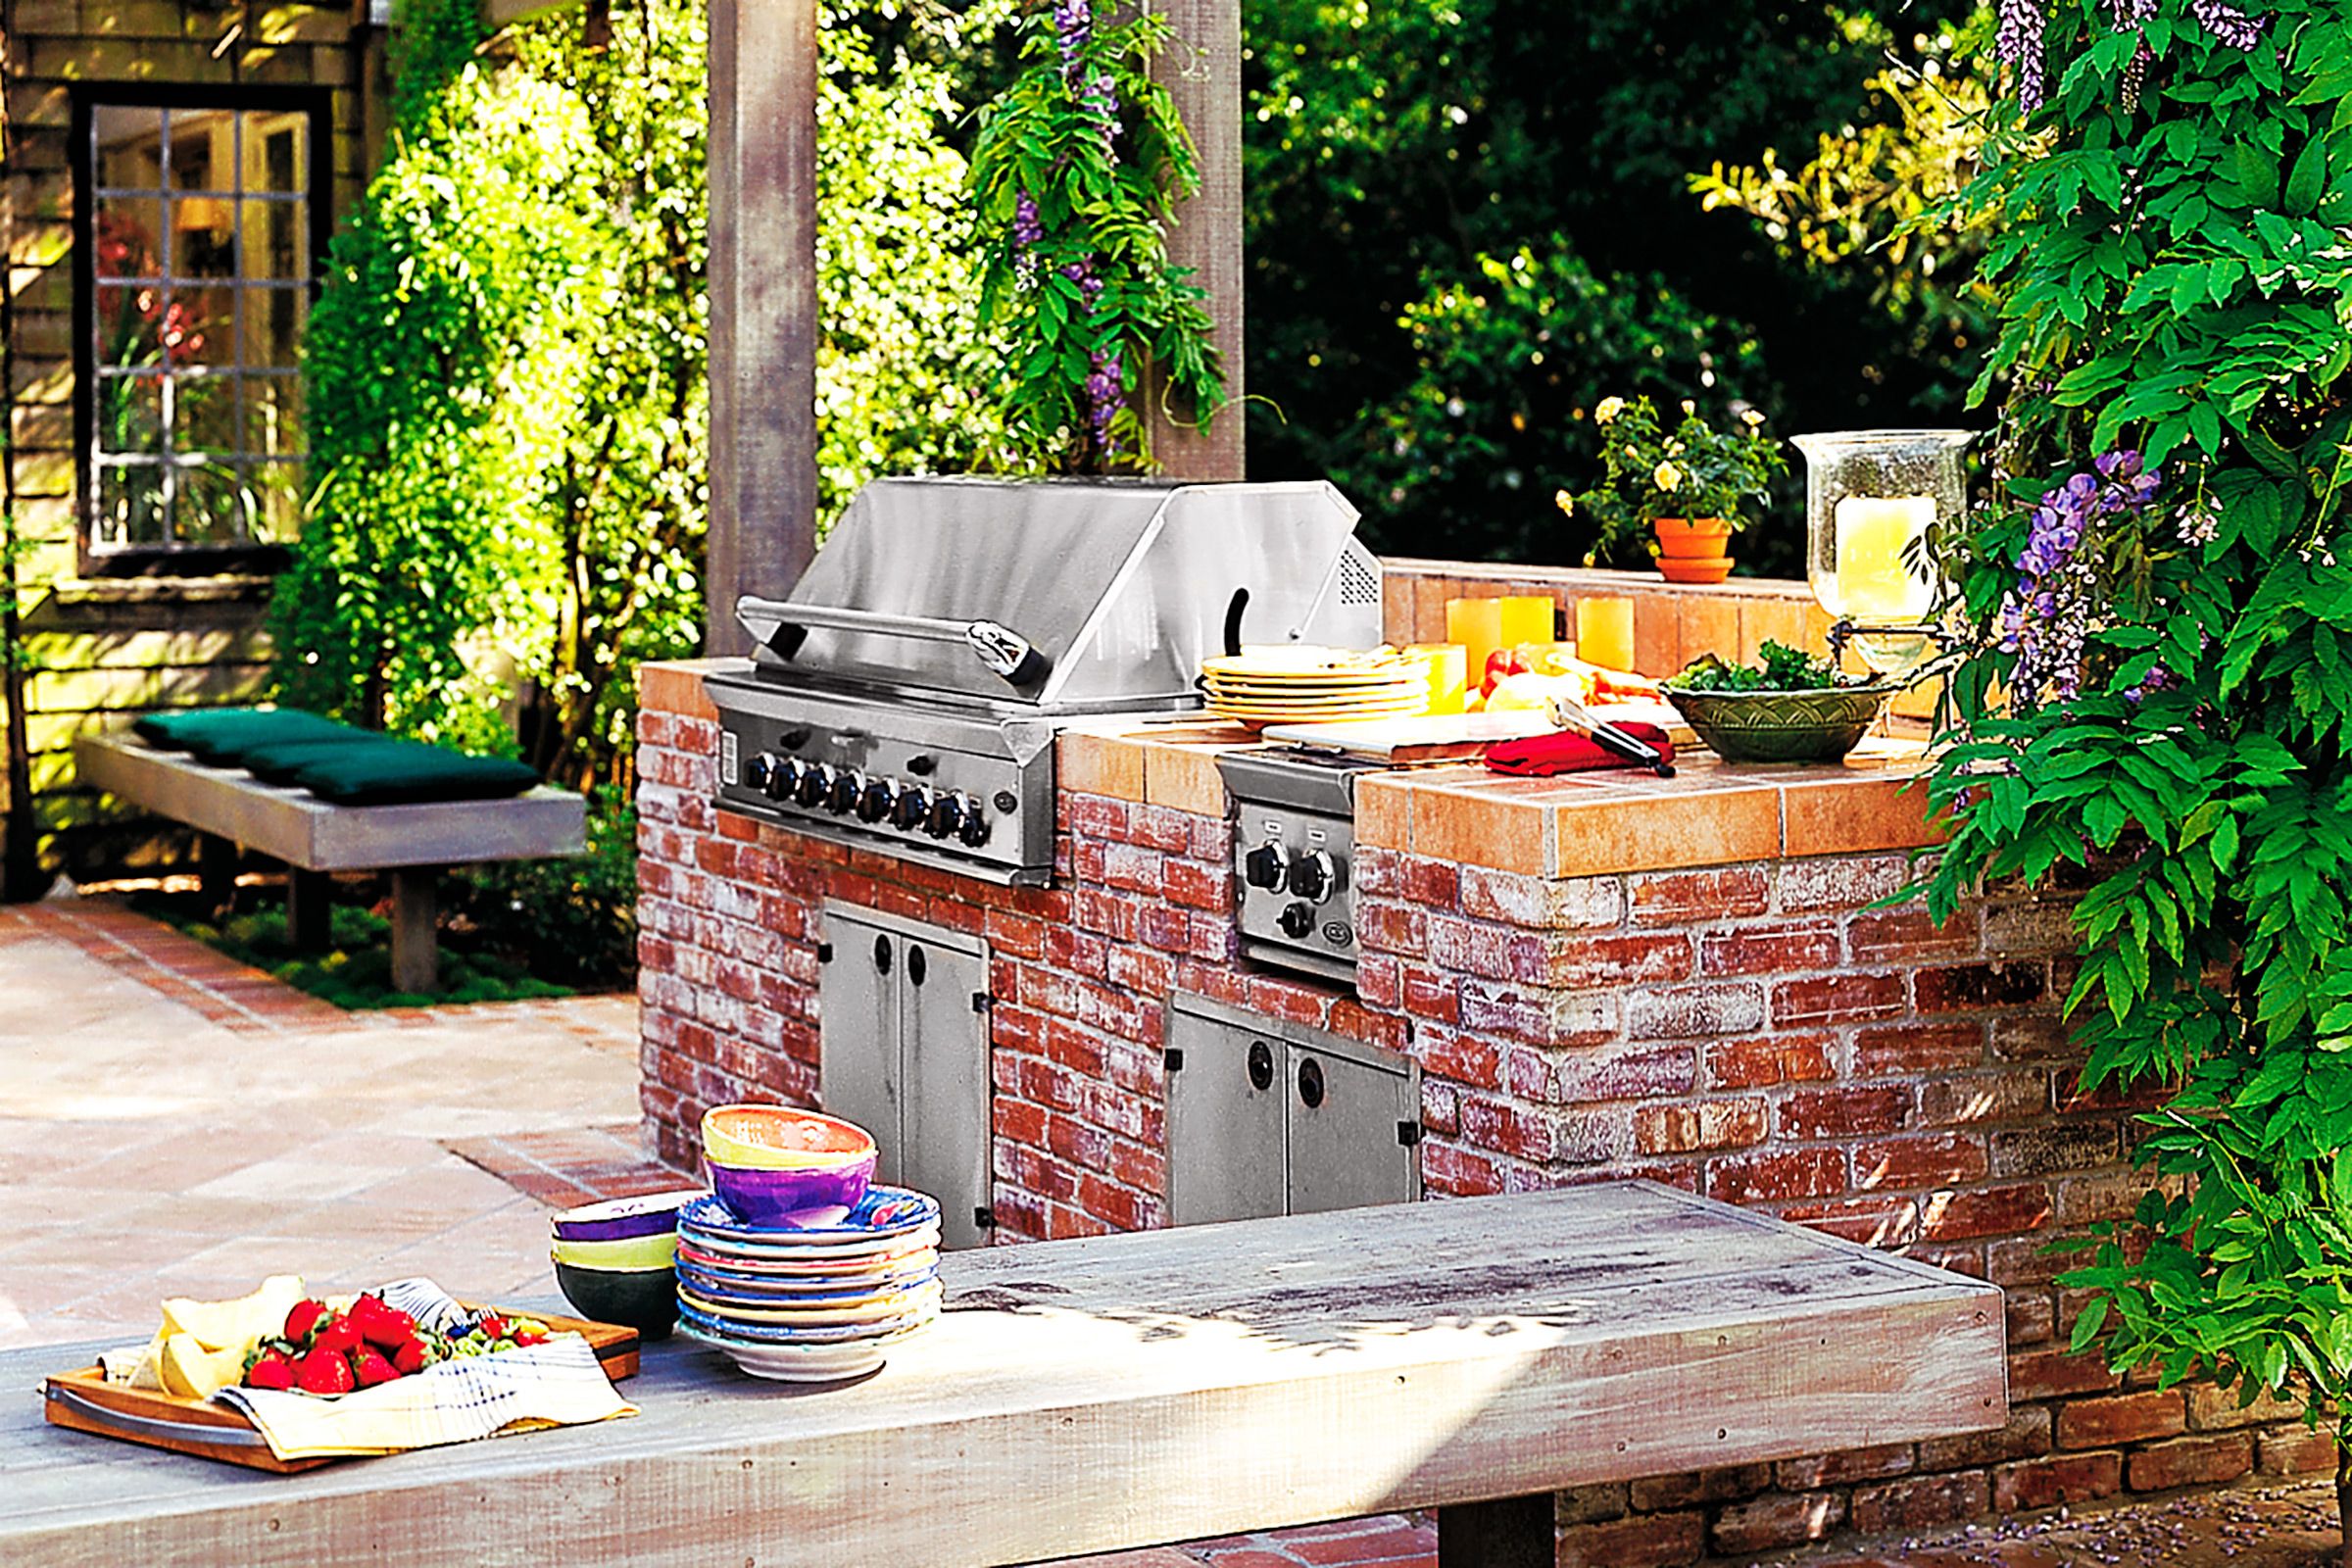
Building the Grill Surround (Optional, but Cool)
I didn’t want just a grill sitting there, I wanted it to look built-in. So, I built a simple surround out of cinder blocks. Nothing fancy, just a basic rectangle to house the grill. I used mortar to stick them all together, and I gotta say, it was kind of fun. Like playing with giant, heavy Legos.
- First,I dug out a rough base and prepare a flat space.
- Second, I laid the first layer of the cinder blocks.
- Third, I added a layer of mortar before puting the second layer on.
I made sure to leave openings for ventilation, ’cause, you know, fire needs air.
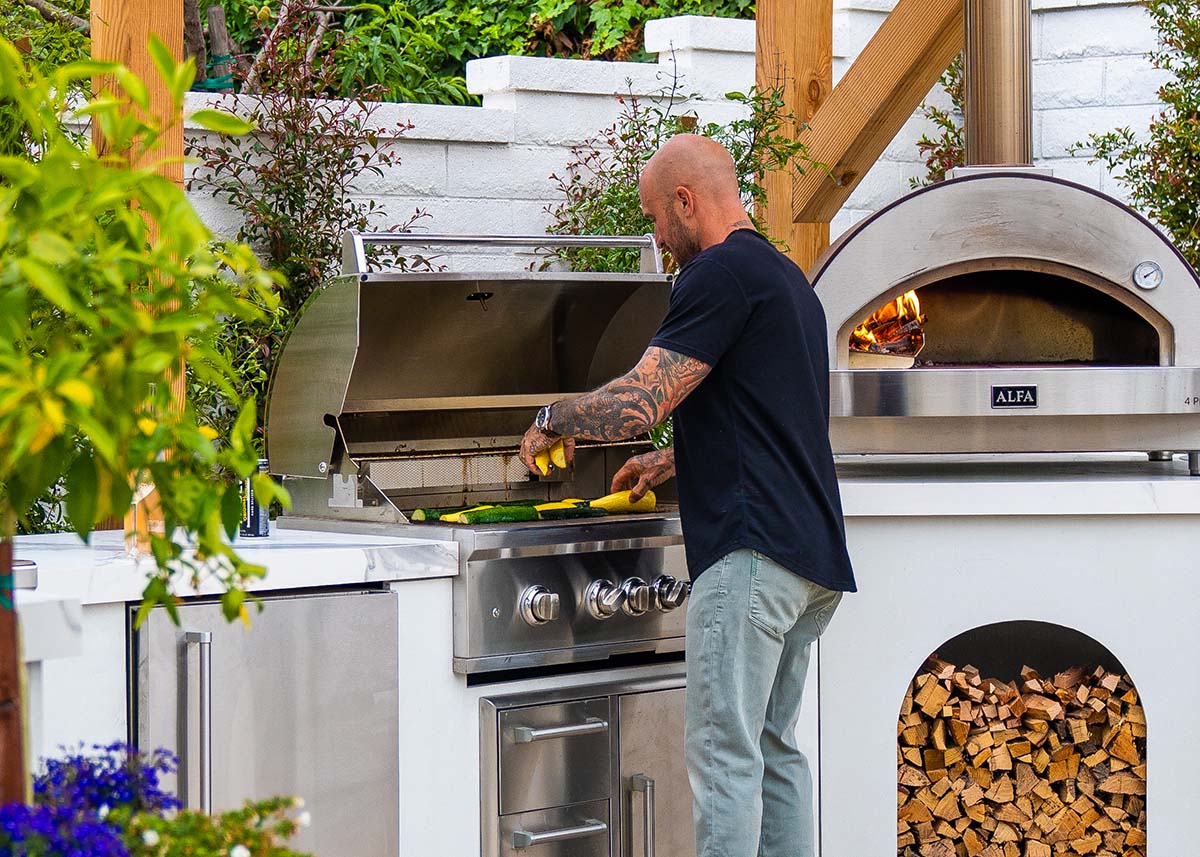
Installing the Grill
Finally, the fun part! With the gas line ready and the surround built, I carefully slid the grill into place. Most natural gas grills are pretty heavy, so I got a buddy to help me lift it. We connected the gas line to the grill, following the manufacturer’s instructions, of course. Double-checked all the connections to make sure they were tight.
Testing and First Grill!
Before firing it up, I did a leak test. Just sprayed some soapy water on all the connections and looked for bubbles. No bubbles? Good to go! I turned on the gas, lit the grill, and let it burn for a bit to get rid of any manufacturing residue. Then, it was time for the inaugural grill – burgers and hot dogs, naturally!
Honestly, it was so satisfying to finally cook on my own outdoor grill. The whole project took a few weekends, and there were definitely some moments of frustration, but totally worth it in the end. Now, I’m just waiting for the weather to warm up so I can really start using it!


