
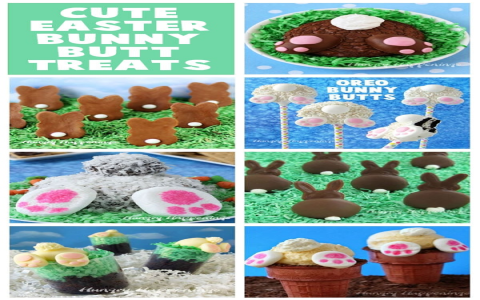
Okay, so I’ve been seeing these super cute bunny-shaped desserts all over Pinterest and Instagram, and I just had to try making some myself. I’m not a professional baker or anything, but I do enjoy getting creative in the kitchen, and these looked like a fun challenge. Plus, who doesn’t love bunnies?
Getting Started
First, I gathered all my ingredients. I decided to go with a simple sugar cookie recipe for the base, because it’s easy to work with and I had everything on hand. I also needed stuff for royal icing, which is what I planned to use for decorating. I already has some of the basic baking tools and some of material for decorating, so I’m ready for the real work!
- Flour
- Sugar
- Butter
- Eggs
- Vanilla extract
- Baking powder
- Powdered sugar
- Meringue powder
- Food coloring (pink, black, and white)
The Baking Process
I whipped up the cookie dough, following a recipe I found online. It was pretty standard – cream together the butter and sugar, add the eggs and vanilla, then mix in the dry ingredients. The dough was a little sticky, so I chilled it in the fridge for about 30 minutes to make it easier to handle.
Once the dough was chilled, I rolled it out on a floured surface and used a bunny-shaped cookie cutter to cut out my cookies. If you don’t have any cutter, you can draw them free hand, but remember to keep the shape simple. I actually found a set of different sized bunny cutters, so I made a mix of big and small ones. So cute! I then placed them on a baking sheet and baked them for about 10-12 minutes, until they were lightly golden brown around the edges.
Decorating Time!
While the cookies were cooling, I made the royal icing. This was my first time making royal icing, and it was a little tricky. I mixed powdered sugar, meringue powder, and water until it was smooth and had the right consistency. Then i divide them into parts for coloring. I also added a few drops of different gel food coloring to the rest of the icing to make pink for the ears and noses. The key is add the color slowly and don’t make it too liquidy.
Once the cookies were completely cool, it was time to decorate! I filled piping bags with the different colors of icing. I outlined the edges of the cookies with white icing, then filled them in. I used pink icing to make the inner ears and little noses. I draw tiny black dots to made the eyes. It take a lot of patience, and my hands were a little shaky at first, but I got the hang of it. I used toothpicks to help spread the icing and create sharp lines, that worked really well!
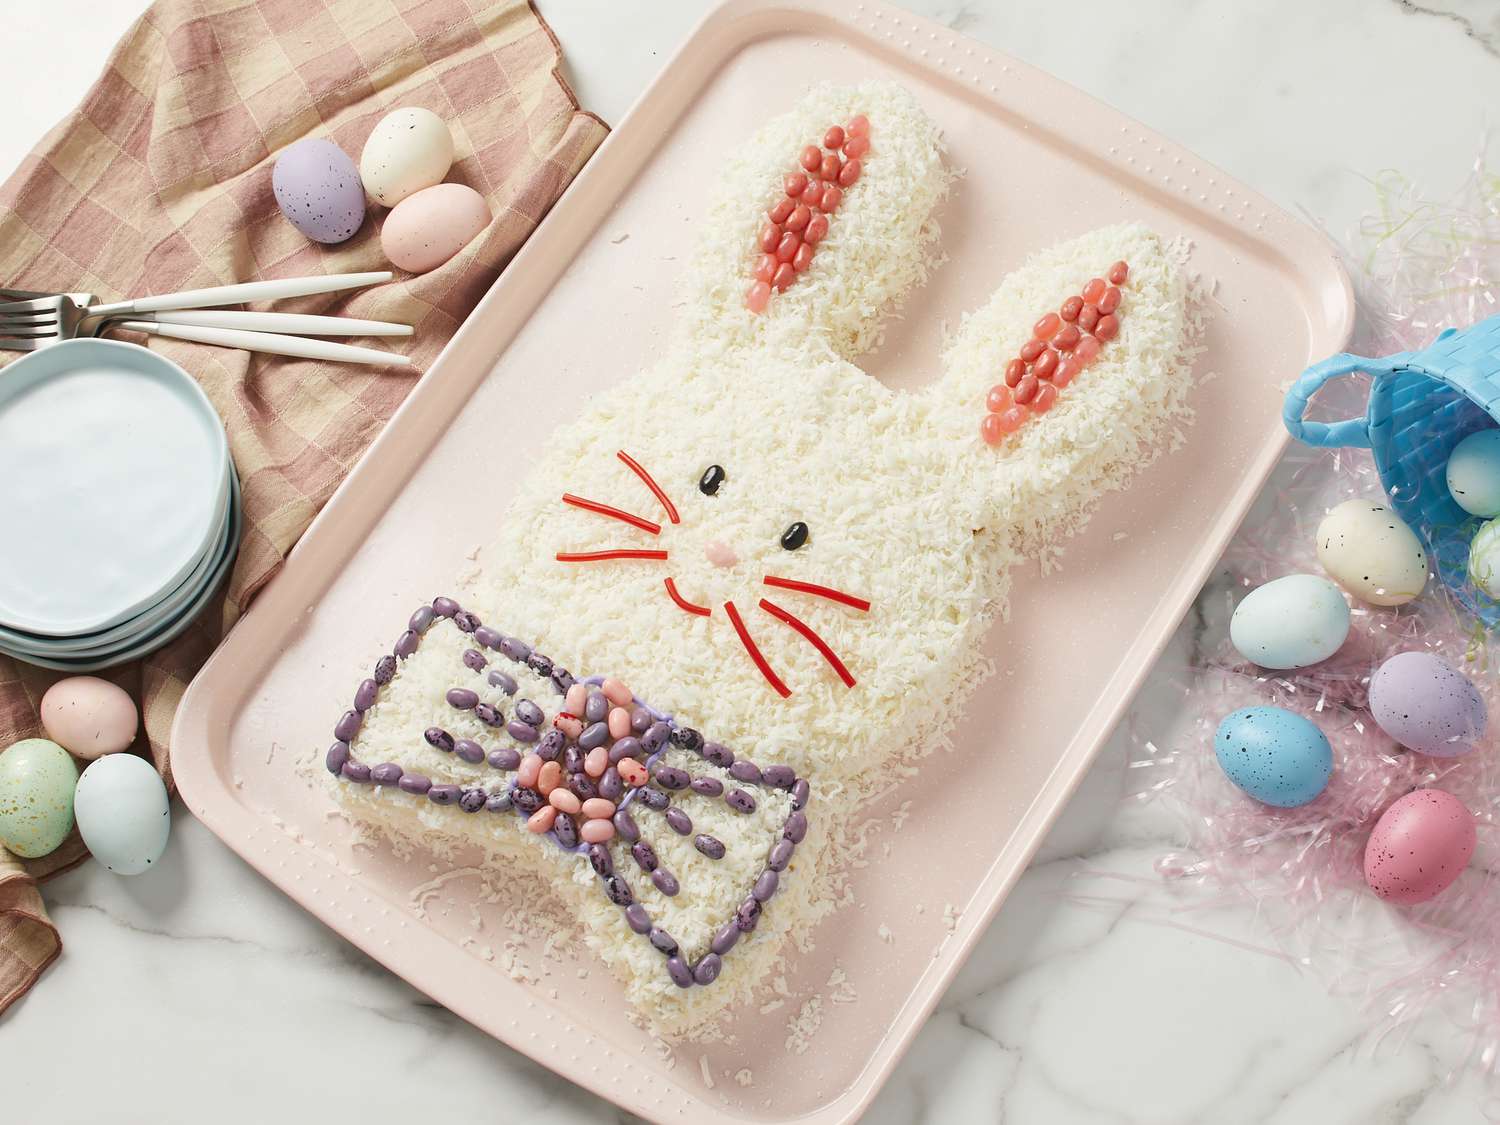
The Final Result
I have to say, I was pretty proud of how they turned out! They weren’t perfect, of course, but they were definitely cute and recognizable as bunnies. My kids went crazy for them, and they were a big hit with my friends too. I let them dry completely then put them in a beautiful box to give it away to my friends! It was a great experience, and will make other desserts in the future!


