
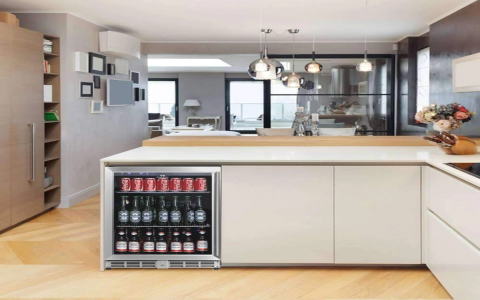
Alright, let me tell you about this under counter beverage cooler project I tackled recently. Been wanting to upgrade my home bar setup for ages, and this was the perfect excuse.
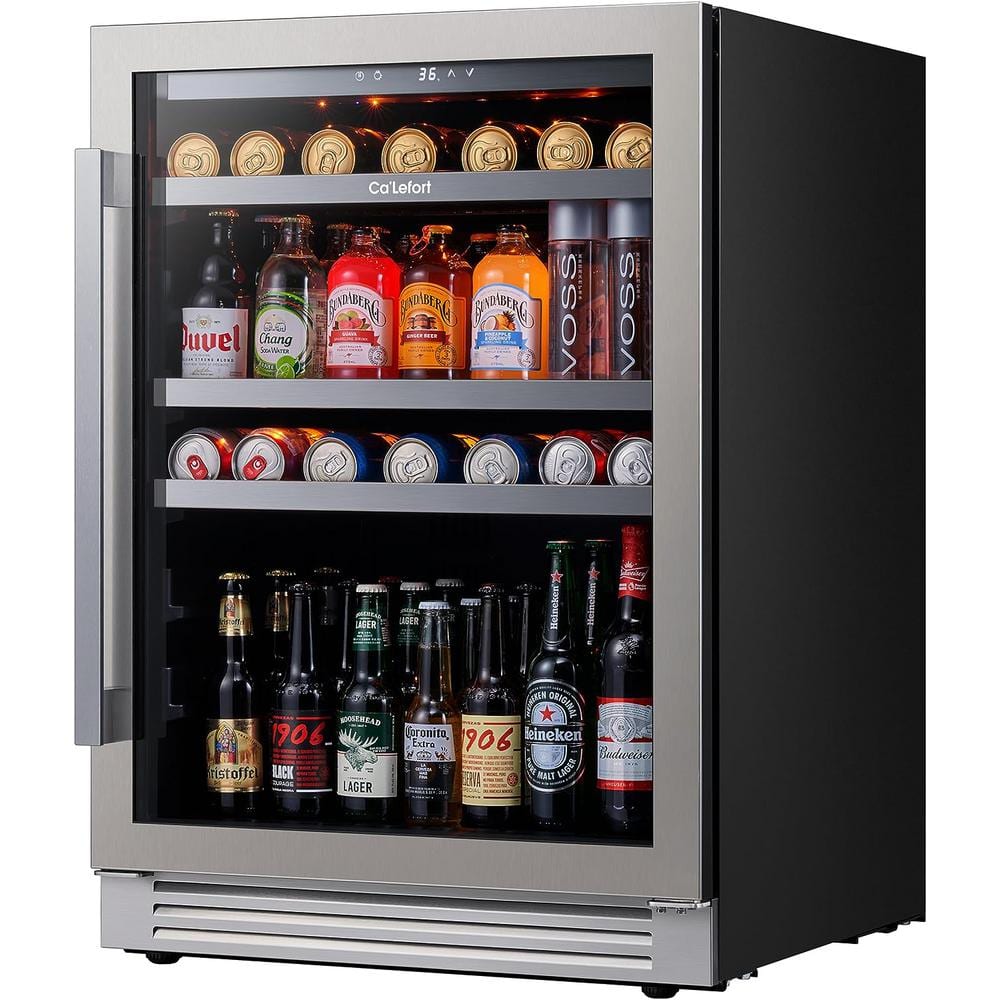
First things first, I did my research. Spent a solid week just browsing online, comparing different brands, sizes, and features. It’s crazy how many options are out there for a 24-inch beverage cooler! I was mainly looking for something that could hold a decent amount of cans and bottles, had adjustable shelves, and, most importantly, looked good. Didn’t want some ugly metal box ruining my carefully curated aesthetic.
Finally settled on a model from [hypothetical brand name]. It had all the features I wanted and the reviews were pretty solid. Plus, I found it on sale! Score!
Delivery day was exciting. That thing was HEAVY! Had to get my neighbor to help me wrestle it inside. Unboxing was pretty straightforward, though. Just a bunch of cardboard and styrofoam.
Next came the fun part: installation. Now, I’m no electrician or plumber, but I’m pretty handy. The good news is, these beverage coolers are usually plug-and-play. Find a spot, plug it in, and you’re good to go… almost.
My biggest challenge was the counter space. My existing bar area wasn’t quite set up for a built-in cooler. Had to do some minor modifications to the cabinetry to make it fit snugly. This involved some measuring, some sawing (a little nerve-wracking, I ain’t gonna lie), and a whole lot of hoping I wasn’t messing anything up. Turns out my measurements were off by like, a quarter inch in one spot. Nothing a little shimming couldn’t fix, though!
Pro Tip: Measure twice, cut once. Seriously. I almost learned that lesson the hard way.
Once I got the cooler slid into place, I leveled it using the adjustable feet. This is super important to make sure it runs efficiently and doesn’t vibrate like crazy. Used a level app on my phone, which worked surprisingly well.
Then, the moment of truth: plugging it in. Flipped the switch and… nothing. Panic set in for a second. Turns out, I hadn’t turned on the power strip. Doh!

Once it was powered on, I set the temperature and let it run for a few hours to cool down. The instructions said to wait 24 hours before loading it up with drinks, but who has that kind of patience?
Finally, the best part: stocking the cooler! Organized everything by type: beers on one shelf, sodas on another, and wine bottles on the bottom. It looks so much better than my old, cluttered fridge.
The cooler runs quietly and keeps everything perfectly chilled. Been using it for a few weeks now, and I couldn’t be happier. It’s definitely elevated my home bar game.
Lessons learned:
- Measure everything carefully, even if you think you know the dimensions.
- Don’t be afraid to make minor modifications to your cabinetry, but proceed with caution.
- Leveling is key for smooth operation.
- Patience is a virtue, but sometimes it’s okay to cheat a little.
So yeah, that’s my under counter beverage cooler story. A little bit of work, a little bit of stress, but totally worth it in the end!


