
Okay, so today I’m gonna spill the beans on my beer bread adventure using a bread machine. I’ve seen the recipes floating around, seemed easy enough, and I was craving some good, simple bread. Let’s dive in!
First things first, I gathered my ingredients. The recipe I kinda cobbled together from a few different places called for:
- 3 cups of all-purpose flour. I just used the regular stuff.
- 3 teaspoons of baking powder. Gotta get that rise!
- 1 teaspoon of salt. Can’t forget that.
- 1/4 cup of sugar. Some recipes skip this, but I like a touch of sweetness.
- 1 (12 ounce) can of beer. I went with a light lager. Figured it wouldn’t overpower the bread.
- 1/4 cup of melted butter. Makes it nice and rich.
Alright, time to get started. I started by dumping all the dry ingredients – flour, baking powder, salt, and sugar – into the bread machine pan. Just kinda eyeballed it, you know? I gave it a quick stir with a spoon to make sure the baking powder was evenly distributed.
Next up, the wet ingredients. I poured in the entire can of beer. It foamed up a little, which I expected. Then I drizzled in the melted butter. Smelled pretty good already!
Now, here’s where things got a little… interesting. My bread machine has a bunch of settings. I went with the “Basic” setting, set the crust to “Medium” (because who wants a pale loaf?), and hit “Start.” That’s when the waiting game began.
I peeked in on the bread a few times during the process. It looked a little soupy at first, which had me worried, but it started to come together after about 20 minutes. It was kneaded for what felt like forever, and then it started to rise. The smell was amazing! That malty, bready aroma filled the whole kitchen.
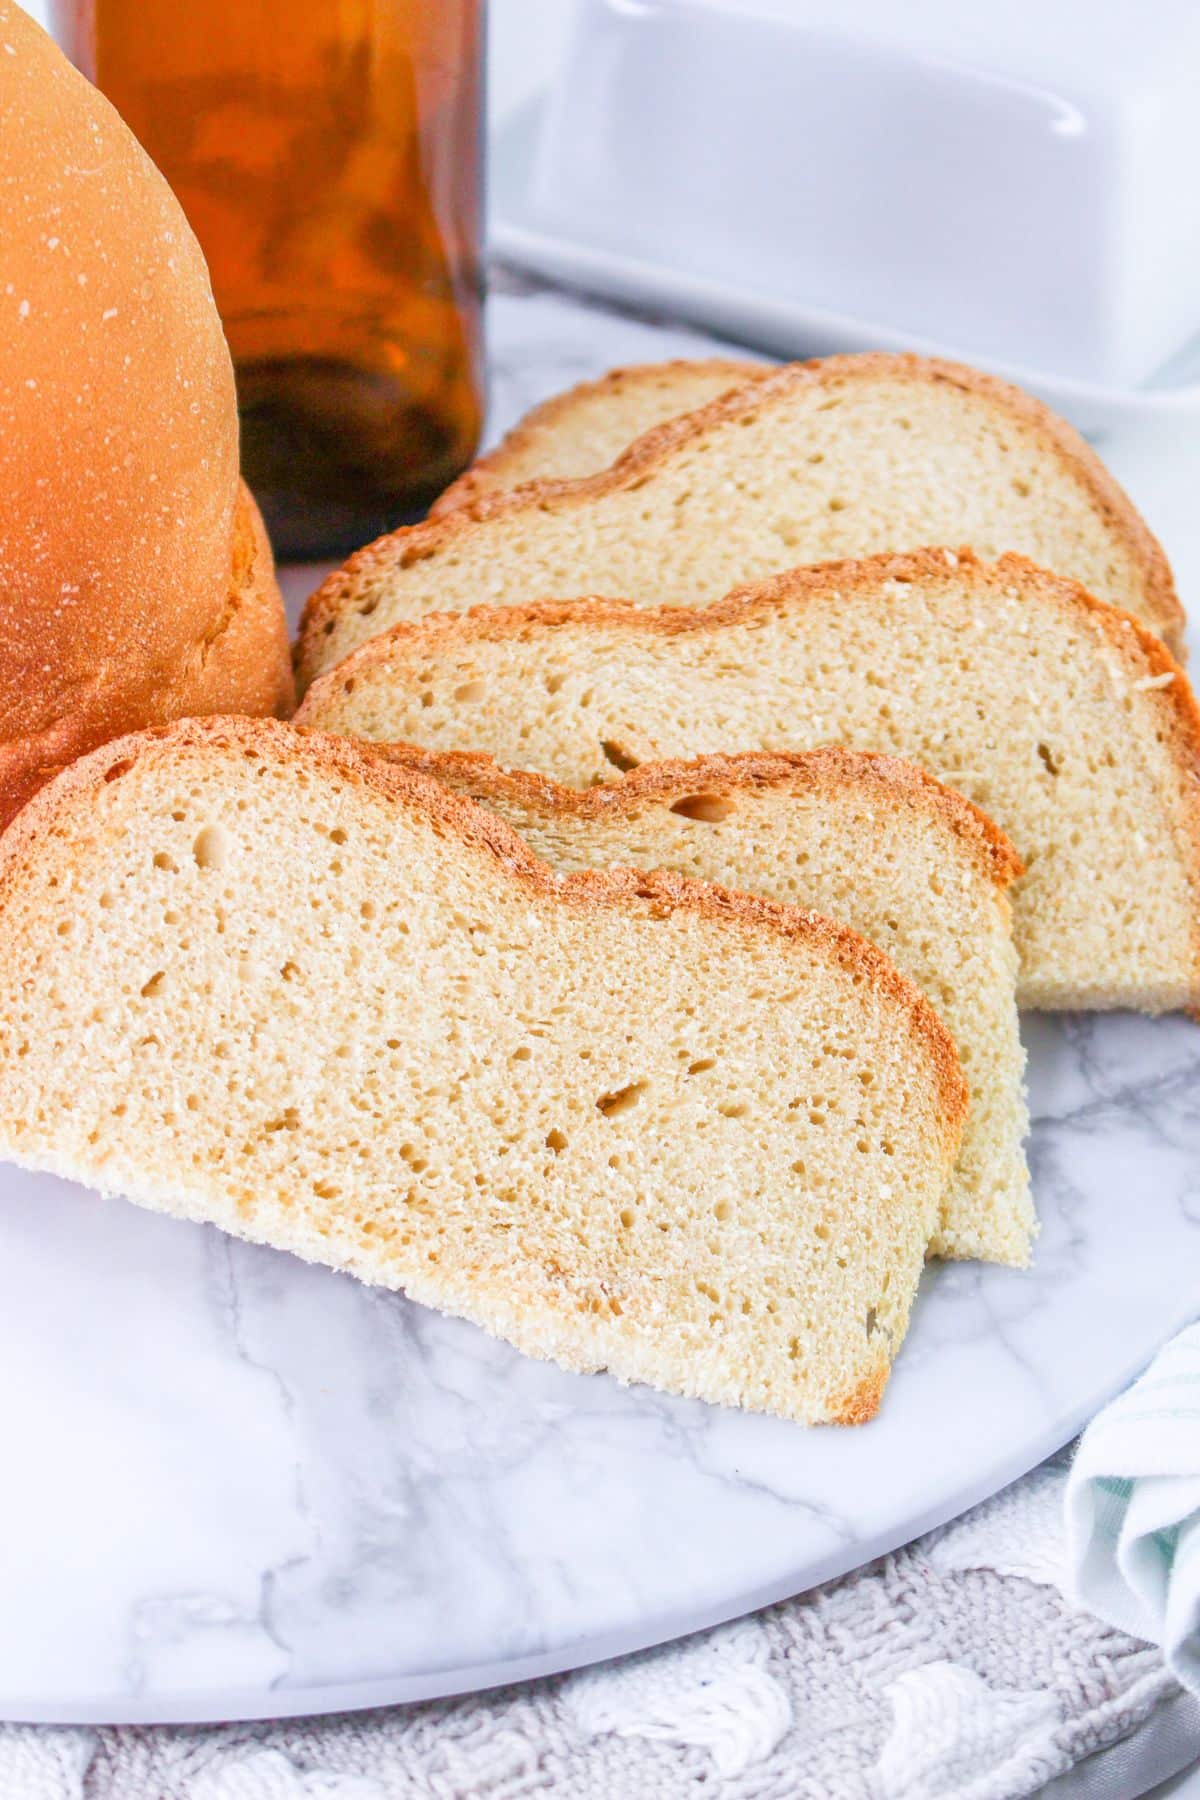
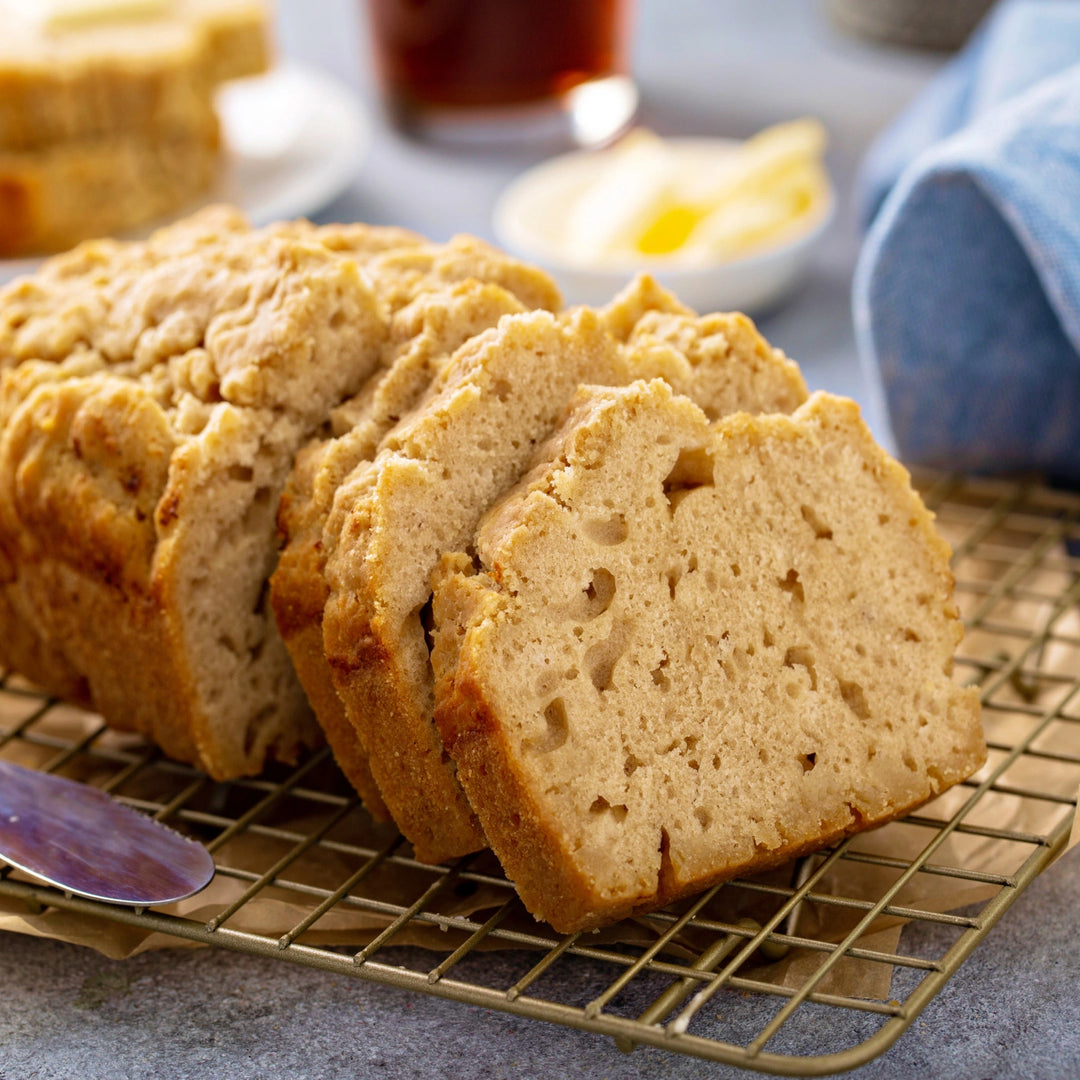
The whole cycle took about 3 hours. Finally, the machine beeped like crazy, signaling that it was done. I carefully pulled out the pan. The bread looked… well, it looked like bread! A little rustic, a little uneven on top, but definitely bread. And it was golden brown and smelled incredible.
I let it cool in the pan for about 10 minutes before inverting it onto a wire rack to cool completely. This is the hardest part, honestly. Resisting the urge to tear into it immediately is tough.
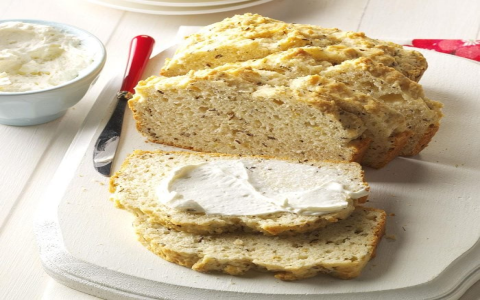
Finally, the moment of truth! I sliced off a thick piece. It was moist, slightly chewy, and had that subtle beer flavor. The crust was nice and firm. I slathered on some butter (because why not?) and took a bite. Not bad! Not bad at all!
Things I learned:
- Don’t stress too much about measuring perfectly. This recipe is pretty forgiving.
- The type of beer you use definitely affects the flavor. I might try a darker beer next time for a richer taste.
- Letting it cool completely is crucial. It really firms up and the flavors meld together.
Overall, the beer bread in a bread machine was a success! It’s a super easy way to make a delicious loaf of bread with minimal effort. I’d definitely make it again. Maybe next time I’ll add some cheddar cheese or jalapenos for a little extra kick.


