
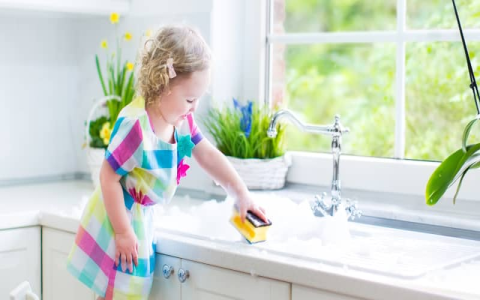
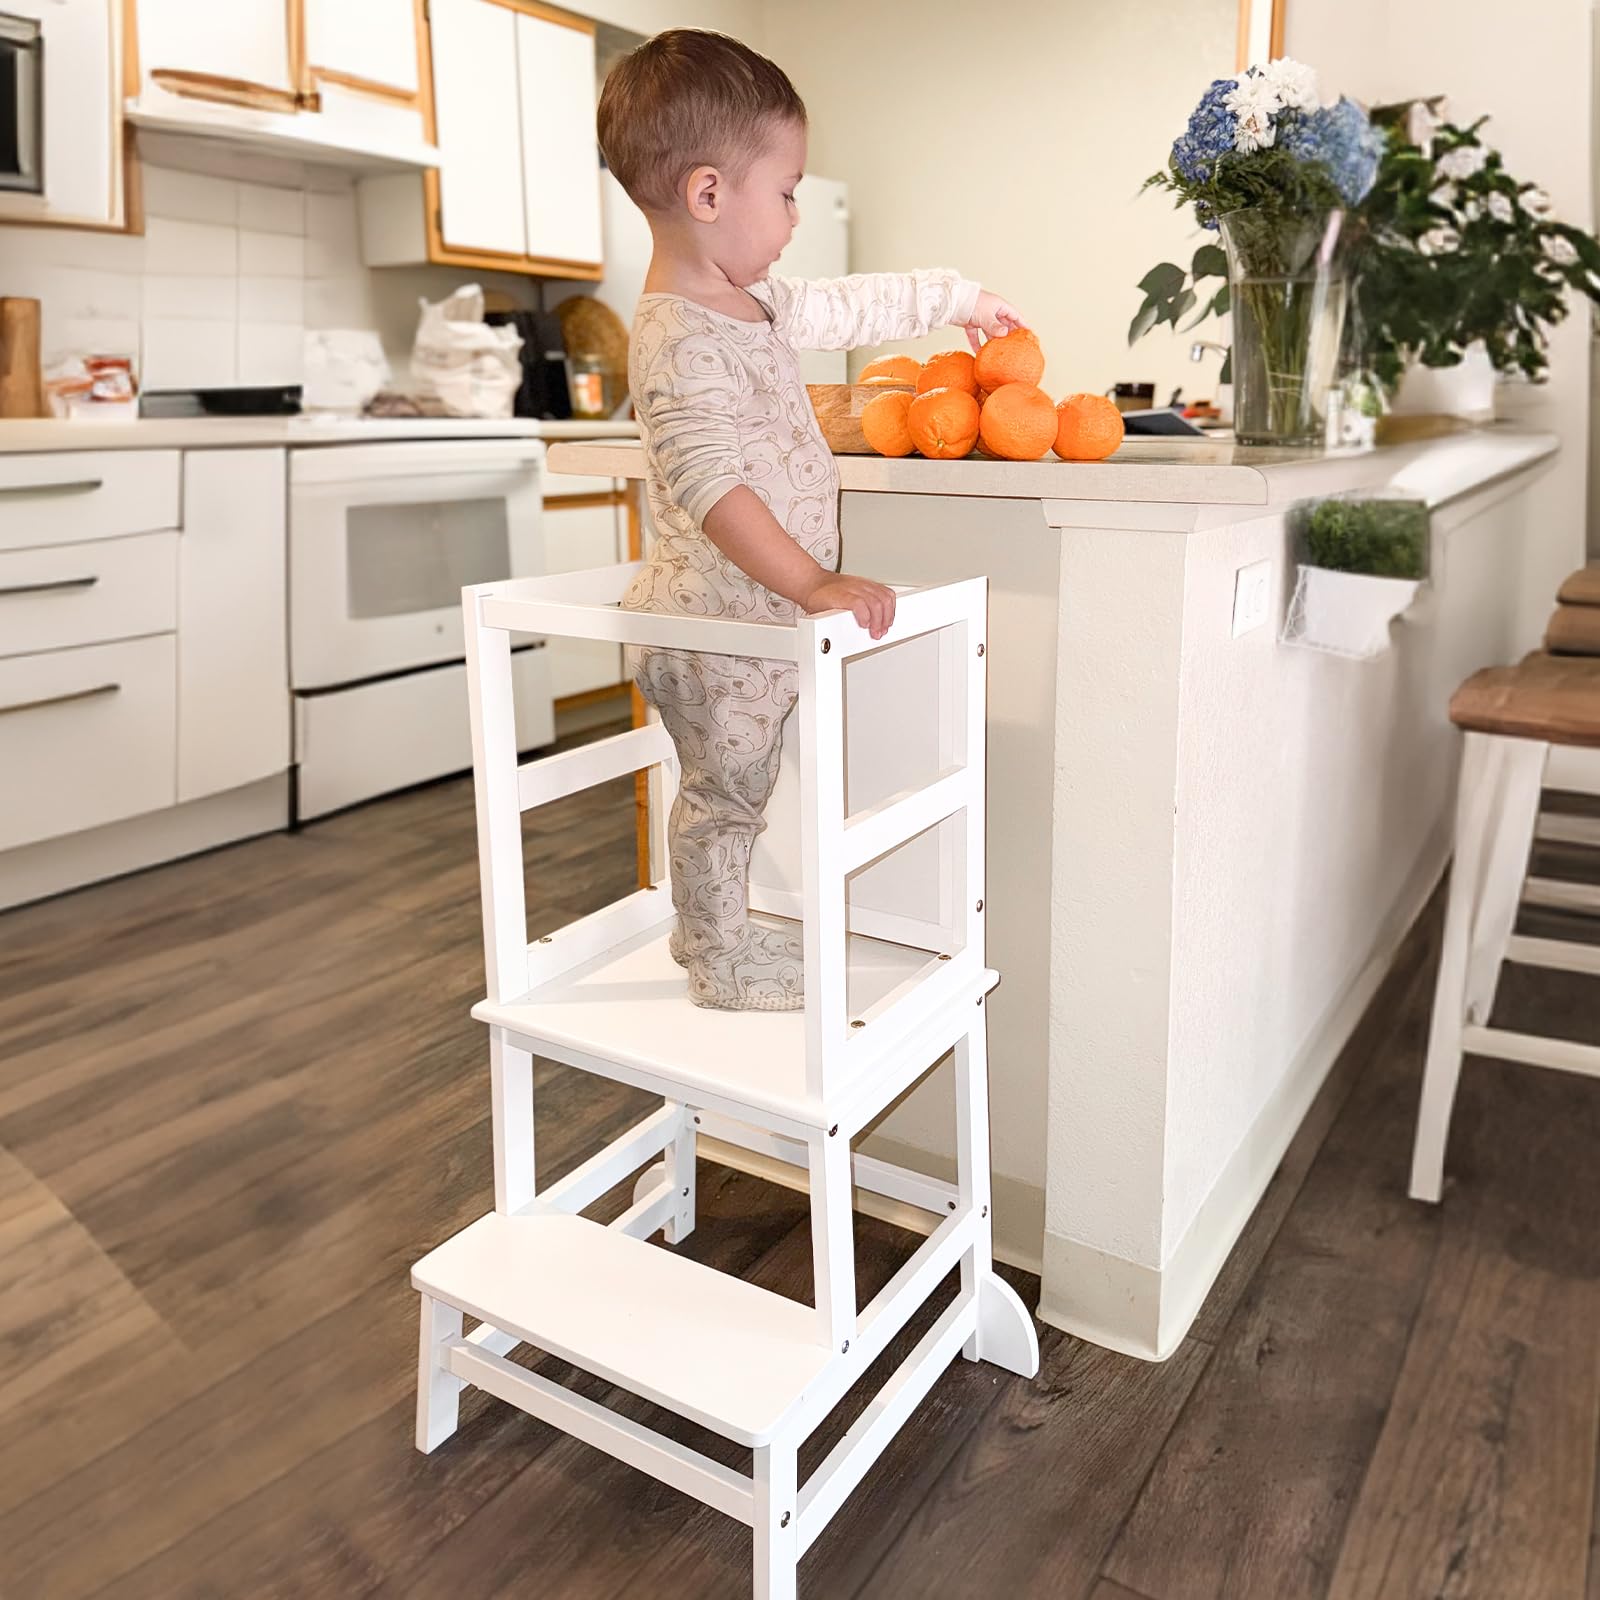
Alright, so I finally got around to making one of those kitchen helping stools. You know, for the little one. They’re always wanting to be right there in the thick of it when I’m in the kitchen, and dragging a regular chair over just felt like an accident waiting to happen. Plus, those chairs are never quite the right height, are they?
Figuring Out the Basics
I didn’t go crazy with plans. Honestly, I just sort of sketched out an idea on a bit of scrap paper I had lying around. The main things I wanted were for it to be sturdy, the right height for the counter, and to have some kind of little safety rail. Didn’t want any tumbles. I’d seen a few online, some looked okay, others looked a bit flimsy for my liking.
Grabbing the Materials and Tools
I poked around in the garage and found some pine boards that were leftover from another job. Perfect, didn’t need to buy anything new there. For putting it together, just the usual stuff, really:
- My old circular saw
- A drill
- Wood glue, the strong stuff
- A handful of screws
- And my trusty sander
Nothing fancy. Just the basics you’d expect for a bit of weekend DIY. No need for a massive workshop for a project like this.
The Actual Building Part
First, I cut all the pieces to size. Took my time with this, measuring a couple of times for each cut because, well, you know how it is. Better safe than sorry. Then I started assembling the frame. Used plenty of wood glue on the joints and then screwed everything together nice and tight. I really wanted this thing to be solid, no wobbles at all. Once the main structure was up, I added the platform part where the kiddo would stand. Then I built the little safety rail that goes around the top. That took a bit of fiddling to get the angles right and make it feel secure. After it was all assembled, I sanded the whole thing down. Made sure all the edges were smooth, no chance of splinters for little hands.
Finishing It Off
I thought about painting it, maybe a bright color or something. But then I figured, why bother? It’s going to get bashed about a bit anyway. So, I just gave it a couple of coats of clear varnish. That’ll protect the wood a bit and make it easier to wipe clean if anything gets spilled on it. Good enough for me. It’s a functional thing, not a piece of art.
The Result and a Bit of a Ramble
It turned out pretty well, I reckon! The little one absolutely loves it. They can stand up at the counter now and “help” with washing up (which mostly means splashing water everywhere) or just watch what I’m doing. It’s really stable, which is the main thing. I feel a lot better knowing they’re on something I built to be safe, rather than teetering on a normal chair.
It’s funny, you see similar things in the shops, and they often want a fortune for them. And half the time, they’re made of cheap plastic or that flimsy particle board that just crumbles if it gets a bit damp. Reminds me of this awful flat-pack bookshelf I bought years ago. Said “easy assembly” on the box. Yeah, right. The thing was a nightmare, and once it was up, it wobbled if you so much as looked at it. The bits that held it together felt like they were made of cheese. It didn’t even last a year before one of the shelves collapsed. That’s one of the reasons I started trying to make more things myself. At least when I build it, I know what’s gone into it – decent wood, proper screws. And if something does go wrong, I know how to fix it because I put the darn thing together in the first place. That bookshelf? Straight to the tip. This stool, though, this is built to last. Or at least until it’s outgrown.


