
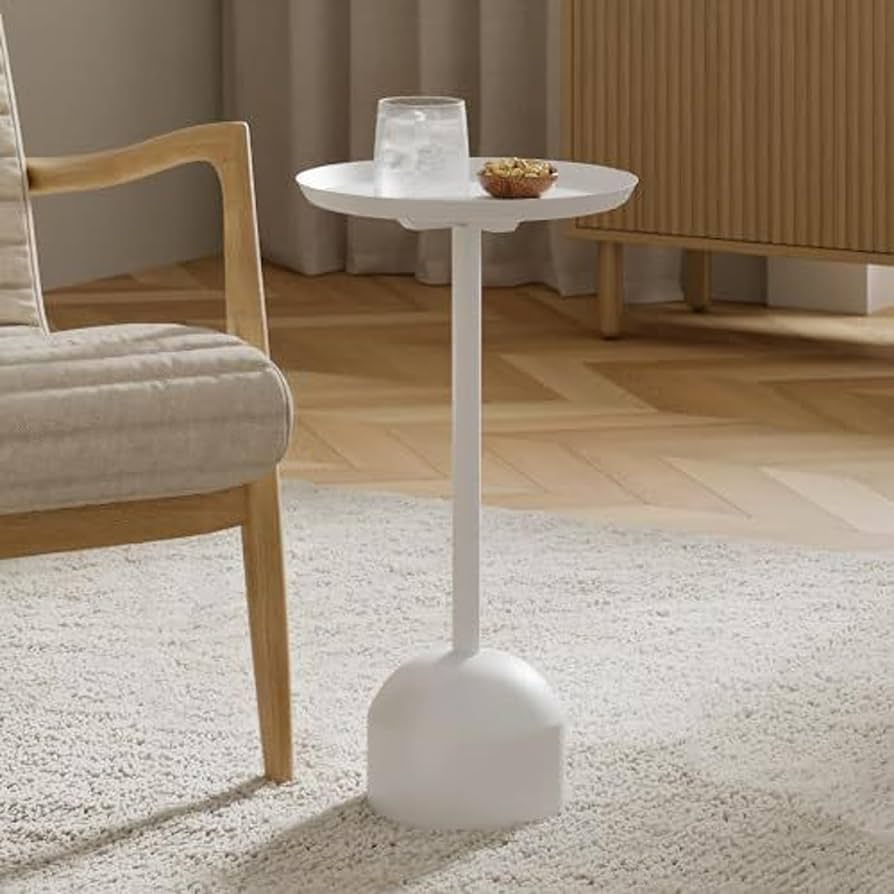
Okay, so I’ve been wanting a little something to put next to my favorite armchair – you know, a place to set down my drink while I’m reading or watching TV. I didn’t want anything too big or fancy, just a simple beverage side table. I figured, “Hey, I can probably make one myself!” And so, the project began.
First, I scrounged around for materials. I found some scrap wood in the garage – leftover from an old shelving project. It wasn’t pretty, but it was sturdy enough. I also grabbed a few basic tools: a saw, some sandpaper, wood glue, and some screws. I’m no woodworking expert, so I kept the design super simple.
The Build
- I started by cutting the wood into the sizes I needed. I decided on a small square top and four legs. I eyeballed the measurements, mostly – nothing too precise here!
- Next, I sanded down all the pieces. This took a while because the wood was pretty rough. I wanted to make sure there were no splinters to snag my clothes (or my skin!).
- Then came the assembly. I used wood glue to attach the legs to the tabletop. I clamped everything together and let it dry overnight. This was probably the most crucial step, making sure the glue had enough time to really set.
- The next day, I added some screws for extra reinforcement. I’m all about that “better safe than sorry” approach. I drilled some pilot holes first, so the wood wouldn’t split.
After that, it was pretty much done! It wasn’t perfect, of course. The legs were a little uneven, so I stuck some felt pads on the bottom to keep it from wobbling. It’s got that “rustic” charm, I guess you could say. But, it holds my coffee mug just fine, and that’s all that really matters. I even slapped a coat of leftover paint on it, just to make it look a little less…scrap-wood-y. I chose my favourite color.
Honestly, the whole thing probably took me a couple of afternoons, including the drying time. It was a fun little project, and I’m pretty happy with how it turned out. Plus, I saved some money by not buying a new table. Win-win!


