
Okay, here’s my blog post about building a kitchen stainless steel cart, written in the style you requested:
So, I needed more counter space in my tiny kitchen, you know? Like, badly. I was always shuffling things around, and it was driving me nuts. I saw those fancy stainless steel carts online, but whoa, were they pricey! Then I thought, “Hey, I can probably build one myself.” And I did!
First, I measured the heck out of my kitchen. I mean, I got down on the floor with the tape measure, figuring out exactly how much space I could spare without tripping over the thing every five seconds. I even drew a little sketch – not a fancy blueprint or anything, just a rough idea.
Next up, the fun part (sort of): scouring for materials. I hit up a couple of local hardware stores. I was looking for stainless steel sheets, some square steel tubing for the frame, and some good, sturdy wheels. The stainless steel was surprisingly hard to find in the exact size I wanted, so I ended up getting a slightly larger sheet and planned to cut it down.
I’m using a list below to show the specific materials:
- one stainless steel sheet
- some square steel tubing
- four wheels
Then came the scary part: cutting the steel. I borrowed a friend’s angle grinder (thanks, Mark!). Seriously, wear safety glasses and gloves for this part, people. Sparks flying everywhere! I marked out the lines with a Sharpie and slowly, carefully, cut the tubing and the sheet. It wasn’t perfect, but hey, it was close enough.
After the cutting, I used a metal file that I bought for this project.I filed the stainless steel and tubing to get rid of the sharp metal edge.
The welding was the trickiest part. I’m no expert welder, let me tell you. I watched a bunch of YouTube videos (again) and practiced on some scrap pieces. I used a MIG welder (another borrowed tool!) and managed to stick the frame together. It wasn’t pretty, but it was solid. I basically tacked the corners first, then went back and did longer welds. Lots of grinding to smooth things out afterward!
Once the frame was done, I attached the stainless steel sheet to the top. I used some construction adhesive and some short screws, just to be sure. Then I flipped the whole thing over and bolted on the wheels. Make sure you get wheels that can handle some weight!
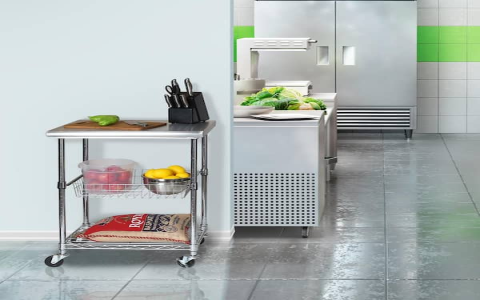
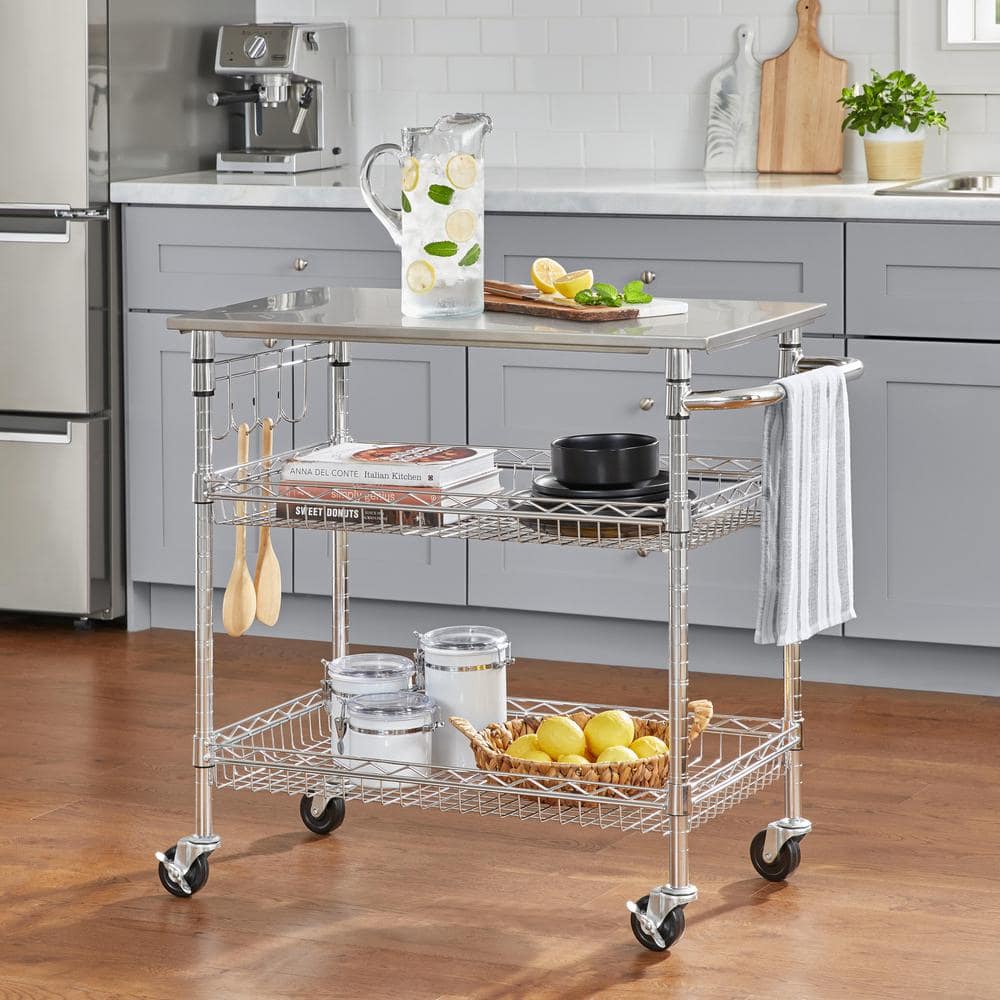
Finally, I cleaned the whole thing up. I used some stainless steel cleaner to get rid of any fingerprints and smudges. And there it was! My very own, slightly wonky, but totally functional kitchen cart.
The Result
It’s not perfect, okay? The welds are a little bumpy, and one of the wheels is slightly off-kilter. But it’s mine, I built it, and it holds all my extra pots and pans. Plus, I saved a ton of money! If I can do it, anyone can. Just be prepared for a bit of a learning curve, and don’t be afraid to ask for help (or borrow tools!).


