
Alright, so today I’m gonna spill the beans on my little adventure with the “ida thai cuisine menu” project. It wasn’t some grand, earth-shattering thing, but it was a good learning experience, and I figured I’d share my process in case it helps someone else out there. Let’s dive in!
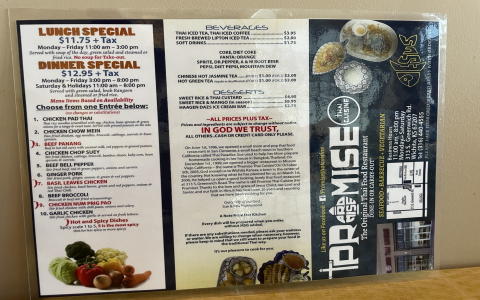
It all started when I stumbled upon this really cool Thai restaurant, “Ida Thai Cuisine” (obviously!). Their menu was pretty basic, a simple PDF. I thought, “Hey, I could probably whip up something a little more interactive and visually appealing for them, you know, just for fun and practice.”
First things first: Data Gathering!
- I grabbed that PDF menu and started typing all the dishes, prices, and descriptions into a spreadsheet. Tedious? Absolutely. Necessary? Yup. I wanted clean, organized data to work with.
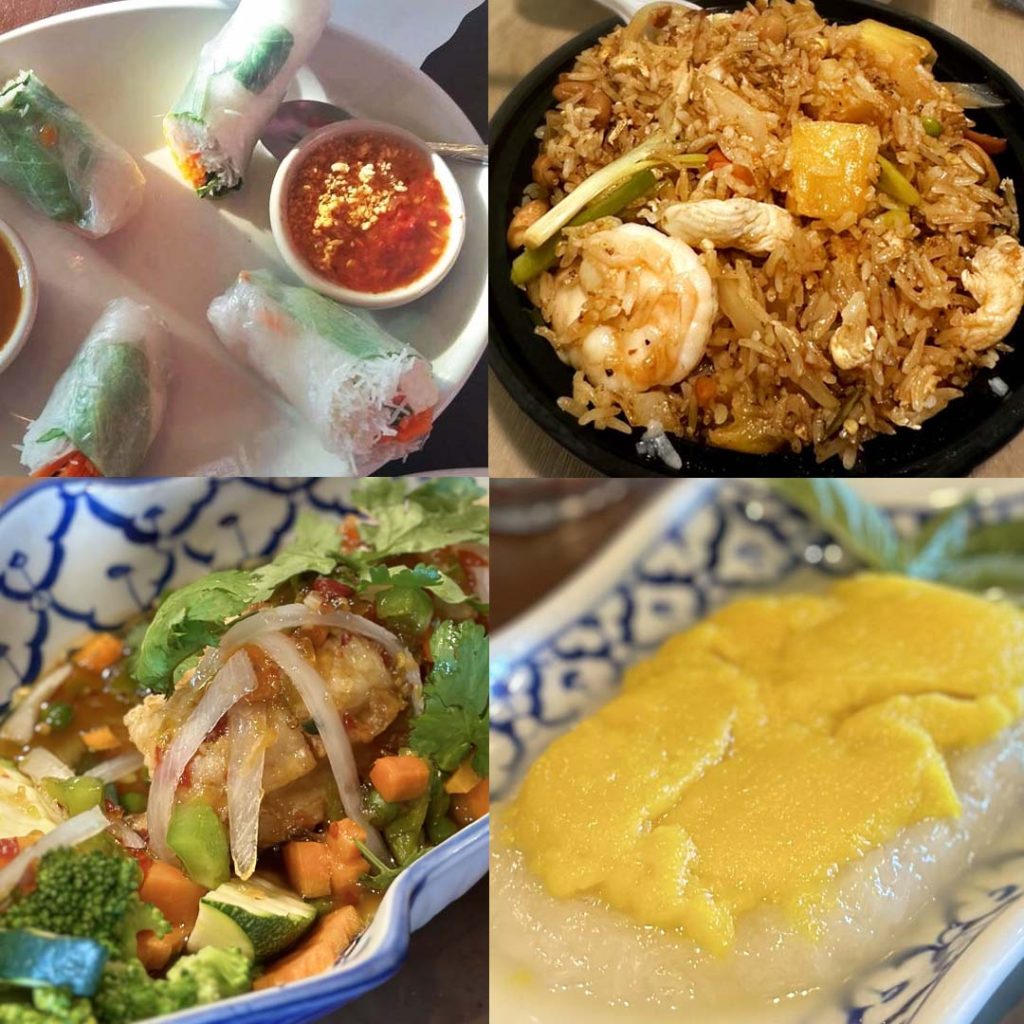
- Then, I went back to their website (or whatever online presence they had) and hunted down any good-looking photos of their food. Visuals are key, right?
Next up: Planning the Layout.
I didn’t want to just throw everything onto a page. I spent a bit of time sketching out different ways to organize the menu items. I was thinking of categories like Appetizers, Soups, Entrees, Desserts, etc. Then, under each category, I’d have the dish name, a brief description, the price, and if I had a photo, I’d include that too.
Time to get my hands dirty: Building the Thing.
- I decided to use some basic HTML, CSS, and a tiny bit of JavaScript. Nothing fancy, just enough to make it a bit interactive.
- I started with the HTML, setting up the basic structure with divs for each section (header, menu categories, etc.). I used the spreadsheet data to populate the menu items.
- CSS was where I spent most of my time. I wanted a clean, modern look that matched the restaurant’s vibe. I played around with fonts, colors, spacing, and image sizes until I was happy with the overall appearance. Think subtle Thai-inspired color palettes (some greens, golds, maybe a touch of red).
- For the little bit of JavaScript, I wanted to add some simple functionality like maybe a “popular items” section that shuffled randomly or a way to filter items based on dietary restrictions (vegetarian, gluten-free, etc.).
Challenges and Stumbling Blocks.
Of course, it wasn’t all smooth sailing. I ran into a few snags:
- Getting the images to look good was a pain. Some were low-res, others were oddly shaped. I had to do some image editing to make them consistent and visually appealing.
- Making it responsive was another challenge. I wanted the menu to look good on different screen sizes (phones, tablets, desktops). I used media queries in my CSS to adjust the layout accordingly.
- And then there was the never-ending battle with CSS specificity! Ugh! I had to learn to be more careful with my selectors to avoid style conflicts.
The Final Result.
After a few days of tinkering, I had a basic, interactive Thai menu. It wasn’t perfect, but it was a heck of a lot better than the original PDF. I had sections for each type of dish, images, prices, and descriptions. It even had a little bit of JavaScript magic for fun. I showed it to a few friends and got some good feedback.
What I learned:
- Even a seemingly simple project like this can teach you a lot about HTML, CSS, and JavaScript.
- Planning is key. Taking the time to sketch out the layout and gather data beforehand saved me a lot of headaches later on.
- Don’t be afraid to experiment. I tried out different styles and layouts until I found something that I liked.
- And most importantly, have fun! It’s just a side project, so don’t stress too much about making it perfect.
Would I show it to the restaurant? Probably not in its current state! But it was a fun learning experience, and that’s what matters. Maybe I’ll revisit it someday and turn it into something truly amazing. Who knows?
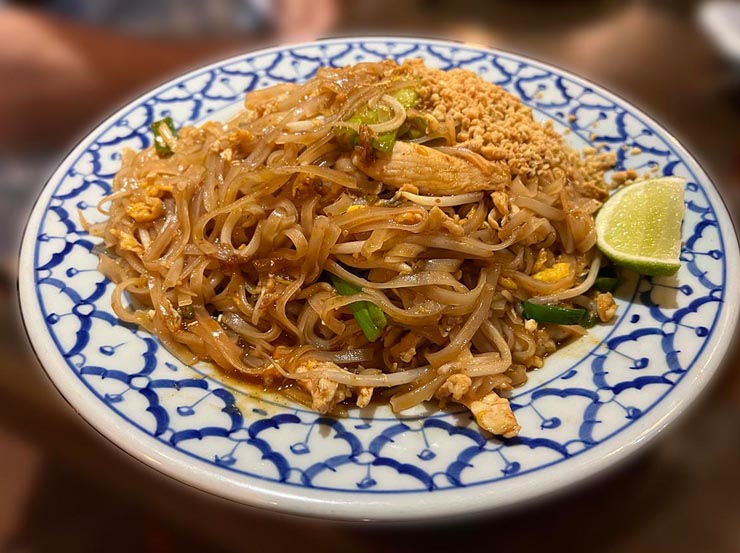
Anyways, that’s my “ida thai cuisine menu” story. Hope you found it somewhat helpful or at least mildly entertaining. Now, if you’ll excuse me, I’m craving some Pad Thai!


