
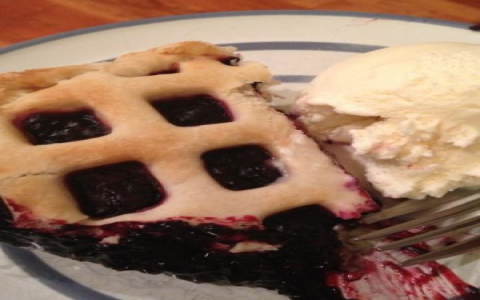
Okay, let me tell you about my little adventure trying out some Amish-style baking the other day. Heard a lot about how simple and good their stuff is, you know, real basic ingredients, nothing too fancy. Figured I’d give it a whirl myself.
Getting Started
First thing, I had to decide what to make. Lots of pies and cakes came to mind. I landed on trying to make some classic whoopie pies. Seemed like a good place to start. Not too complicated, right? Just some cakey cookies with filling.
So, I went through my pantry. The good thing about these kinds of recipes is you usually have most of the stuff already. Needed things like:
- Flour
- Sugar
- Cocoa powder (the unsweetened kind)
- Eggs
- Milk (I just used regular whole milk)
- Vegetable shortening (Yeah, the old-school stuff)
- Baking soda
- Salt
- Vanilla extract
For the filling, it was mostly powdered sugar, more shortening, some milk or cream, and vanilla. Pretty straightforward.
Making the Cakes
Alright, onto the mixing. I grabbed my big mixing bowl. Creamed the shortening and sugar together first. You gotta beat it until it’s kinda fluffy. Then cracked in the eggs, one at a time, mixing well after each one. Added the vanilla here too.
In another bowl, I whisked together the dry stuff: flour, cocoa, baking soda, and salt. The recipe I was loosely following said to alternate adding the dry mix and the milk to the sugar mixture. Started with dry, ended with dry. Mixed it just until it came together – didn’t want to overmix it. The batter was pretty thick, thicker than regular cake batter for sure.
Then came dropping them onto the baking sheets. Lined my sheets with parchment paper first, makes cleanup way easier. Used a couple of spoons to drop rounded mounds of batter. Tried to keep them roughly the same size so they’d bake evenly and match up later. Left some space between ’em ’cause they spread out a bit.
Popped them into the oven. Kept an eye on them. They bake pretty quick, maybe 10-12 minutes or so. You want them to be set and spring back when you touch the top lightly. Pulled them out and let them cool on the sheets for a few minutes before moving them to a wire rack to cool completely. Had a nice little pile of chocolate cake rounds.
The Filling Fun
While the cakes were cooling, I tackled the filling. This part’s easy but can get messy if you’re not careful with the powdered sugar. Dumped the powdered sugar, shortening, vanilla, and a splash of milk into another bowl. Started mixing it slow with the electric mixer unless I wanted a sugar cloud in my kitchen. Added a tiny bit more milk until it got to that nice, smooth, spreadable consistency. Tasted it – yep, sweet and creamy.

Putting It Together
Once the cakes were totally cool – and this is important, otherwise the filling melts – it was assembly time. Took one cake round, plopped a generous scoop of filling on the flat side. Took another cake round and sandwiched it on top. Pressed down just a little bit so the filling spread to the edges. Repeated this until all the cakes were used up.
And there you have it. A plate full of homemade whoopie pies. They looked pretty good, maybe not perfectly uniform like store-bought, but definitely homemade.
The taste? Oh yeah. Simple, sweet, chocolatey, and that creamy filling just works. It’s not fancy gourmet stuff, it’s just comforting, solid dessert. Definitely worth the little bit of effort in the kitchen. Felt good making something classic like that from scratch.


