
Okay, so I’ve been wanting to add a little something extra to my kitchen, something personal, you know? I decided to make a custom kitchen sign. I’m not the most crafty person, but I figured, why not? Let’s do this!
Brainstorming and Design
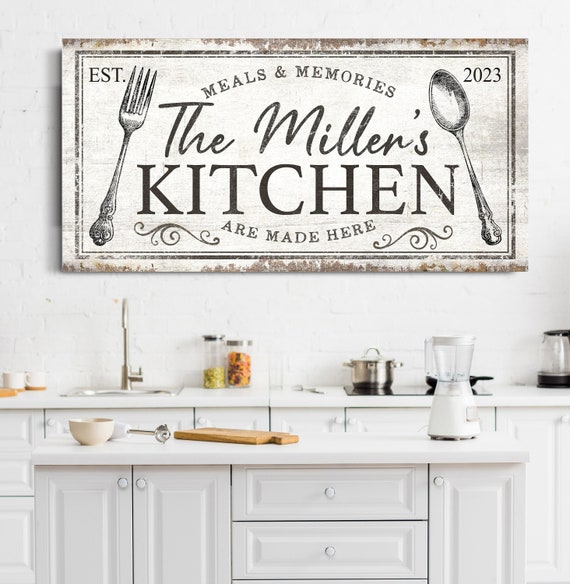
First, I spent some time just thinking about what I wanted. Did I want something funny? Something classic? Something rustic? I looked at some stuff online for inspiration, but mostly, I just let my mind wander. I jotted down a few phrases and words that I liked. Eventually, I landed on ” [My Name]’s Kitchen – Always Cooking Up Something Good!” Cheesy? Maybe. But it’s my cheese!
Gathering Supplies
Next up, I needed supplies. I headed to the local craft store. I swear, I could spend hours in those places! I grabbed:
- A wooden plaque – I chose a simple rectangular one.
- Some acrylic paints – I went with classic black and white, but you do you.
- Paintbrushes – a couple of different sizes for the details.
- Stencils (optional) – I’m not great at freehand lettering, so stencils were my friend.
- Sandpaper – to smooth out the wood.
- Sealer – to protect the finished product.
Prepping the Wood
Back home, I prepped the wood. I gave it a good sanding to make sure it was nice and smooth. Nobody wants a splinter in their kitchen sign! I wiped off the dust with a damp cloth and let it dry completely.
Painting the Base
I used my base white color, to fully covered the wood board, after the base layer was completely dry, I painted the second layer with same color.
Adding the Lettering
This was the tricky part. Since I opted for stencils, I carefully positioned them on the wood and secured them with some tape. Then, I dabbed the black paint onto the stencils, making sure not to use too much paint (to avoid bleeding). I repeated this process for each letter and word. If you’re feeling brave, you can totally freehand this part!
Letting It Dry and Sealing
Once I was happy with the lettering, I carefully removed the stencils and let the paint dry completely. This took a few hours. Patience is key! Finally, I applied a coat of sealer to protect the sign from kitchen splatters and general wear and tear. I let that dry overnight.
The Final Result!
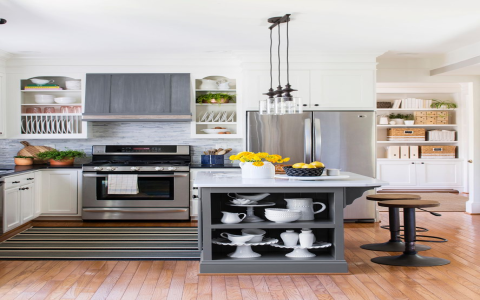
And… done! I hung my new custom kitchen sign above my stove, and I gotta say, it looks pretty darn good! It adds a personal touch to my kitchen, and it was actually a lot of fun to make. It’s not perfect, but it’s mine, and that’s what matters. If I can do it, you totally can too!


