

Okay, so today I wanted to try making some Dream Whip at home. I’d heard a lot about it, people saying it’s been around forever and how it’s a good replacement of Cool Whip and such. I found some recipes online, and it seemed easy enough. Most of them had the same basic stuff.
First, I grabbed all the ingredients. The recipes I saw called for:
- 1/2 cup of butter
- 1/2 cup of Crisco
- 1 cup of granulated sugar
- 2 teaspoons of vanilla extract
- 2/3 cup of evaporated milk (I made sure it wasn’t condensed milk!)
- 2 level teaspoons of meringue powder
I started by throwing the butter and Crisco into my mixing bowl. I beat those together until they were nice and smooth. The recipe said to pre-chill the bowl if my kitchen was warm, but it was a pretty cool day, so I skipped that.
Next, I gradually added the sugar while the mixer was running. Once that was all mixed in, I poured in the vanilla and the evaporated milk. It was starting to look pretty good at this point, but it was still kind of runny.
The Magic Ingredient
This is where the meringue powder comes in. I sprinkled in the two teaspoons of meringue powder and kept mixing. And let me tell you, that stuff works wonders! It was amazing to see that the mixture started to thicken up and get that fluffy, whipped cream texture. I kept the mixer going for a few more minutes, just to make sure everything was combined real well and it was super smooth.
And that’s it! Seriously, it was that simple. I couldn’t believe how easy it was to make Dream Whip from scratch. I tasted a bit, and it was delicious—light, fluffy, and not too sweet. It definitely lived up to the hype I’d heard about.
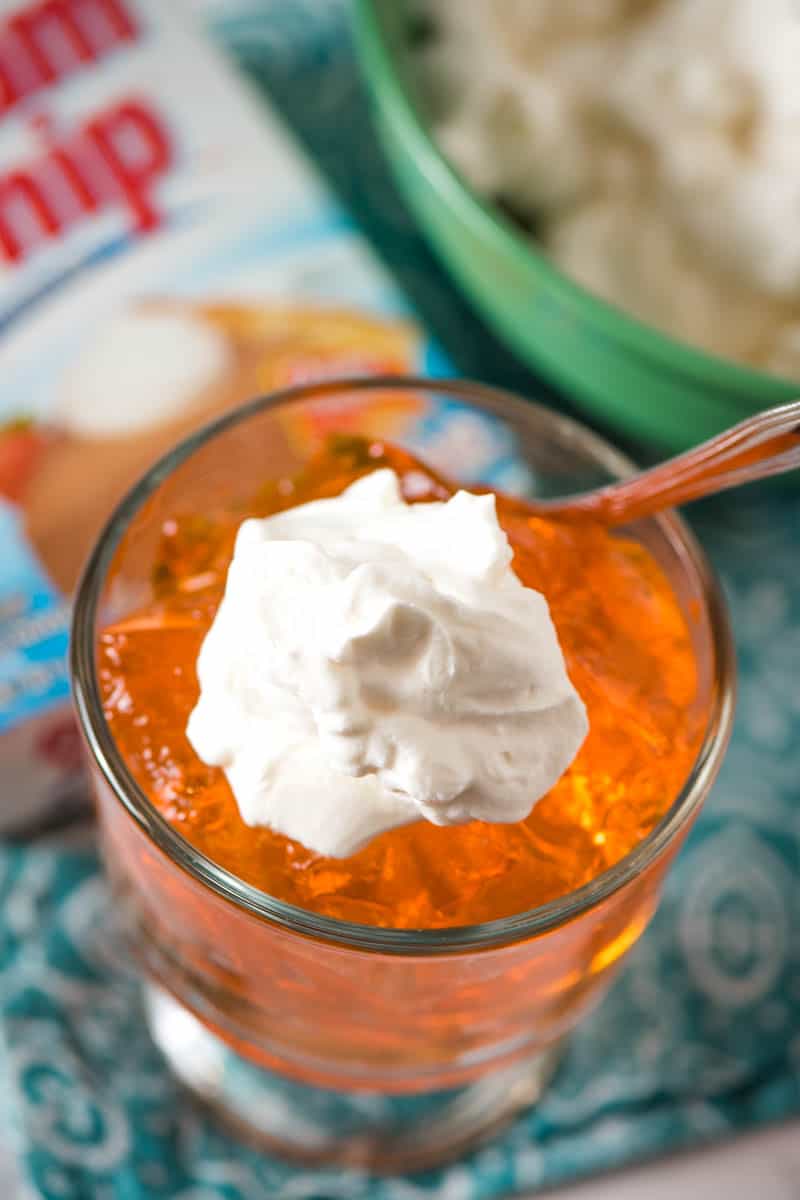
I used it to top off some fresh berries, and it was the perfect dessert. I’m definitely making this again. Maybe next time I’ll try some of those frosting recipes I saw online. There seem to be a ton of different ways people use Dream Whip. If you haven’t tried making it yourself, you really should. It’s way easier than you might think!


