
Alright, let’s talk about this limber de coco thing, you know, that icy treat everyone likes. I ain’t no fancy chef or nothin’, but I know a thing or two about makin’ good stuff with simple things. My way ain’t the prettiest, but it sure is tasty, just like how my grandma used to make it.
First off, you gotta get yourself some coconuts. Not those fancy ones in the store, though those work too if you ain’t got no choice. I like the real deal, the ones you gotta whack open yourself. Get a good heavy knife, and be careful, you don’t wanna lose a finger! Whack it good and hard, then pry it open. Scoop out all that white meat, that’s the good stuff.
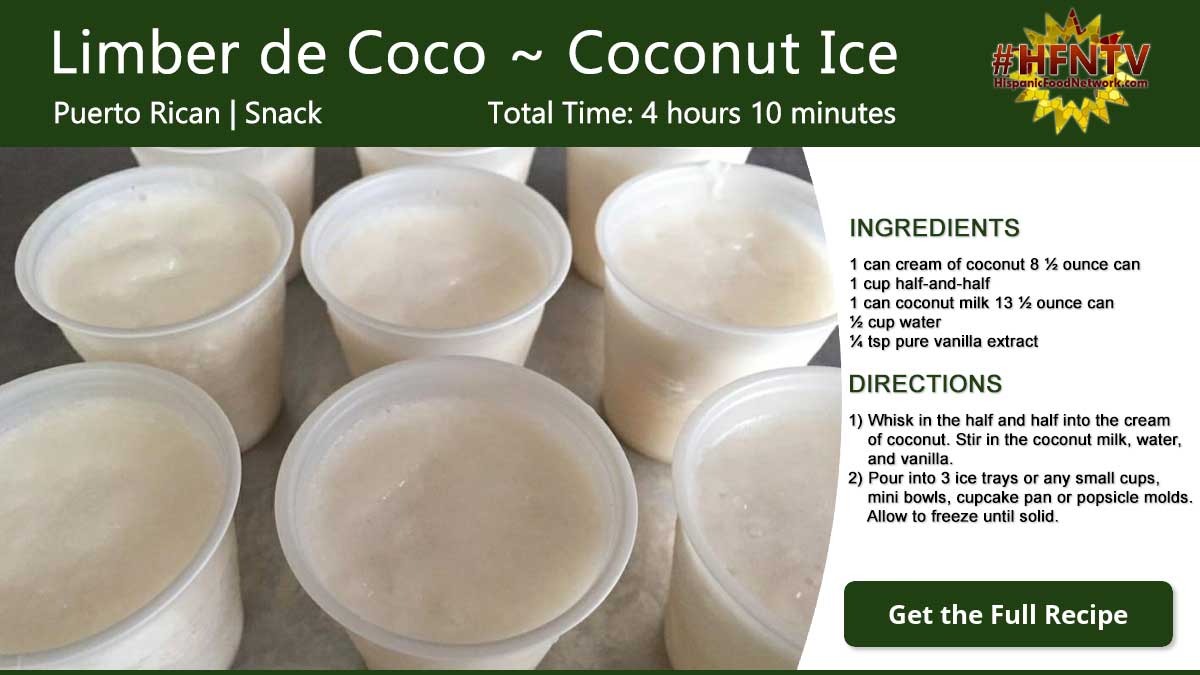
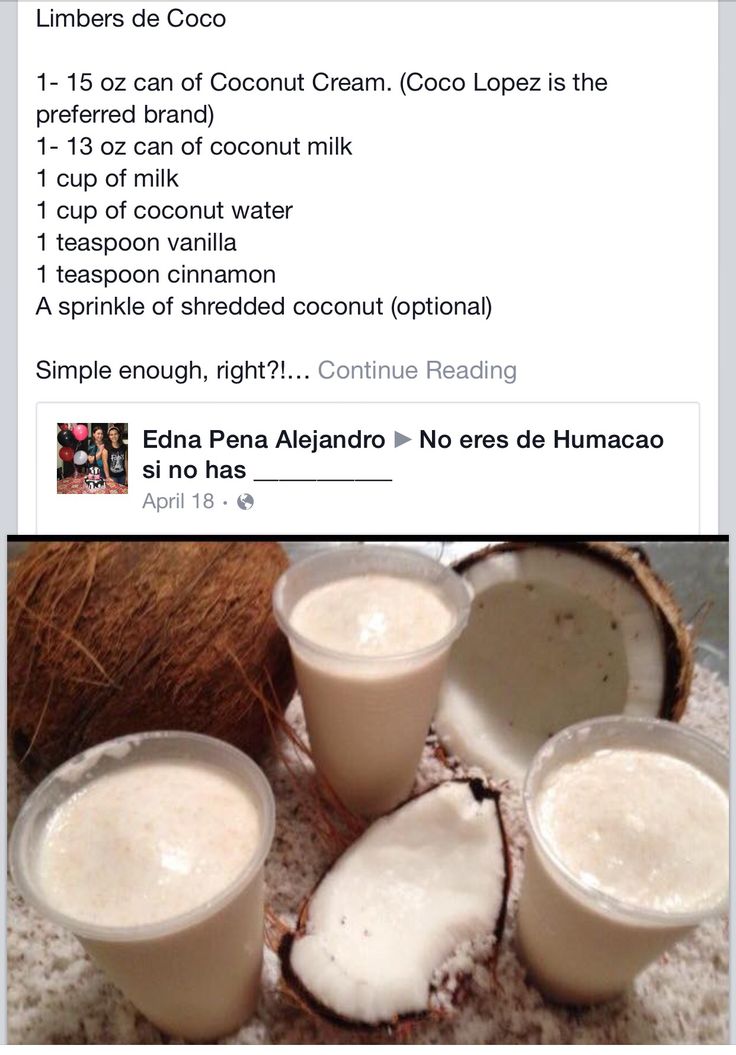
Now, some folks like to use coconut milk from a can. That’s fine and dandy if you’re in a hurry, but if you wanna do it my way, you gotta make your own milk. Take that coconut meat, chop it up small, and throw it in a blender with some water. Not too much water, just enough to get it blendin’ good. Blend it till it’s all smooth and milky lookin’. Then you gotta strain it. I use a cheesecloth, but an old clean t-shirt works just as good. Squeeze all that milk out, that’s the real flavor right there.
- Real Coconut Milk: You gotta make this from real coconuts, none of that store-bought stuff if you can help it.
- Sugar: Plain white sugar is all you need, but you can use brown sugar if you like that molasses flavor.
- Pinch of Salt: Just a little bit, to bring out the sweetness.
- Water: You might need a little extra water, depending on how thick your coconut milk is.
Next, it’s all about the sweetness. You gotta add sugar, see? How much sugar? Well, that’s up to you. I like it sweet, but not too sweet, you know? Start with a cup or so, and taste it. If it ain’t sweet enough, add some more. And don’t forget a pinch of salt! Just a little bit, it makes the sweet taste better, believe it or not.
Now, some folks get all fancy and add all sorts of things to their limber. But me? I like to keep it simple. Just coconut, sugar, and a little bit of salt. That’s all you need for a good ol’ limber de coco. If you wanna get crazy, you could add a little bit of vanilla, or maybe some cinnamon. But I say, keep it simple, that’s the best way.
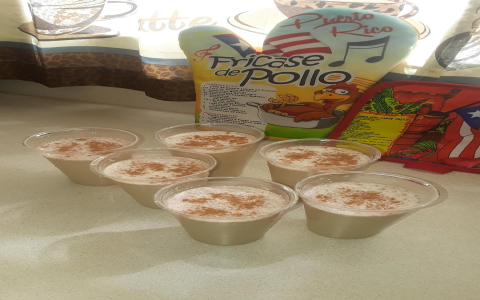
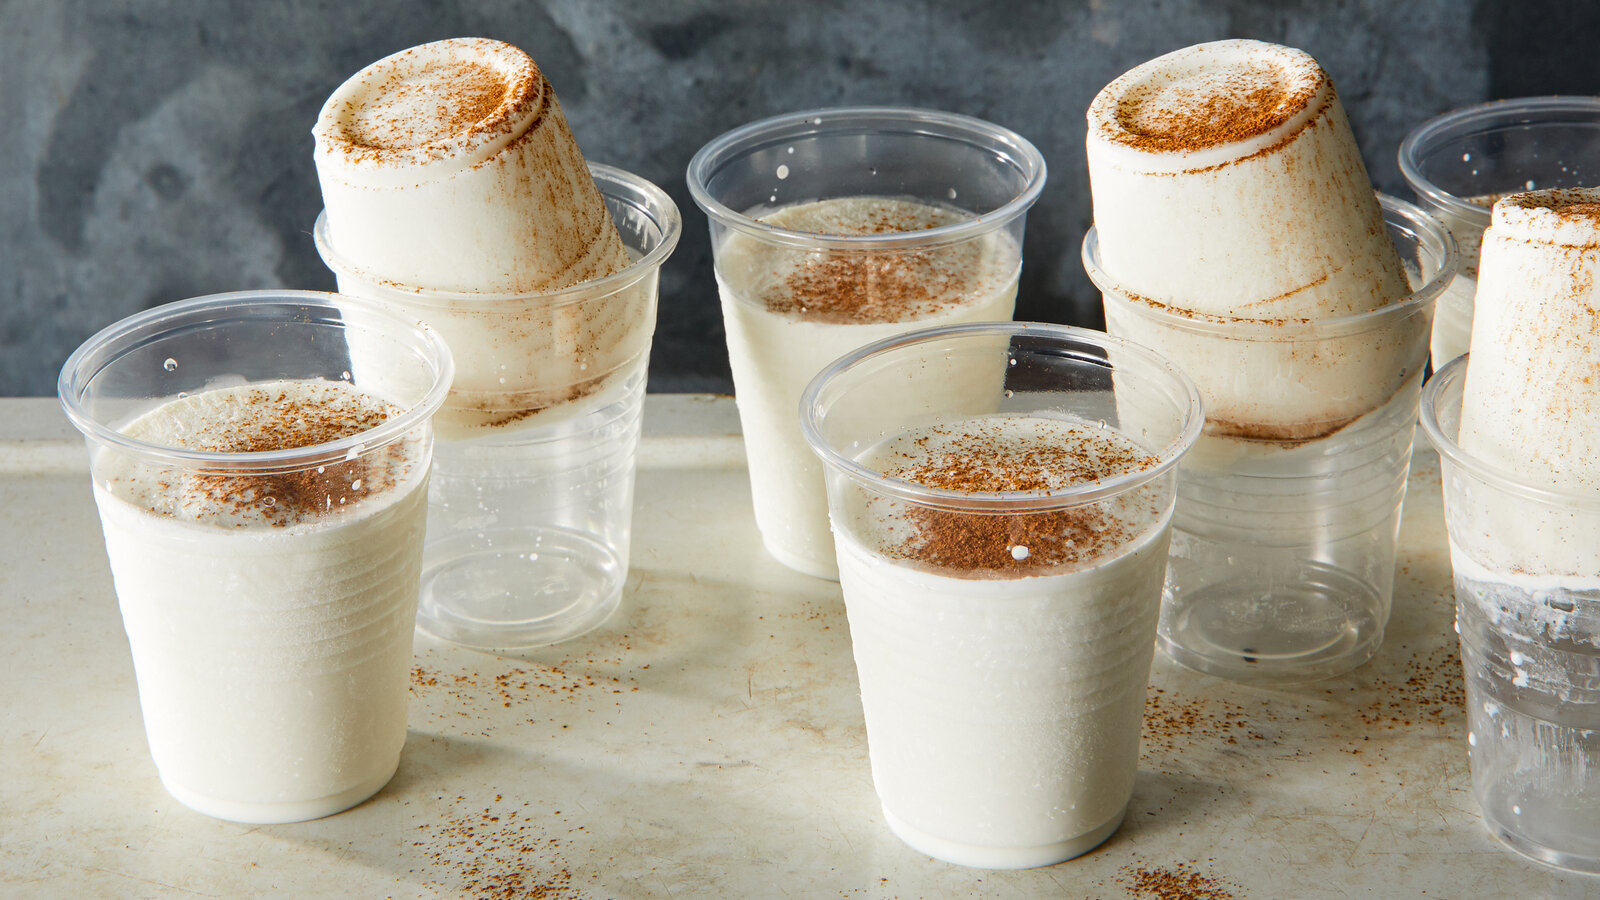
Once you got your mix all ready, pour it into some cups. I use those little plastic cups, the kind you get at the store. But you can use anything, really. Even those little ziplock bags work good. Just make sure they’re sealed tight, you don’t want no leaks.
Then, it’s time to freeze them. Stick ’em in the freezer and wait. How long? Well, that depends on how cold your freezer is. I usually leave them overnight, just to be sure. You want them nice and frozen, so they don’t melt too fast.
And that’s it! That’s how you make limber de coco. It ain’t rocket science, see? Just good, simple ingredients and a little bit of patience. And let me tell you, on a hot day, there ain’t nothin’ better than a cold, sweet limber de coco. It’ll cool you right down and make you feel good all over. So go on, give it a try. You won’t be disappointed.
A few extra tips from an old lady who knows a thing or two:
- If you’re usin’ store-bought coconut milk, make sure you get the full-fat kind. It’ll taste better and have a creamier texture.
- Don’t overfill the cups, leave a little bit of room at the top, so they don’t spill when they freeze.
- If you’re havin’ trouble gettin’ the limber out of the cups, run them under some warm water for a few seconds, and they’ll pop right out.
So there you have it. My simple way to make limber de coco ingredients into a delicious treat. Now go make some for yourself and your family. They’ll thank you for it!
Tags: [Limber De Coco, Coconut, Frozen Treat, Puerto Rican Dessert, Homemade, Simple Recipe, Summer Treat, Ingredients, Coconut Milk, Dessert]


