
Okay, here’s my blog post about building a foldable kitchen cart on wheels, written in a casual, personal style, and using basic HTML tags:
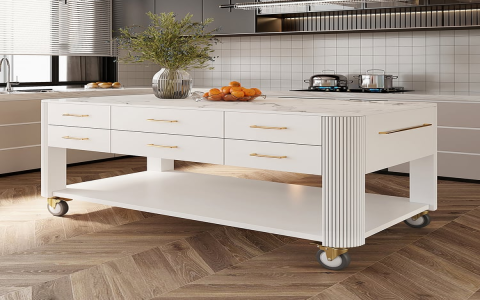
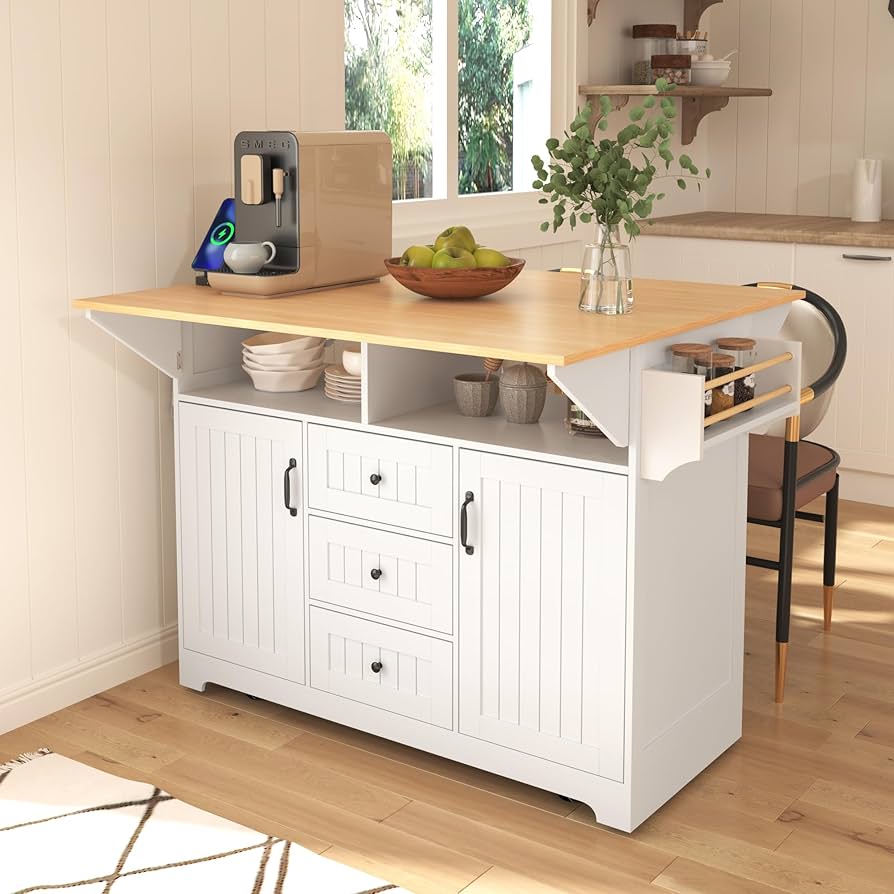
So, I finally tackled that project I’ve been putting off forever – building a kitchen cart! My kitchen is tiny, and I desperately needed some extra counter space and storage, but I also didn’t want a huge, bulky thing taking up what little room I have. That’s where the “foldable” and “on wheels” parts come in. Genius, right? I thought so.
Getting Started
First, I spent, like, a week just staring at empty space and sketching out rough ideas on napkins. I knew I wanted it to fold up pretty flat, so that was the main challenge. I looked at some stuff online, but honestly, most of it was either too complicated or just plain ugly. I wanted simple and functional.
I ended up going with a basic frame made of wood. Decided pine, it is nothing fancy, get what’s cheap and cheerful at my local DIY place. The hardest part, at the beginning, was figuring out the hinges. I wanted hinges that were strong enough to hold the weight of the cart and whatever I put on it, but also smooth enough to fold easily. After messing about for a couple hours, I found something to get the job done.
The Build
- Cutting the Wood: This was pretty straightforward. I measured everything, like, five times before cutting. Measure twice (or five times), cut once, right? I used a simple hand saw. Nothing fancy, just good old-fashioned elbow grease.
- Assembling the Frame: I used wood glue and screws to put the frame together. Clamped everything down while the glue dried to make sure it was all nice and sturdy. This took longer than I thought, mainly because I kept second-guessing myself.
- Adding the Hinges: This was the trickiest part. Getting them lined up perfectly so the cart would fold smoothly was a real pain. There was a lot of trial and error, and a few curse words may have been uttered.
- Attaching the Wheels: I used some basic caster wheels from the hardware store. These were easy to screw on, thankfully. I wanted the cart to roll easily, even when loaded up.
- The Top: Decided using a nice piece of butcher block for the top. Gives it a bit of a rustic look, which I like. Just attached it with some screws from underneath. Easy peasy.
The Finish Line (Almost!)
After a few days of tinkering, it was finally done! It folds up pretty neatly, and it rolls around like a dream. I’m actually pretty proud of myself. It’s not perfect, mind you. There are a few wonky bits, and the finish could be better, but it works! It’s sturdy, it folds, and it gives me that extra counter space I was craving.
I haven’t painted or stained it yet. I’m thinking maybe a dark stain to match my kitchen cabinets? Or maybe a bright pop of color? Decisions, decisions… For now, I’m just enjoying having a functional, homemade kitchen cart that actually makes my life a little easier.


