
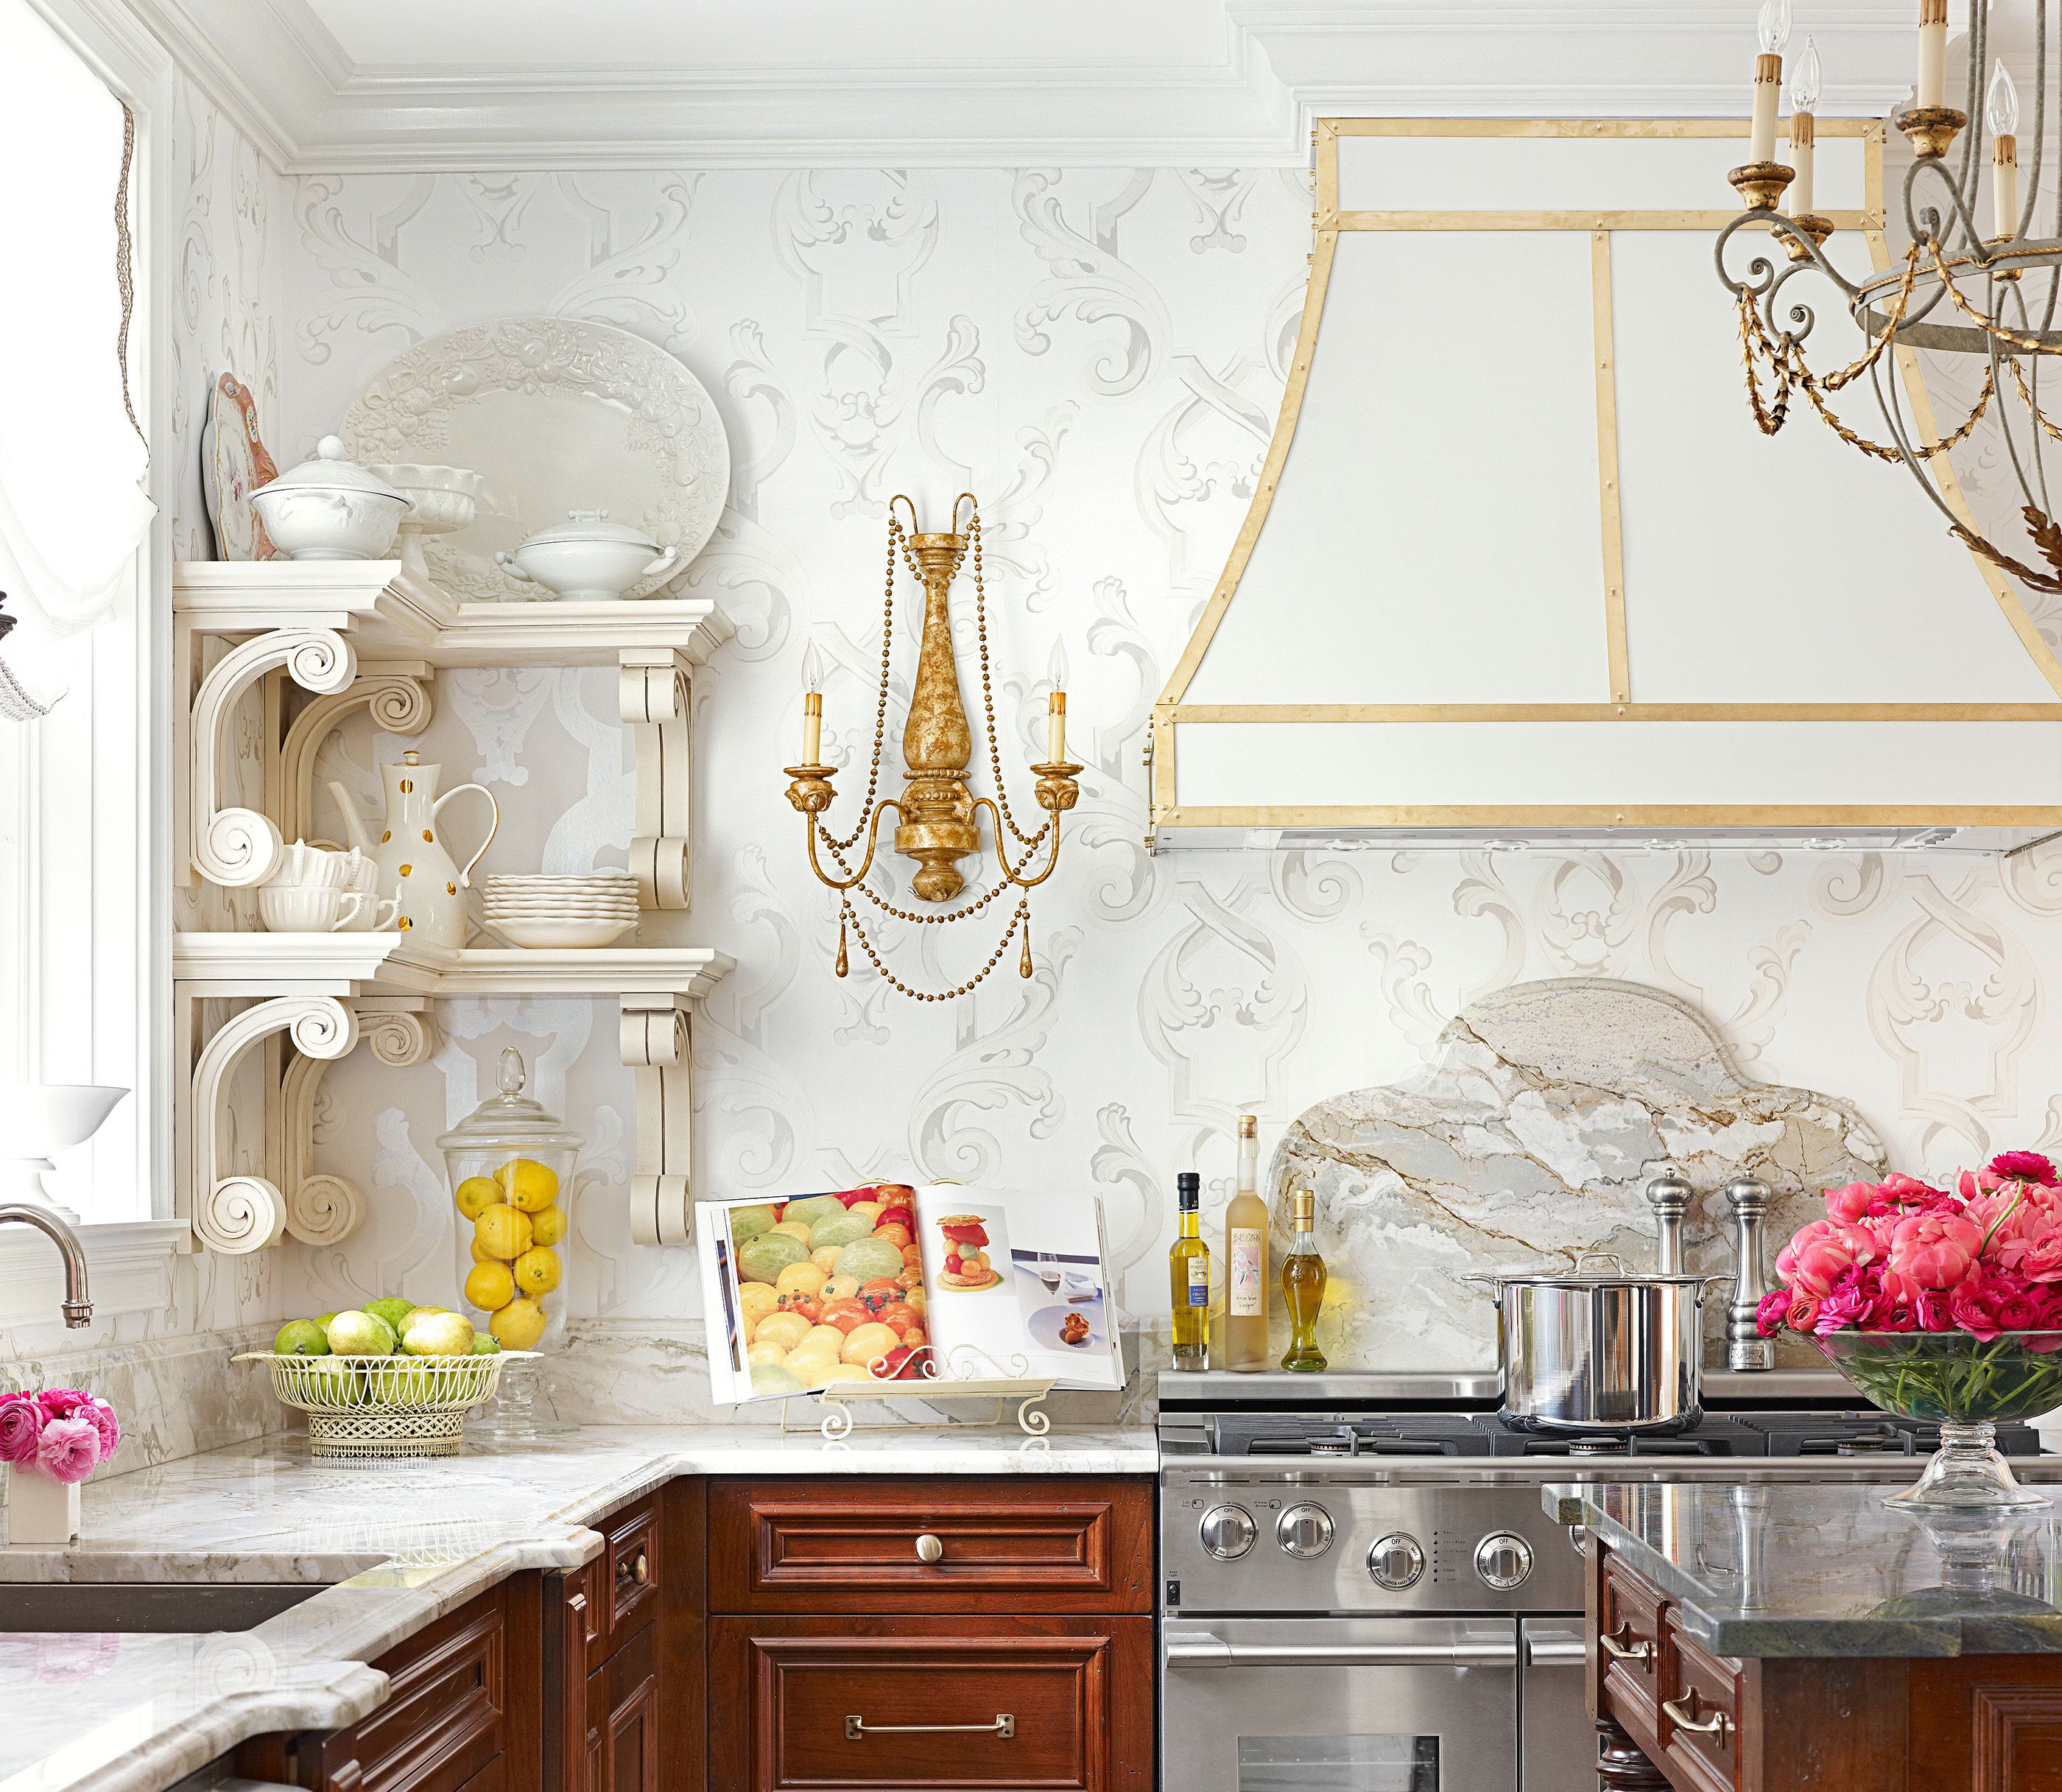
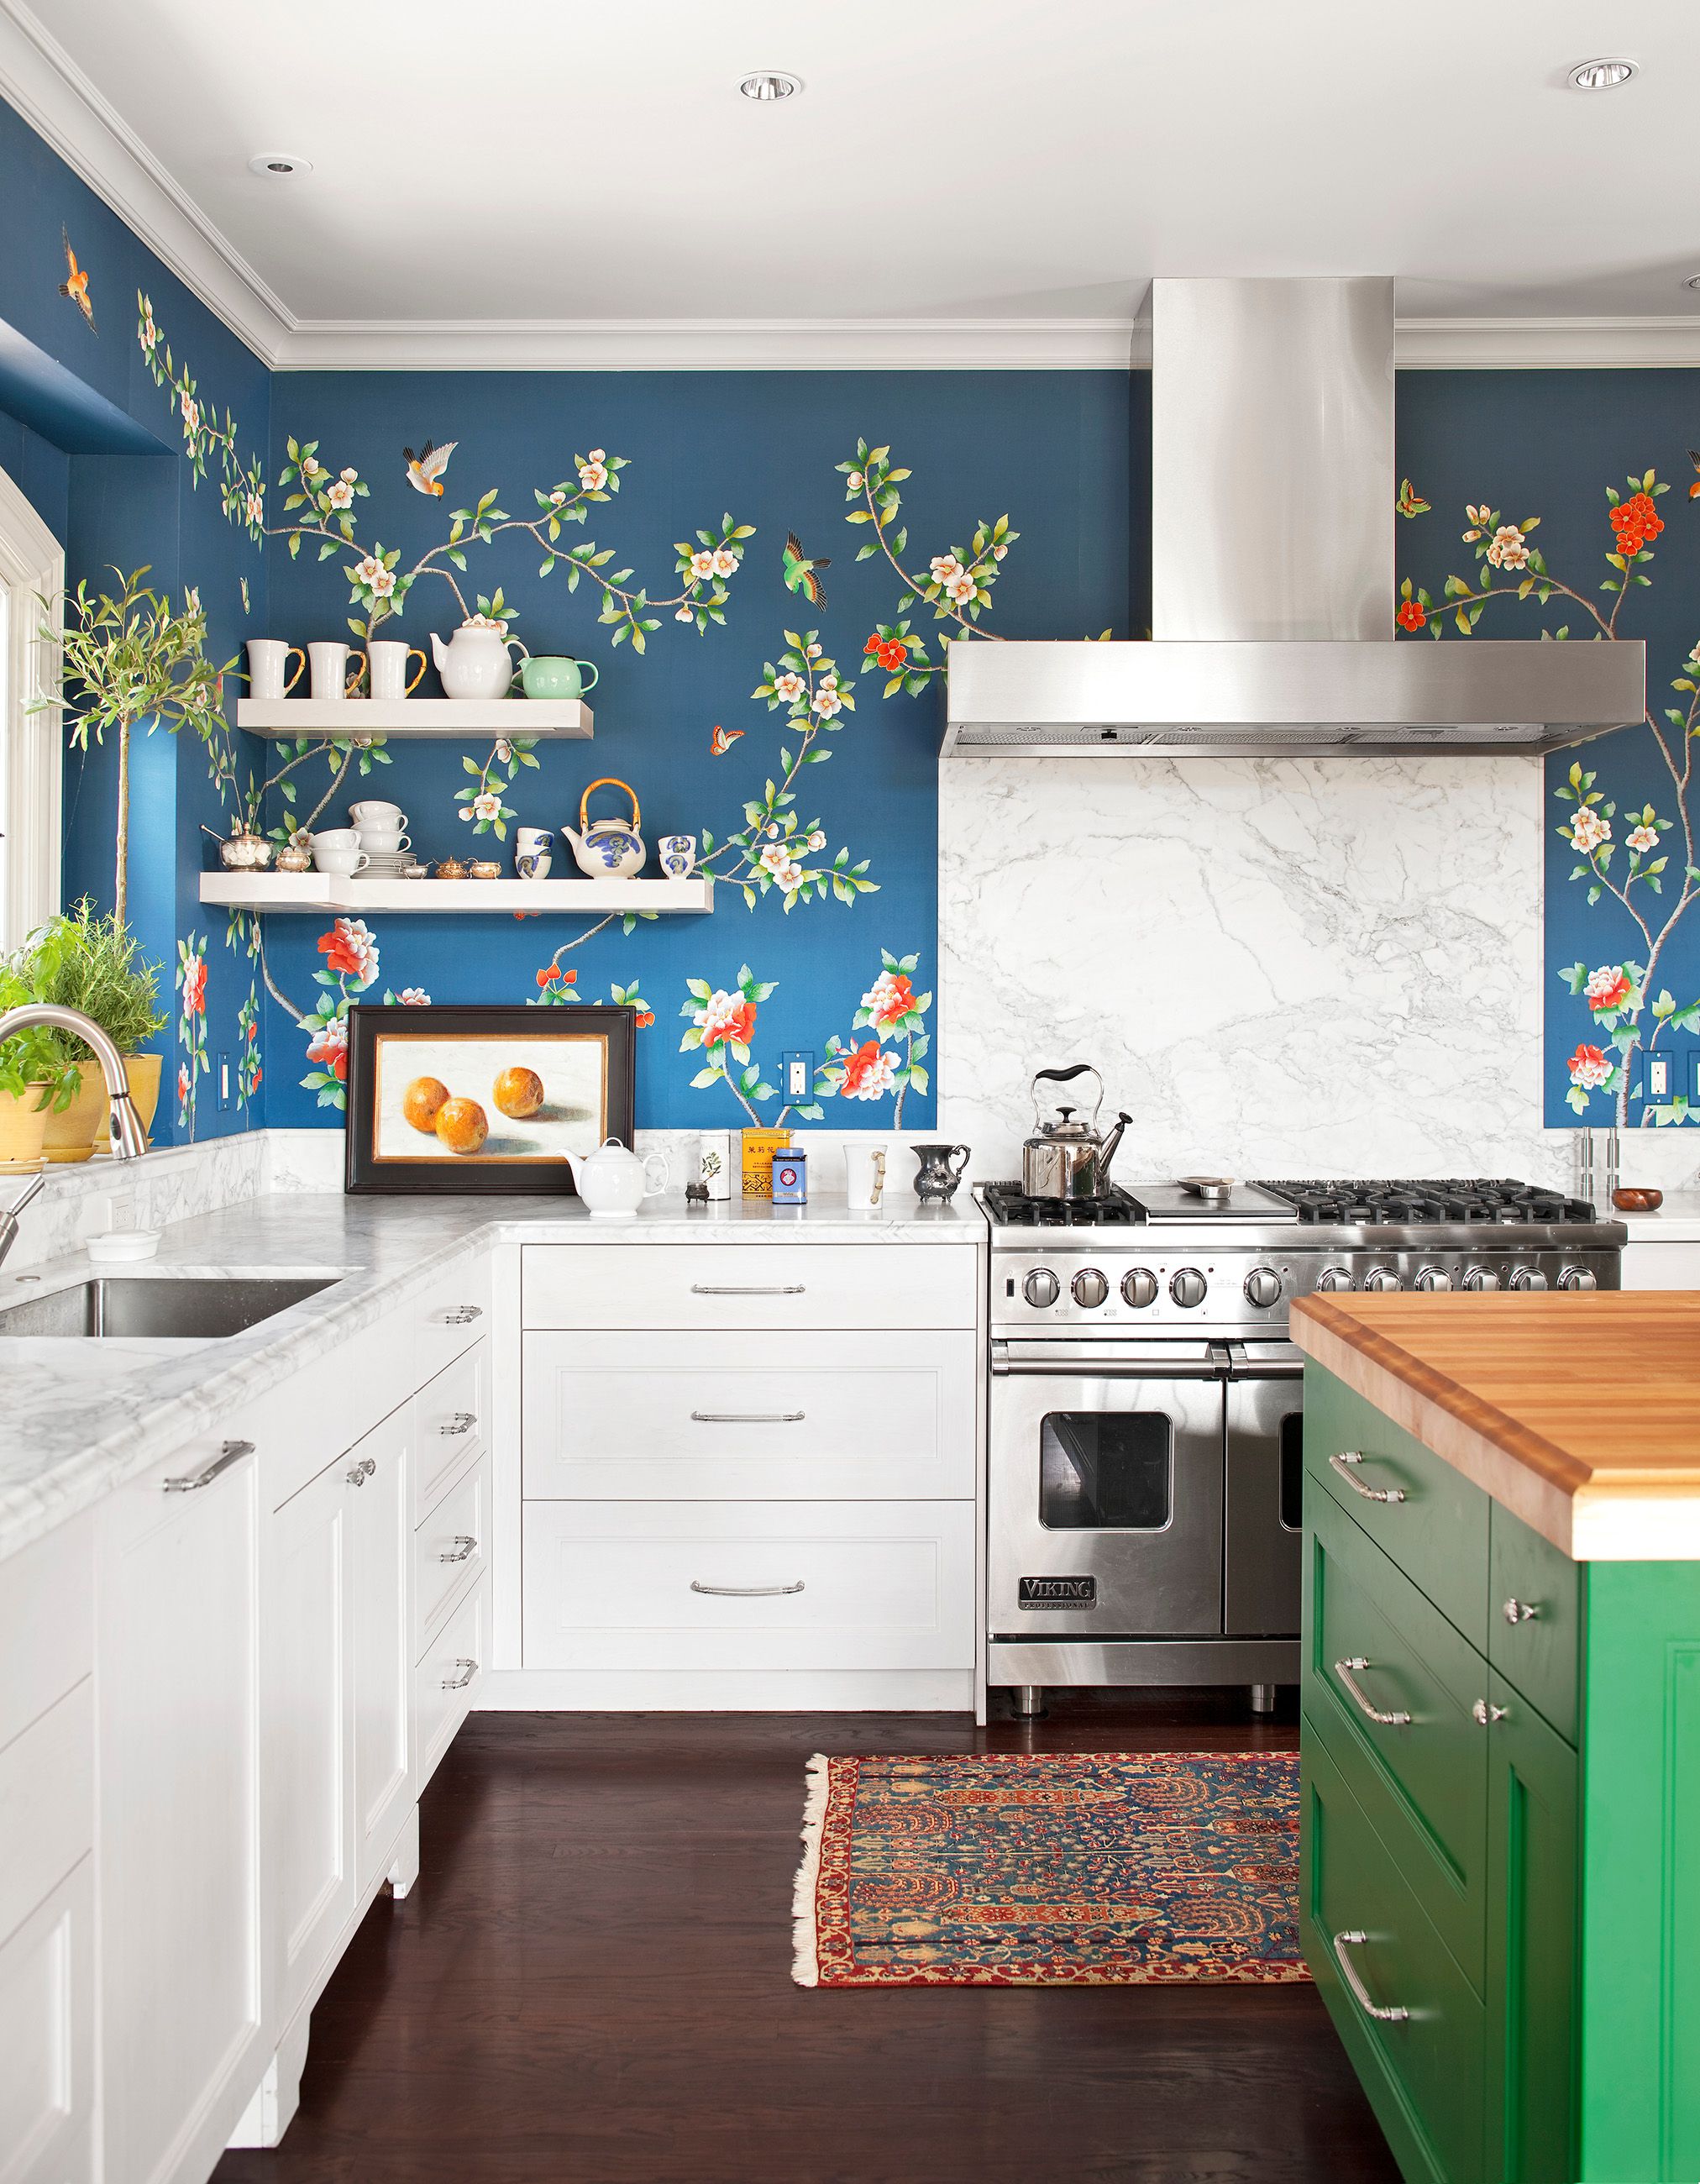
So, my kitchen. It had been bugging me for ages. Just plain, boring walls. Every time I was in there, which is a lot, it just felt a bit… meh. I wasn’t about to repaint the whole place, you know? Too much upheaval. But it really needed a bit of a lift, something to make it feel a little more put-together without a massive fuss.
Then it hit me – wallpaper border! Yeah, I know, sounds a bit old-school, but I figured, why not? It could be just the ticket for a quick refresh. So, I decided to give it a go.
Getting Started with the Whole Thing
First things first, I had to actually find a border. Spent a fair bit of time looking online, then remembered the local hardware store. Found a nice, simple one, nothing too crazy, just a subtle pattern that I thought would go well with the cabinets. Didn’t want it screaming at me every morning.
Then I had to gather my supplies. I already had most of this stuff lying around, thankfully. Here’s what I ended up using:
- The wallpaper border itself, obviously.
- A measuring tape – couldn’t do without that.
- A pencil, for marking.
- A level – super important, you don’t want a crooked border staring back at you.
- A wallpaper smoother, one of those plastic things.
- A sharp utility knife.
- A bucket and a sponge.
My border was the pre-pasted kind, which I was pretty happy about. Seemed like it would be less messy than dealing with separate glue. We’ll see about that, I thought.
Before I could even think about sticking anything up, I had to clean the walls. You’d be surprised how much grime can build up in a kitchen. So, a good scrub down it was. Let it dry properly too. No point sticking good border onto a dirty wall, right?
The Actual Process: Sticking it Up
Alright, walls prepped. Now for the measuring. I decided where I wanted the top edge of the border to sit. Used the measuring tape and level to draw a very faint pencil line all around the room. This took a bit of patience, making sure it was all straight and even. Trust me, this step is worth taking your time on.
Then, cutting the first piece. I measured the length I needed for the first section of wall, adding a little extra just in case. Always better to have a bit too much than too little. The instructions said to dip it in water to activate the paste. So, I filled up a tray, rolled the cut piece loosely, and submerged it for the recommended time. Then I ‘booked’ it – that’s where you gently fold it, paste side to paste side, and let it sit for a few minutes. Apparently, this helps the paste activate evenly.
Okay, moment of truth. I carefully unfolded the first piece and started applying it to the wall, lining it up with my pencil mark. I started in a corner that wasn’t too visible, just to get the hang of it. Used the smoother to work out any air bubbles, smoothing from the center out. It was a bit fiddly at first, getting it to stick smoothly and straight.
Working my way around the kitchen, piece by piece. Matching the pattern at the seams was a bit of a challenge, I won’t lie. Took some careful lining up. And corners! Corners are always the tricky bit with wallpaper anything. Had to make some careful cuts and overlaps to get them looking neat. There were a few moments of quiet frustration, I’ll admit.
The Big Finish and My Thoughts
Slowly but surely, I got all the pieces up. The last piece felt like a real accomplishment. I went around with the utility knife and trimmed any excess from the top or bottom edges, and around outlets and switches. Then, a final wipe down with a damp sponge to remove any paste residue from the border or the wall.
Stepped back to take a look. And you know what? It actually looked pretty darn good! It’s amazing how such a relatively small change can make a difference. The kitchen instantly felt a bit more finished, a bit more cared for. It wasn’t a massive, dramatic transformation, but it was just the little lift it needed.
Was it a completely mess-free job? Not entirely. There was still a bit of water and paste to clean up. And it definitely took a few hours of focused work. But overall, I’m really pleased with how it turned out. It was a satisfying little project, and it didn’t break the bank either. If you’re looking for a simple way to spruce up a room, I’d say give a wallpaper border a thought. Just take your time, and have that level handy!


