
Alright, let’s talk about this sidra thing. Heard the name tossed around a bit, folks saying it’s some kind of apple drink, kinda like cider. Curiosity got the better of me, as it usually does. I figured, instead of just buying a bottle, why not try and figure out the process myself? That’s usually how I end up learning things best, by getting my hands dirty.
So, the first step was apples. Lots of ’em. I didn’t have an orchard handy, unfortunately. Went down to the market, picked up a big batch. Tried to get a mix, some sweet, some tart, based on some vague advice I stumbled across. Dragged them back home. Washing and chopping took way longer than I expected. My kitchen looked like an apple massacre happened. Seriously, sticky juice everywhere.
Getting the Juice Out
Now, how to get the juice? I don’t own a fancy apple press. Started with my regular kitchen juicer. Man, that thing struggled. Made a racket and overheated a couple of times. Got some juice, but it felt like a ridiculously small amount for the mountain of apples I’d chopped. Plus, lots of pulp. Filtered it through some cheesecloth. Messy business.
Eventually, I remembered my neighbor mentioning he had an old fruit press stored in his garage. Went over, asked nicely, and borrowed it. That was a game changer. Still hard work cranking the handle, but way more efficient. Finally ended up with a decent amount of fresh apple juice. Smelled amazing, way better than the store-bought stuff.
The Waiting Game – Fermentation
Okay, juice acquired. Next up: turning it into sidra. This is where it got a bit experimental. I read you need yeast, but some folks talked about ‘wild fermentation’ using just the natural yeasts on the apple skins. Sounded cool, less stuff to buy. So, I poured the juice into a big glass jug (a carboy, I think they call it?), slapped an airlock on top (basically a little plastic thingy that lets gas out but nothing in), and stuck it in a cool, dark corner of my basement.
And then… I waited. And waited.
- Checked it daily at first. Not much happened.
- After a few days, saw some bubbles. Progress!
- The airlock started burping occasionally. That was the sign it was working, fermenting.
- Left it alone for a few weeks, mostly. Just checked the airlock had water in it.
The waiting part is tough. You just gotta trust the process and leave it be. Hard for someone like me who likes to tinker.
Bottling and Tasting

After what felt like forever (probably about 3-4 weeks), the bubbling slowed right down. Decided it was time to bottle. Carefully siphoned the liquid off the sediment at the bottom (that stuff looked nasty) into some clean, strong bottles. Added a tiny bit of sugar to each bottle, hoping for some fizz (like carbonation). Sealed them up tight.
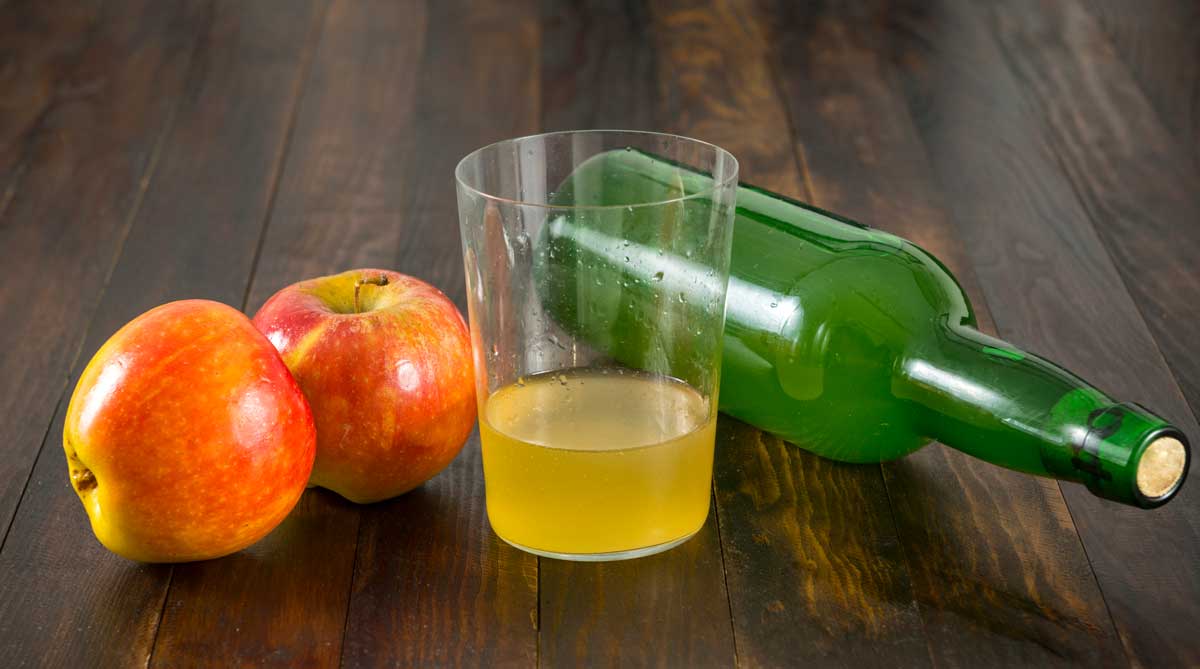
Waited another week or two. Impatience was killing me. Finally, chilled one bottle down and cracked it open. It had a slight ‘pssst’ sound, so the carbonation worked, kinda. Poured it out. The color was nice, golden. Took a sip.
Well, it was… interesting. Definitely tasted like apples, but dry. Very dry. Not sweet like the juice anymore. Had a bit of a tang, almost a little sour. It wasn’t bad, but it wasn’t quite like the commercial ciders I’ve tried either. Those often seem sweeter, more uniform. Mine tasted more… rustic? Yeah, rustic sounds about right.
Was it worth it? Honestly, it was a lot of work. Cleaning up was a pain. But seeing it through from apples to actual drink was satisfying. It’s like fixing an old engine; frustrating at times, but when it finally runs, you feel pretty good about it. I learned a ton, mostly about how much effort goes into simple things sometimes. Probably won’t do it often, buying a bottle is definitely easier. But now I know what goes into it, and I appreciate that store-bought bottle a bit more, even if my homemade stuff had its own unique character. Sharing this stuff, the trial and error, that’s the whole point, right? Helps someone else maybe avoid the same sticky kitchen disaster I had.


