
Alright, let’s dive into this whole cheese culture ingredients thing. When I first decided to try making cheese at home, beyond those super simple lemon juice ones, I hit a wall pretty fast. It wasn’t the milk, or the stirring, it was the ingredients for the actual cultures. Seemed like a secret language.
My First Confusing Steps
So, I started looking online, reading some books I picked up. And honestly, my head was spinning. You see terms like ‘mesophilic’ and ‘thermophilic’ thrown around, and a whole bunch of letter-and-number codes for different strains. I remember just staring at these little packets with their mysterious powders, thinking, “What in the world am I supposed to do with this?” My first attempt, I think I just grabbed one that said ‘general purpose cheddar culture’ and hoped for the best. It was… edible. Barely. But it didn’t feel like I knew what I was doing.
Breaking It Down – The “Aha!” Moment
I realized I had to actually understand what these things were. So, I took a step back. I stopped trying to make complicated cheeses and just focused on the basics. What I figured out, after a lot of reading and a few more, uh, ‘experimental’ batches, is that it’s not as scary as it sounds.
Essentially, these cheese cultures are just specific types of bacteria. Good bacteria! They do a few key jobs:
- They eat lactose (milk sugar) and produce lactic acid. This is super important. It changes the acidity of the milk, which helps the rennet (another key player we’ll get to) do its job of curdling the milk. It also adds flavor and helps preserve the cheese.
- They contribute to the flavor and texture. Different bacteria make different flavors. That’s why a cheddar tastes different from a Swiss.
The Main Types I Encountered
Okay, so those fancy words? ‘Mesophilic’ and ‘Thermophilic’. It just means ‘medium-loving’ and ‘heat-loving’ in terms of temperature.
Mesophilic cultures: These guys like moderate temperatures, sort of body temperature and a bit cooler. Think cheeses like Cheddar, Gouda, Brie, Camembert, and most fresh cheeses. When I started making a simple farmhouse cheddar, this was the kind of culture I needed. I found a basic one, often labeled something like ‘MM100’ or just ‘Flora Danica’ (which is a popular one for buttery flavors).
Thermophilic cultures: These are the heat seekers. They work best at higher temperatures. These are for your Italian cheeses like Parmesan, Mozzarella, Provolone, and also for yogurt. When I decided to try making mozzarella, I had to get a specific thermophilic culture. It often includes strains like Streptococcus thermophilus and Lactobacillus species.
Sometimes, you’ll even use a mix! It all depends on the cheese.
Beyond Bacteria – Other Important Bits
Then you’ve got your other special ingredients, especially if you want to make specific types of cheese:
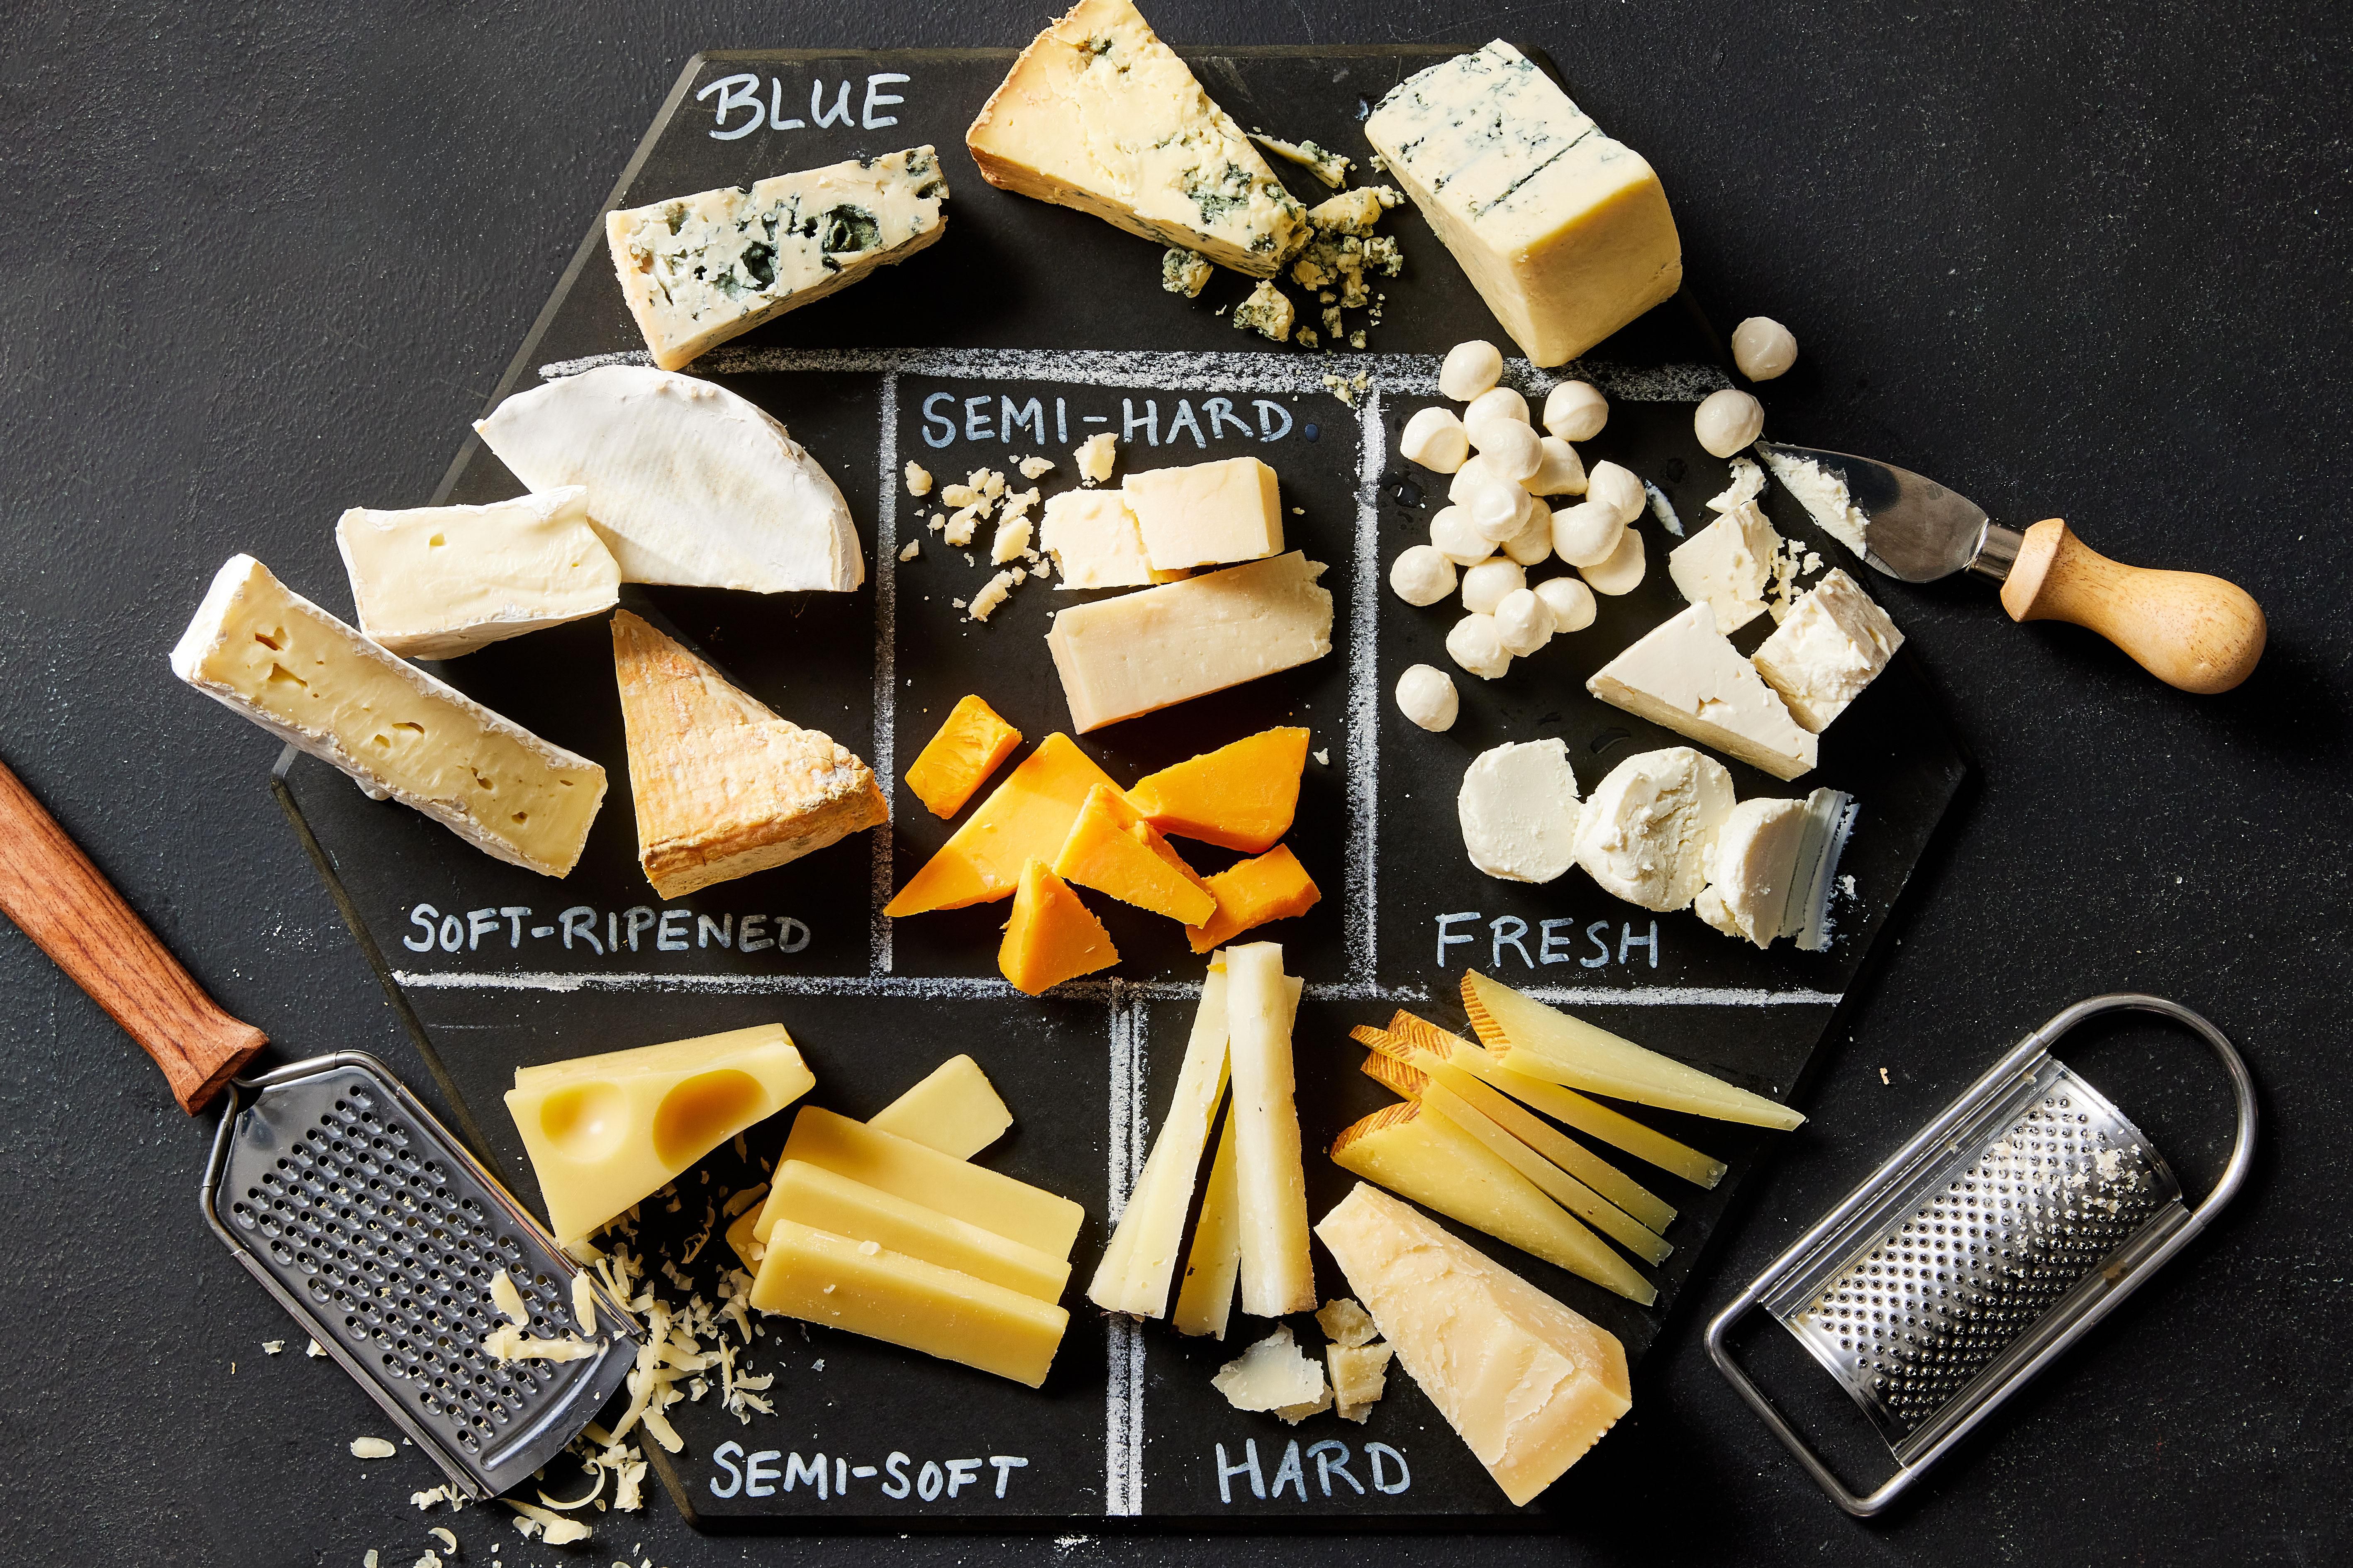
- Molds: For blue cheese, you need Penicillium roqueforti. That’s the blue stuff! For Brie or Camembert, you need Penicillium candidum (and sometimes Geotrichum candidum) for that white bloomy rind. I remember being a bit nervous adding mold powder deliberately, but it’s how you get those amazing cheeses! My first blue cheese was a revelation.
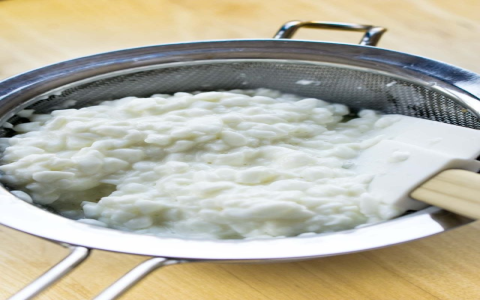
- Rennet: Okay, not a ‘culture’ in the bacterial sense, but you absolutely need it for most hard and semi-hard cheeses. It’s an enzyme that coagulates the milk, turning it from liquid into a solid curd. You can get animal rennet or vegetarian (microbial) rennet. I started with vegetarian because it was easier to find, and it works great.
- Calcium Chloride: This is one I learned about after a few frustrating attempts with store-bought pasteurized milk. Sometimes, pasteurization (especially the high-temp kind) can mess with the calcium, making it hard to get a good curd set. A tiny bit of calcium chloride can help fix that. I always add a little now if I’m not using raw milk.
- Annatto: This is just a natural food coloring, usually from the annatto seed. It gives cheeses like Cheddar or Red Leicester that yellow-orange color. Purely for looks, doesn’t change the taste. I used it once just to see.
Sourcing and My Journey
Finding these things initially felt like a quest. Local stores? Forget about it, unless you live near a specialty supply shop. I ended up buying most of my starter cultures online. There are a few good cheesemaking supply websites. I always try to buy small packets at first, because a little goes a long way, and they do have a shelf life, especially once opened. Keep ’em in the freezer, that’s my tip.
You know, it’s funny, I really got into this whole cheesemaking thing more seriously when I was going through a bit of a rough patch a few years back. My old job had this incredibly complicated new software system they rolled out, and nobody knew how to use it, support was useless, and it felt like everything was designed to make simple tasks impossible. I’d come home so frustrated. But then, figuring out these cheese cultures, as complex as it seemed at first, started to make sense. It was logical. Milk + specific culture + temperature + time = cheese. There was a process, a tangible result. It was the complete opposite of wrestling with that awful software that just seemed to swallow information and spit out errors. Making something real and delicious with my own hands, using these little invisible helpers, it was kind of therapeutic. Once I got past that initial hurdle of what’s what, the world of cheese ingredients became a fascinating pantry to explore rather than a confusing mess.
So yeah, that’s my journey with cheese culture ingredients. It started confusing, but with a bit of patience and practice, it all clicks into place. And the results? Well, homemade cheese is pretty hard to beat.


