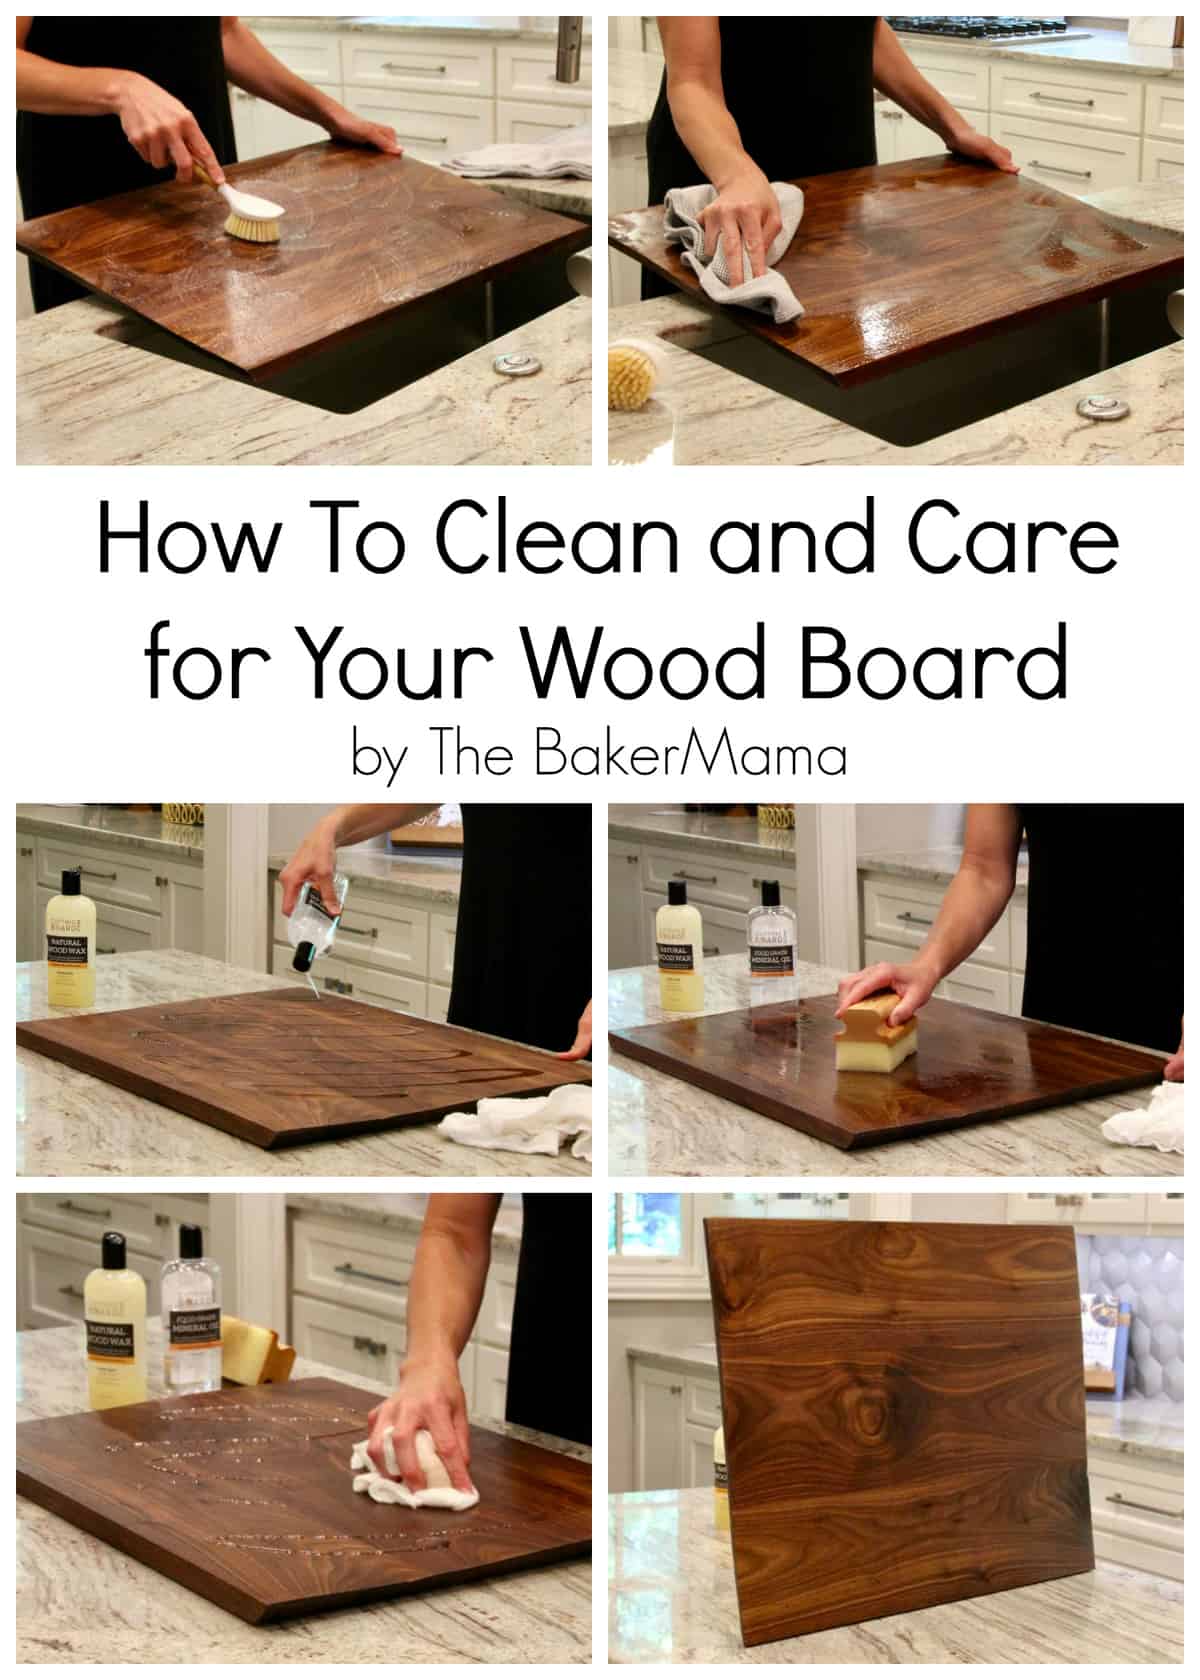
Okay so yesterday I noticed my kitchen wood signs – you know, those cute ones saying “Eat” or “Coffee” or whatever – were lookin’ seriously grubby. Dust, grease splatters, maybe some sticky fingerprints, just dull as dishwater. Figured it was time to actually clean ’em properly instead of just wiping half-heartedly with a wet cloth.
What I Had to Round Up First
- My dirty wood signs (duh)
- A clean, dry cloth (microfiber is what I grabbed)
- Mild dish soap (nothing fancy, just the regular blue stuff)
- A small bowl for mixing
- Lukewarm water (not hot!)
- A soft-bristled brush (like a super soft toothbrush kinda thing)
- Another clean, dry cloth (or paper towels if you got ’em)
The Actual Dirty Work
Step 1: Dusting Off

I started by just picking up each sign and blowing off the worst of the loose dust. Felt kinda silly, but it worked! Then used my dry microfiber cloth to gently wipe the entire surface, sides included. Amazing how much that got off right away.
Step 2: Making Suds
Got my little bowl, poured in like a cup of lukewarm water. Then added just a tiny squirt of the dish soap – seriously, barely a teaspoon’s worth. Swirled it around with my fingers until I saw some suds. Didn’t want it too soapy.
Step 3: The Delicate Scrub
Dipped the corner of my cloth into the soapy water, then squeezed it out really good. Like, almost dry again. Don’t want it soaking wet! Starting at the top, I gently wiped down the wood using light, quick strokes. Followed the direction of the wood grain as much as I could. Didn’t press hard at all. For those crud-filled corners or grooves where the letters are carved? Took my soft-bristled brush, dipped it just barely in the soapy water, and gave those spots a very gentle, careful scrub. Worked like a charm on the grime.
Step 4: Rinsing? Not Exactly!
Here’s where I used to mess up before. I didn’t run the sign under the faucet! I grabbed my other clean cloth, dipped it in plain lukewarm water (no soap!), wrung it out super well again. Wiped over the whole sign where I’d just cleaned, super fast and super light. This rinsed away any leftover soap residue without letting the wood get soggy. Wiped it immediately with the first dry cloth.

Step 5: Air-Drying is Key
Didn’t just plop it back on the wall! I leaned each sign up against something, like the fruit bowl, letting air get all around it. Found a spot away from heat vents and direct sun. Just let ’em hang out there for a good hour. Poked ’em to check – felt cool and dry all over before I even thought about putting them back.
What Jumped Out At Me
- Water is the enemy, seriously. More like dampness. Wringing those cloths out till they’re almost dry is honestly the biggest tip. Splashing it or soaking it? Forget it!
- Mild soap. Mild! That’s all you need. Heavy cleaners, bleach, vinegar? Nuh-uh. Not taking that risk.
- Dry Fast! Not leaving them wet. That rinsing cloth step is quick, and immediate drying cloth after, then air dry? Non-negotiable.
Seeing the Results
Honestly, kinda shocked how much brighter they looked! The gunk was gone, the wood color looked richer again, like they popped back to life. Made me wish I’d actually done this like, months ago instead of ignoring them.
Not rocket science, but easy to do wrong. Keep it gentle, keep it dry, it’s worth the small effort!


