
Okay, here is my blog post about making a personalized beverage tub, written in the style you specified:
Alright, so I had this idea to make a personalized beverage tub. You know, for parties and stuff. Something that looks cool and is a bit more special than just a plain old cooler. I figured, why not give it a shot? And it actually turned out pretty neat, so I wanted to share how I did it.
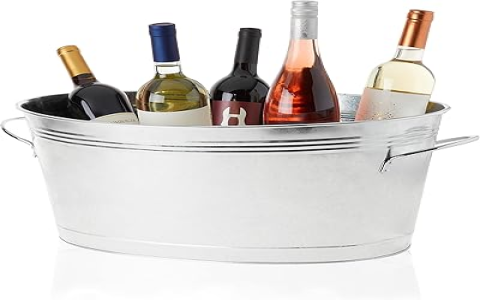
First off, I went and grabbed a metal tub from the store. Nothing fancy, just a regular galvanized steel one. You can use plastic too, but I like the look of metal. I also picked up some spray paint, a couple of different colors that I thought would look good together. And I needed some stencils. You can buy these, but I just made my own. Printed out some letters and designs on cardstock and cut them out with a utility knife. It was a little time-consuming, but not too bad.
Once I had all my supplies, I started by cleaning the tub. Just wiped it down with some soapy water to get any dirt or oil off. Then I made sure it was completely dry before I started painting. I laid down some newspaper outside to protect my patio, and then I gave the tub a few coats of the base color spray paint. I let it dry completely between coats, and it took a couple of hours for it to be totally dry to the touch.
- Get a metal or plastic tub
- Choose spray paint colors
- Create or purchase stencils
- Clean and dry the tub thoroughly
- Apply base coat of spray paint
Next came the fun part – stenciling! I carefully positioned my stencils on the tub and taped them down so they wouldn’t move around. Then I used the other color spray paint to fill in the stencils. I did a couple of light coats, making sure not to spray too much at once so it wouldn’t drip. Once the stencils were filled in, I carefully peeled them off while the paint was still a little wet. This helped to get cleaner lines.
After that, I just let it dry completely overnight. The next day, I sprayed a clear coat over the whole thing to seal it and protect the paint. And that was pretty much it! It was actually a lot easier than I thought it would be, and it looks pretty awesome if I do say so myself.
- Apply stencils to the tub
- Spray paint over the stencils
- Carefully remove stencils
- Let dry completely
- Apply a clear sealant coat
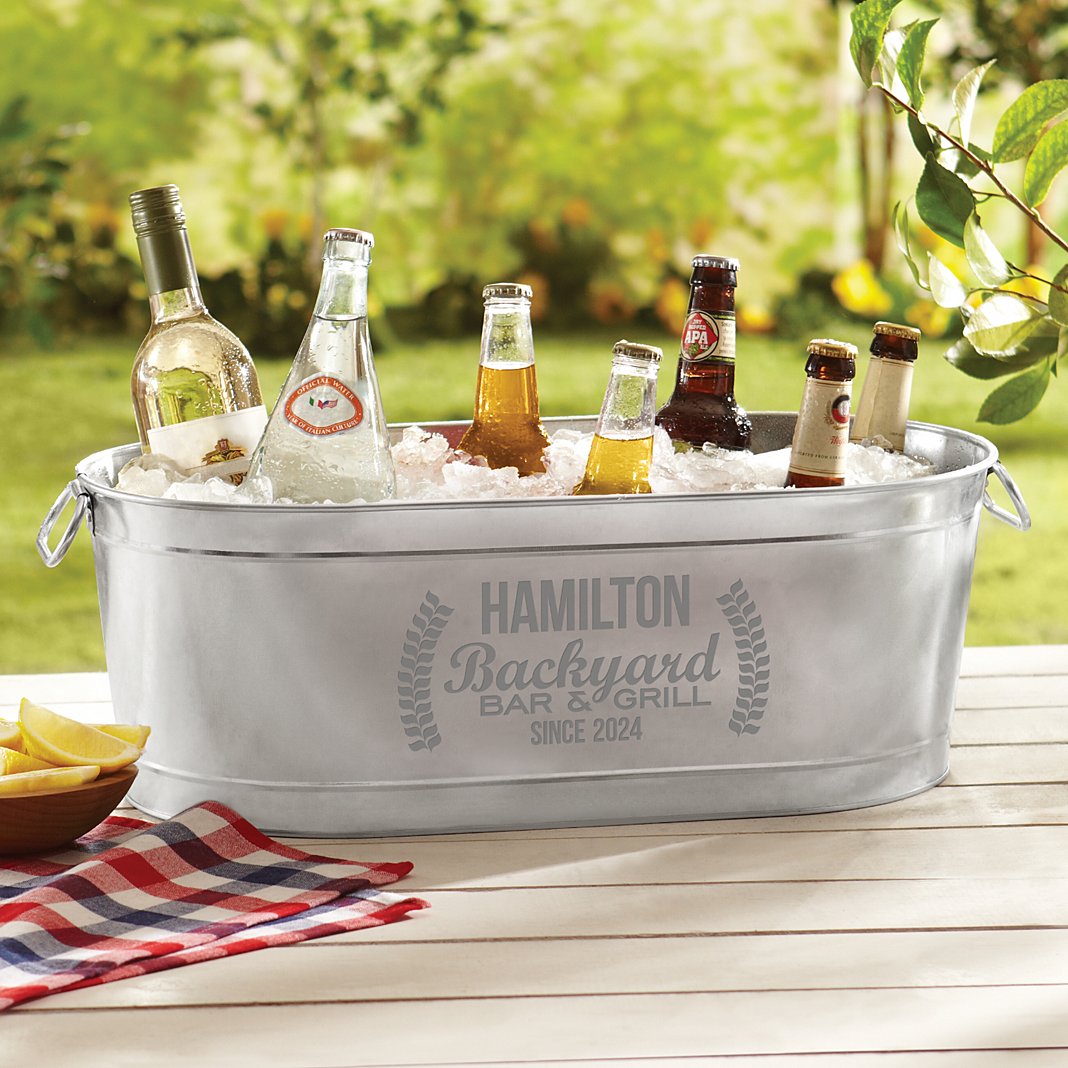
Final touches
I’m really happy with how it turned out. It’s definitely going to be a conversation starter at my next party. I might even make a few more as gifts. If you’re looking for a fun and easy DIY project, I definitely recommend giving this one a try. It doesn’t take a lot of skill, and you can really personalize it however you want. Just grab a tub, some paint, and get creative!
So yeah, that’s my story about making a personalized beverage tub. Hope you enjoyed it, and maybe it inspired you to try something like this yourself. It was a fun little weekend project, and now I have a cool, unique cooler to use. Can’t beat that!


