
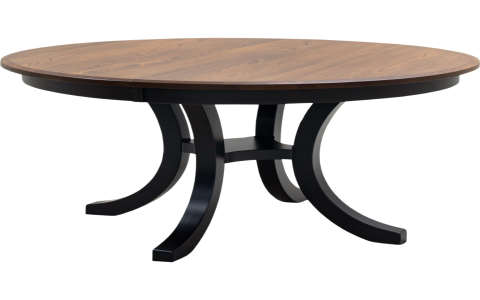
Alright, let me tell you about this kitchen table project I wrapped up last week. It was a round table with a leaf – nothing too fancy, but it was a learning experience, for sure.
It all started when my wife mentioned we needed a bigger table. Our old one was tiny, barely fit the two of us, let alone when the kids came over. I figured, why buy one when I could build one? Famous last words, right?
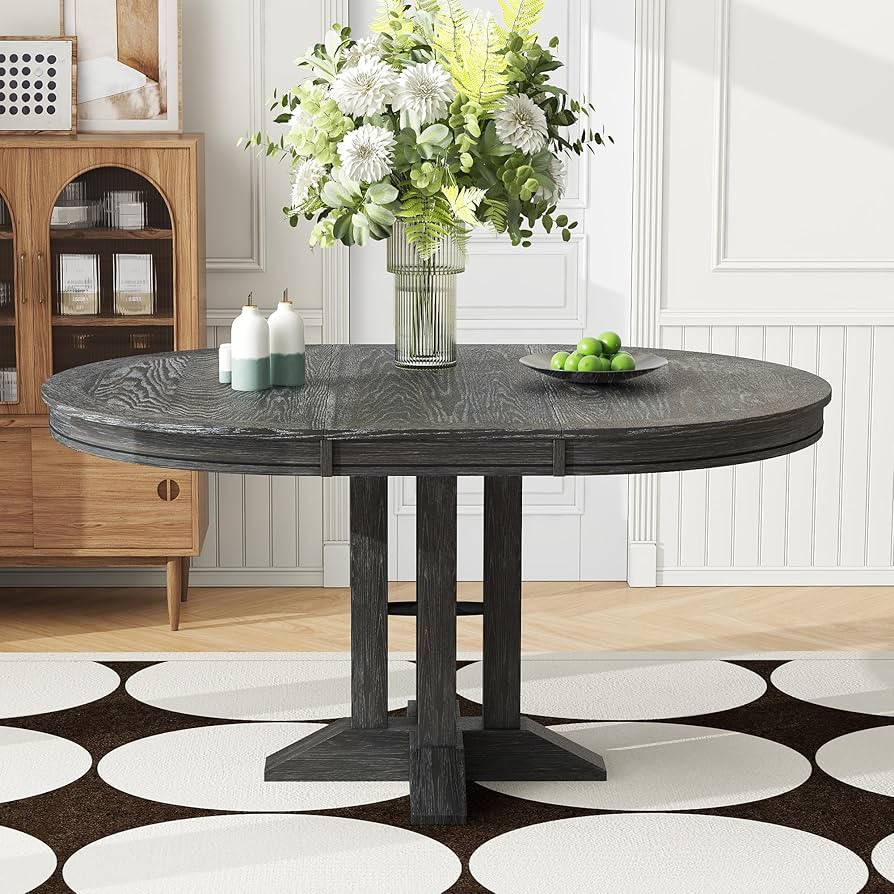
First things first: planning. I spent a good chunk of an evening sketching out ideas. I knew I wanted a round table, probably around 48 inches in diameter, because that seemed like a decent size for four people comfortably. And then I decided to add a leaf, so we could expand it when needed. I was thinking a 12-inch leaf would do the trick, bumping it up to 60 inches overall. I roughly followed the guideline I saw somewhere that said a 44″ to 54″ round table could fit 4-6 people. Seemed about right.
Next up, the fun part: buying the wood. I went down to my local lumber yard. I ended up grabbing some maple for the tabletop – I liked the grain. For the base, I went with pine. Cheaper, and I planned to paint it anyway.
Cutting the circle was a bit of a challenge. I don’t have a fancy CNC machine or anything. I used a jigsaw, clamped a piece of wood in the center as a pivot, and just went for it. Let me tell you, it wasn’t perfect. There were definitely some wobbly bits. But hey, that’s what sandpaper is for, right?
Sanding, sanding, and more sanding. I swear, I spent a whole weekend just sanding that tabletop. I started with a rough grit to get rid of the jigsaw marks, then gradually went finer and finer until it was smooth as butter. My arms were killing me, but it was worth it.
Building the base was pretty straightforward. I just used some basic woodworking joints – mortise and tenon for the legs, and some simple aprons to connect everything. Nothing too complicated.
The leaf mechanism was probably the trickiest part. I bought some table slides online. Installing them wasn’t too bad, but getting everything lined up perfectly so the leaf fit snugly was a pain. There was a lot of adjusting and re-adjusting involved. I almost gave up a couple of times, but I’m stubborn, so I kept at it.
Finally, it was time for finishing. I stained the tabletop a nice walnut color, and then applied several coats of polyurethane for protection. The base I painted a creamy white. I let everything dry for a few days before assembling it all.
Putting it all together was the moment of truth. I attached the base to the tabletop. Then I installed the leaf. And… it actually worked! The leaf slid in and out smoothly. The table was sturdy. It looked pretty damn good, if I do say so myself.
Sure, it’s not perfect. There are a few imperfections here and there. But it’s handmade, and it’s got character. And, most importantly, it’s big enough for the whole family to sit around. We’ve already had a couple of dinners at it, and everyone loves it. So, all in all, I’d say it was a successful project.
- Learned: How to cut a decent circle with a jigsaw (sort of).
- Discovered: Sanding is a form of meditation (if you squint).
- Realized: I need to buy a better jigsaw.


