
Getting Started with the Two Faucet Idea
Okay, so I decided to tackle a little project in the kitchen. The old sink setup was just… okay. Single faucet, standard stuff. But you know how it gets crowded? Someone’s washing hands, someone else needs to rinse a vegetable? Just felt inefficient sometimes. I’d seen these kitchens, maybe online or in magazines, with two faucets on one sink. Seemed a bit much at first, but the more I thought about it, the more sense it made.
Picking Out the Gear
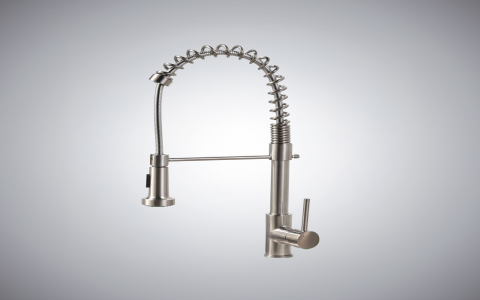
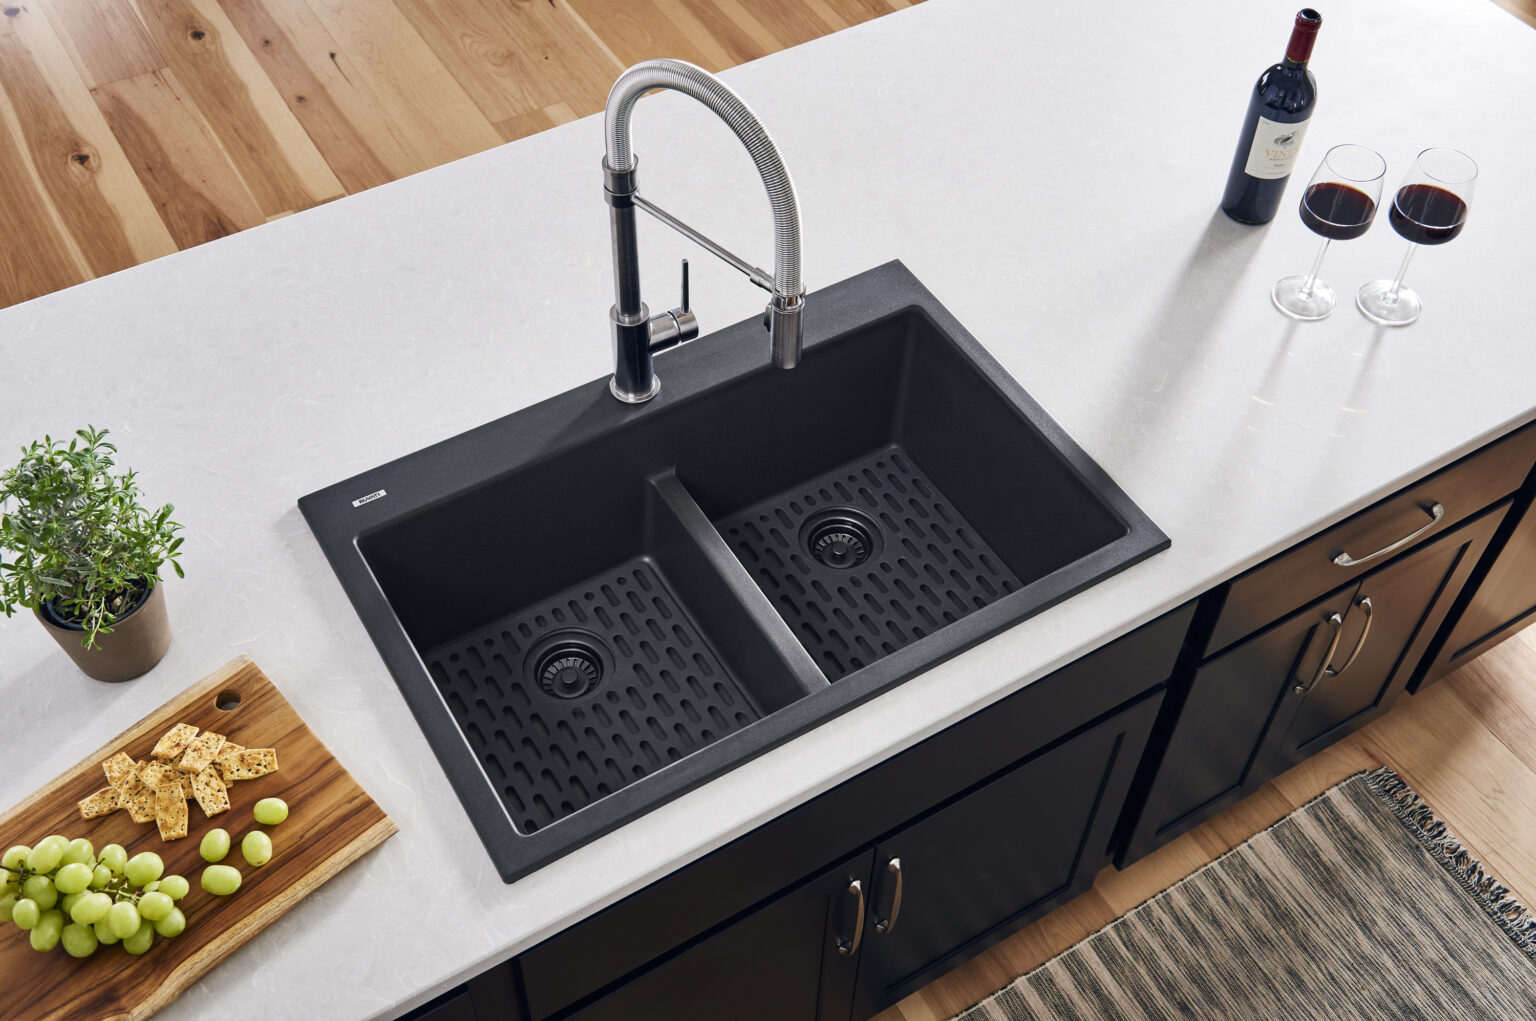
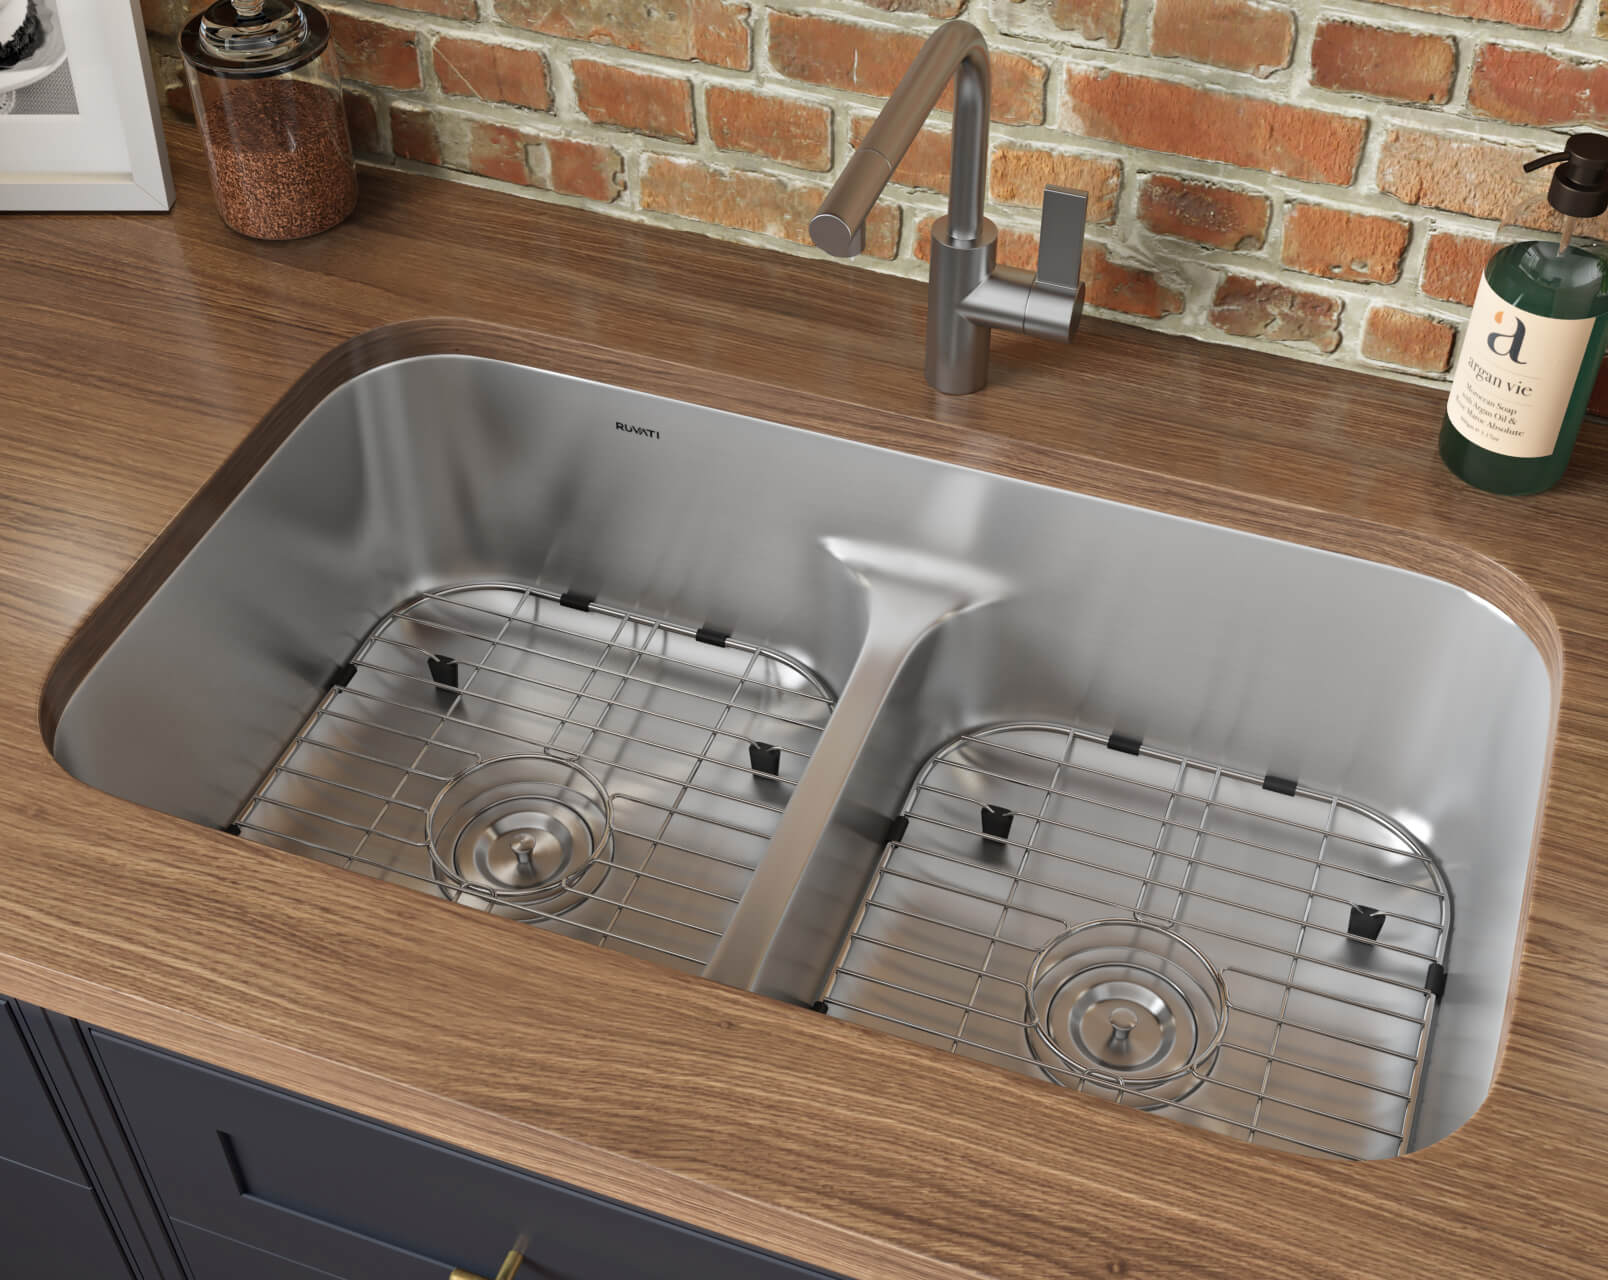
So, I measured up the existing cutout in the counter. Important step, didn’t want to buy a sink that wouldn’t fit. Headed down to the big box store. Looked at a bunch of sinks. Stainless steel, composite, porcelain… decisions, decisions. I ended up going with a decent-sized stainless steel double basin sink. Had to make sure it had enough holes pre-drilled for what I wanted: two faucets and maybe a soap dispenser later, who knows. Grabbed two matching faucets – nothing too fancy, but sturdy. Also picked up new supply lines, plumber’s putty, silicone sealant, and checked my fittings for the drain plumbing. Figured I’d need some new PVC pipe sections and connectors for the double drain setup.
Out with the Old
This part is never fun. First, shut off the water supply under the sink! Opened the old faucet to drain the lines. Then, disconnected the hot and cold supply lines from the faucet. They were crusty, took some effort with the wrench. Disconnecting the drain pipes was next – always a bit messy, had a bucket ready. Then came loosening the clips holding the old sink to the countertop from underneath. Talk about awkward angles. Lying on my back, flashlight in my mouth, wrestling with those things. Finally got it loose and lifted the old sink out. Phew.
Prepping and Installing the New Sink
Cleaned up the countertop around the opening. Scraped off old putty and gunk. Nice clean surface is key. I test-fitted the new sink, looked good. Then I applied a bead of plumber’s putty around the underside lip of each drain opening in the sink itself and installed the new drain baskets, tightening them properly. Put a nice bead of silicone sealant around the edge of the countertop cutout where the sink rim would sit. Carefully lowered the new sink into place, pressing it down firmly to seat it in the sealant. Then, back underneath to attach and tighten the mounting clips. This holds the sink snug against the counter.
Hooking Up the Faucets and Drains
Okay, faucet time. Put a ring of plumber’s putty around the base of each faucet. Fed the faucet lines through the pre-drilled holes in the sink deck. Got underneath again to tighten the nuts holding the faucets in place. Made sure they were aligned straight before the final tightening! Connected the new flexible supply lines to the hot and cold outlets on each faucet. Then connected the other ends to the shutoff valves coming out of the wall. Tightened everything snugly, but not too tight to avoid stripping threads.
Now for the drains. This was a bit like a puzzle. Since it’s a double basin, you need to connect both drains together before they go into the single P-trap and then into the wall drainpipe.
- Attached tailpieces to each drain basket.
- Used PVC T-connectors and straight pieces to join the two tailpieces.
- Connected this assembly to the P-trap.
- Finally, connected the P-trap to the drainpipe in the wall.
I dry-fitted everything first to make sure the angles and lengths were right, then used PVC primer and cement to make the connections permanent (or you could use compression fittings if you prefer).
The Moment of Truth: Testing
Alright, double-checked all connections one last time. Took a deep breath. Slowly turned the main water supply valves back on. Listened for any hissing. Checked the connections at the shutoff valves first. Dry. Good. Then turned on each faucet, hot and cold, one at a time. Watched the supply line connections under the sink like a hawk. No drips! Let the water run for a bit down both drains, filling the P-trap. Checked all the drain pipe connections underneath. Everything looked dry and solid.
Final Thoughts
Wiped everything down. Stepped back and looked. Yeah, two faucets. It actually looked pretty good and balanced. Took most of an afternoon, a bit of sweat, and some contorting under the sink, but it was worth it. Already feels more functional. One side for dirty dishes, the other maybe for rinsing or grabbing a quick drink of water without getting in the way. Pretty pleased with how it turned out, honestly. A solid weekend upgrade.


