
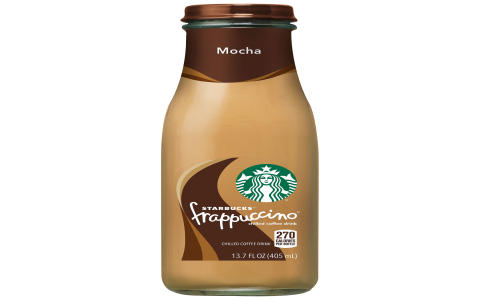
Okay, so today I’m gonna ramble about something I messed around with recently: getting some decent-looking renders of glass bottled beverages. It was a whole process, lemme tell ya.
First off, the idea hit me outta nowhere. I was staring at a bottle of soda in the fridge and thought, “Hey, that’d be a cool thing to try and recreate in 3D.” So, I jumped into Blender, which is my go-to for this kinda stuff. I started by modeling the basic bottle shape. Nothing too fancy, just a cylinder with some rounded edges. I spent a good chunk of time tweaking the curves to get it looking just right. Pro tip: Reference images are your best friend here! I had a bunch of photos of different bottles open on my second monitor.
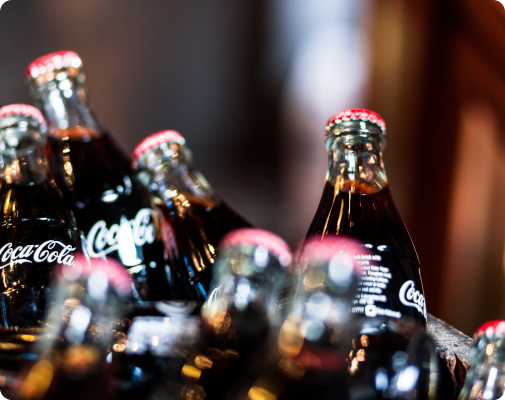
Next up was the glass material. This is where things got a little tricky. The default Blender glass shader is… okay, but it doesn’t really capture the way light interacts with real glass. I messed around with the IOR (Index of Refraction) value a lot, trying to get that nice refractive look. I also added a subtle roughness to the surface to catch the highlights a bit better. This took a lot of trial and error, rendering out small sections and tweaking the material until I was happy.
Then, the liquid! This was probably the most fun part. I duplicated the bottle mesh, scaled it down slightly, and then filled the space with a liquid object. I gave the liquid its own material, usually a slightly darker and more saturated version of the glass. I also played with the absorption color to give the liquid some depth. For the bubbles, I used a particle system. I tweaked the settings to get a good distribution and size, and then gave them a slight refractive material as well.
Lighting was crucial. I used a combination of area lights and an HDRI (High Dynamic Range Image) to get the right lighting setup. I positioned the area lights to create nice highlights and reflections on the glass, and the HDRI provided a realistic ambient light. I also experimented with different colored lights to add some visual interest. This is where you really start to see the glass come alive.
Rendering time! I used Cycles, Blender’s ray-tracing engine, for the final render. I cranked up the samples to reduce noise, which is especially important for glass and liquids. This meant longer render times, but it was worth it for the clean, realistic look. I also used denoising to further reduce noise and speed up the rendering process.
Finally, post-processing. After the render was done, I took it into Photoshop for some final tweaks. I adjusted the levels and curves to enhance the contrast and colors. I also added a subtle vignette to draw the eye to the center of the image. And that was pretty much it!
It was a fun project and I learned a ton about lighting, materials, and rendering in Blender. Definitely gonna try some more complex stuff next time.


