
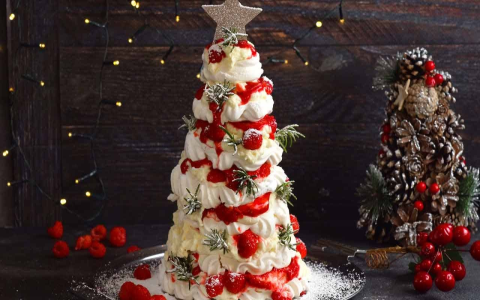
I saw a lot of people sharing their beautiful and yummy Christmas tree desserts online the other day. It looked so fun, and I thought, “Hey, I wanna give that a shot!” So, I decided to try making some myself.
First, I gathered all the stuff I needed. I already had most of the basic baking things like flour, sugar, and eggs. But I had to go to the store and buy some green food coloring, a bunch of sprinkles, and some candies. I also grabbed some ice cream cones ’cause I saw someone using them as the base for the trees, and it looked pretty neat.
- Flour
- Sugar
- Eggs
- Green food coloring
- Sprinkles
- Candies
- Ice cream cones
Baking the Base
I started by baking some simple sugar cookies. I just followed the usual recipe. Nothing fancy, just your everyday sugar cookies. I rolled out the dough and used a star-shaped cookie cutter to make some stars, because, you know, Christmas trees need a star on top! Then I baked them until they were just a little bit golden and let them cool down.
Making the Trees
This is where the fun really began. I whipped up some frosting and added green food coloring until it looked like a proper Christmas tree green. Then I took those ice cream cones and slathered them with the green frosting. It was a bit messy, but hey, that’s part of the fun, right? I tried to make it look like branches, swirling the frosting around. Next, I carefully stuck the star cookies on the top of some of them with a dab of frosting.
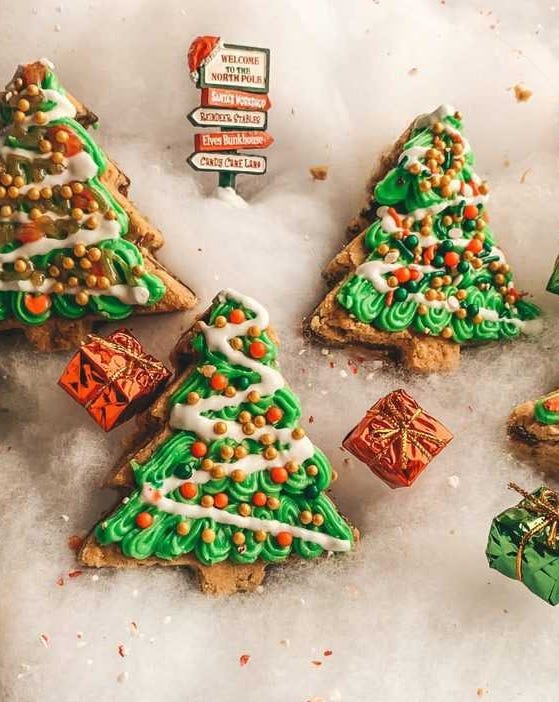
Decoration Time!
After the trees had their basic shape, it was time to decorate. This is where I went a little crazy with the sprinkles. I used all sorts of colorful sprinkles, little candy balls, and even some edible glitter. I just sprinkled them all over the frosting, making sure each tree was covered in sparkly, festive goodness. For some extra flair, I melted some white chocolate and drizzled it over the trees to make it look like snow. It looked kinda cool, I gotta say.
Final Touch
I also made some brownie bites and frosted them with chocolate frosting. I placed the trees on top of the brownie bites, and it looked like they were standing on a little chocolate hill. I even added some marshmallow around the bases, because why not make it look like a snowy landscape? It’s Christmas, after all!
It was a long process and it got a bit messy. But in the end, it was so worth it. They turned out pretty darn cute, if I do say so myself. And they tasted pretty good, too! My family loved them, and they were a big hit at our little Christmas gathering. I might even make them again next year, but maybe I’ll try a different design. We’ll see!


